

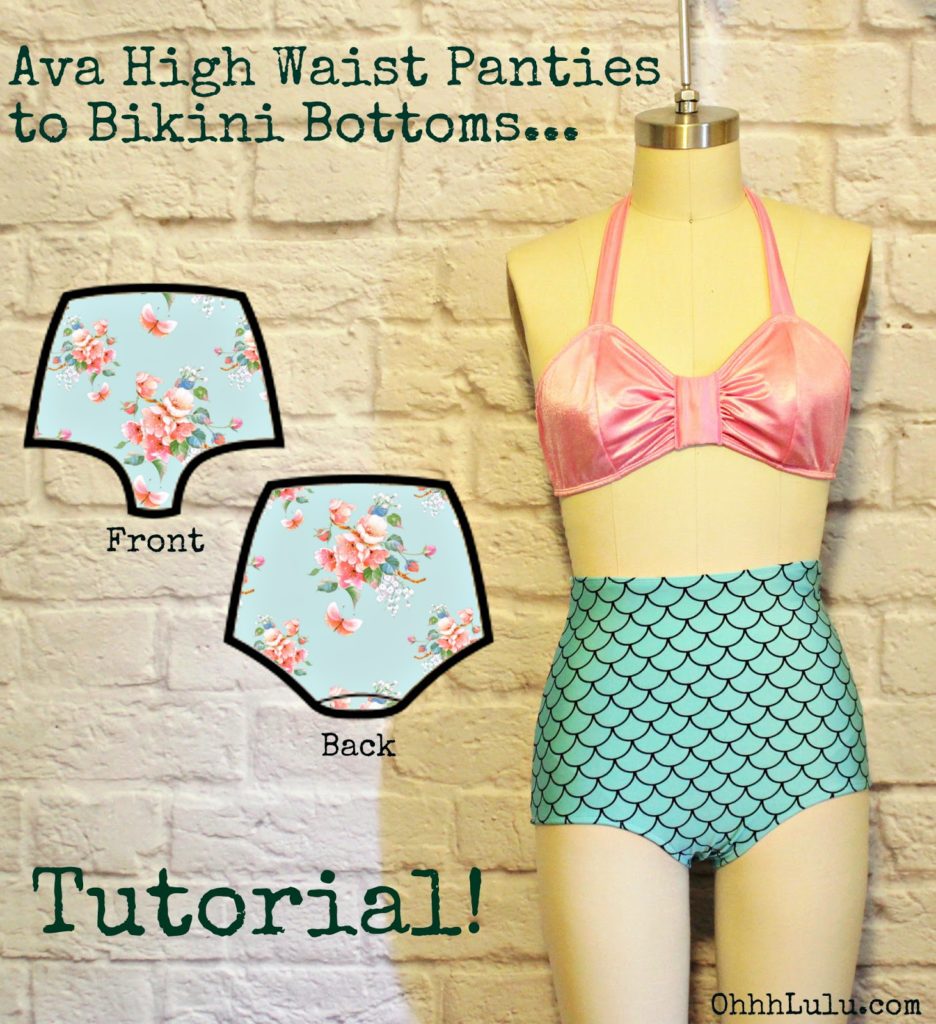
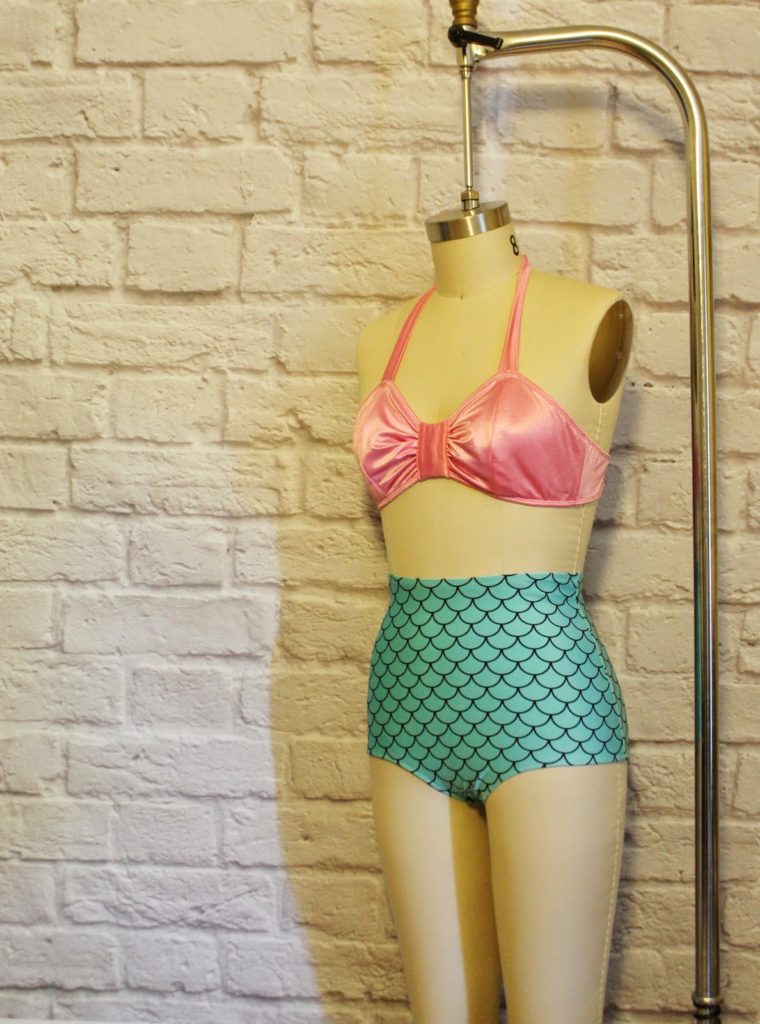
It’s just about July, and it’s getting HOT! Last summer, I showed you how to make a boned bikini top using my Jasmine Bra Sewing Pattern. This summer, I’ll show you how to use my Ava High Waist Panties Sewing Pattern to make Retro-style Bikini Bottoms, perfect for mixing and matching with bikini tops you may already own, OR you can pair it with my Zooey Bikini Top, which will be released very soon!
What you will need:
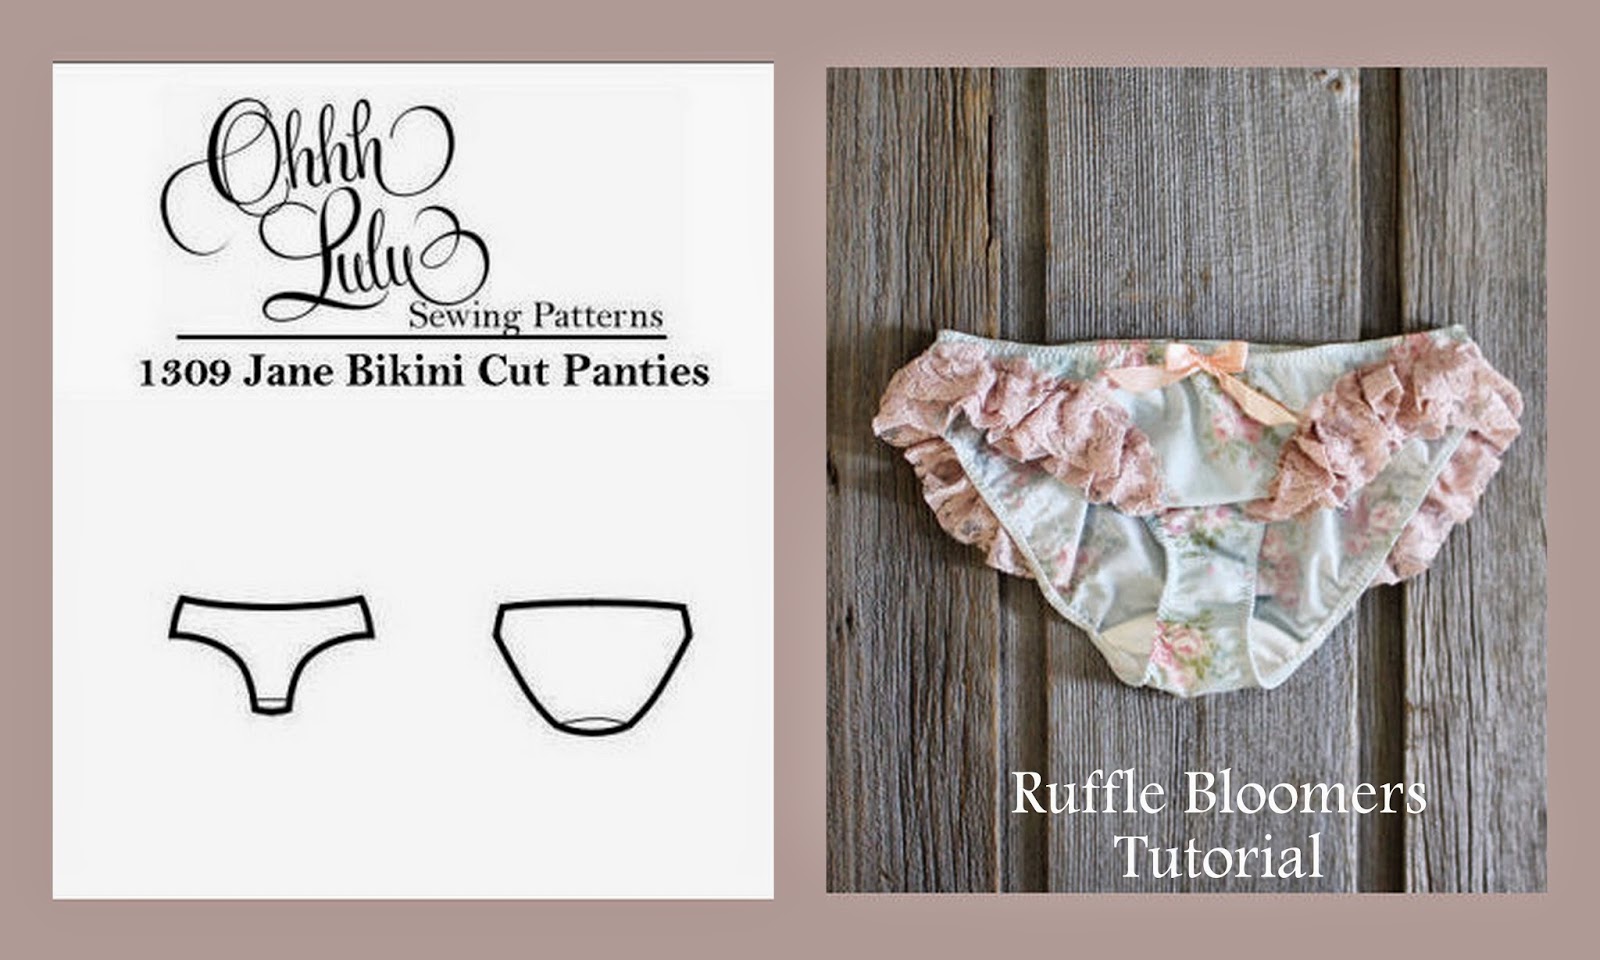
1. The Ava High Waist Panties Pattern – you can find it in my Sewing Pattern Shop.
2. Swimsuit fabric – this is fabric made of spandex / Lycra with 2 or 4 way stretch. You can use either or, but 4-way stretch fabric will yield a higher-waist bottom (because it will stretch!). You can find swimsuit fabric at many online retailers, like Fabric.com, or the Fabric Fairy.
3. Swimsuit Lining – Swimsuit lining is a thin, knit lining that generally comes in white, black and beige and is made of polyester, or another synthetic. This fabric is quick drying and will help give your swimsuit body and opaqueness (really important for light coloured fabric). It will also prevent the exterior fabric from clinging to your body when wet. We don’t want to show off ever lump, bump, nook, and cranny. Swimsuit lining, or stretch lining is sold at most major fabric stores.
4. 1/4″ Swimwear Elastic – any elastic that is chlorine friendly. I am using a 1/4″ knitted elastic. You can use clear elastic, or any elastic you like, as long as it is about 1/4″ wide.
5. Thread to match
6. Twin Needle – Optional, but creates a more professional looking finish.
Instructions:
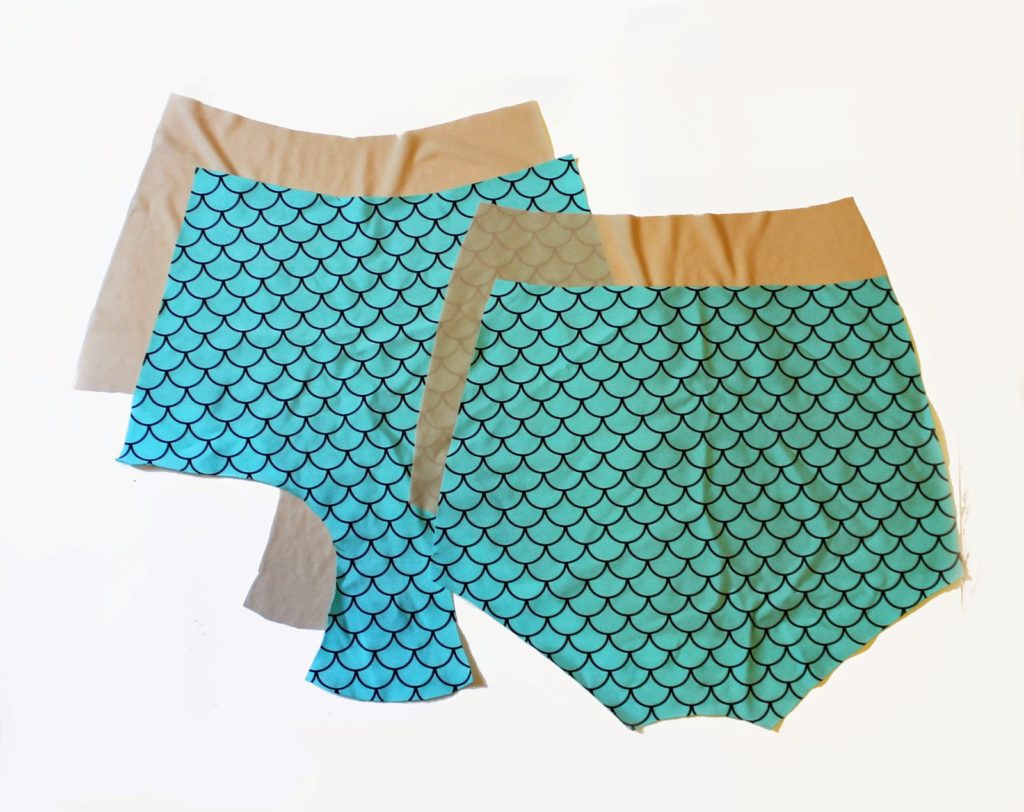
1. Cut out the front and back in your swimsuit fabric as well as your lining. You now have a Front Self, Front Lining, Back Self, and Back Lining piece.
2. With wrong sides together (right sides of fabric facing out), baste your Back Self to Back Lining. This now gets treated as one piece.
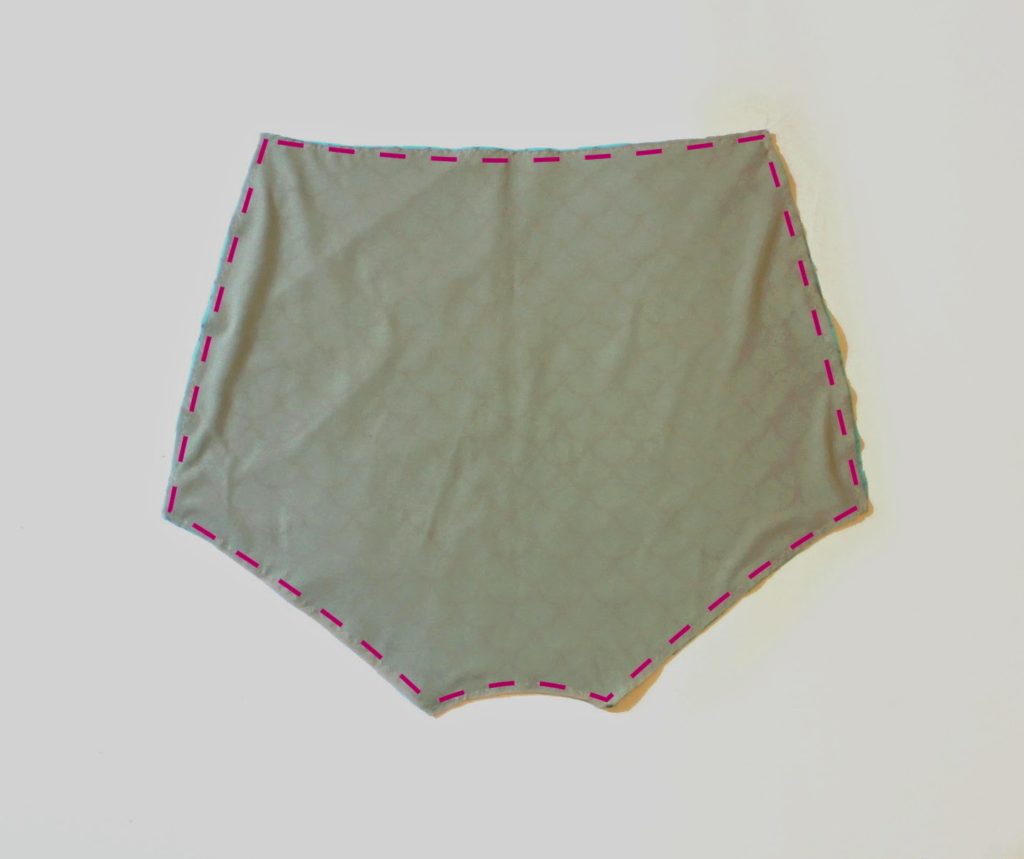
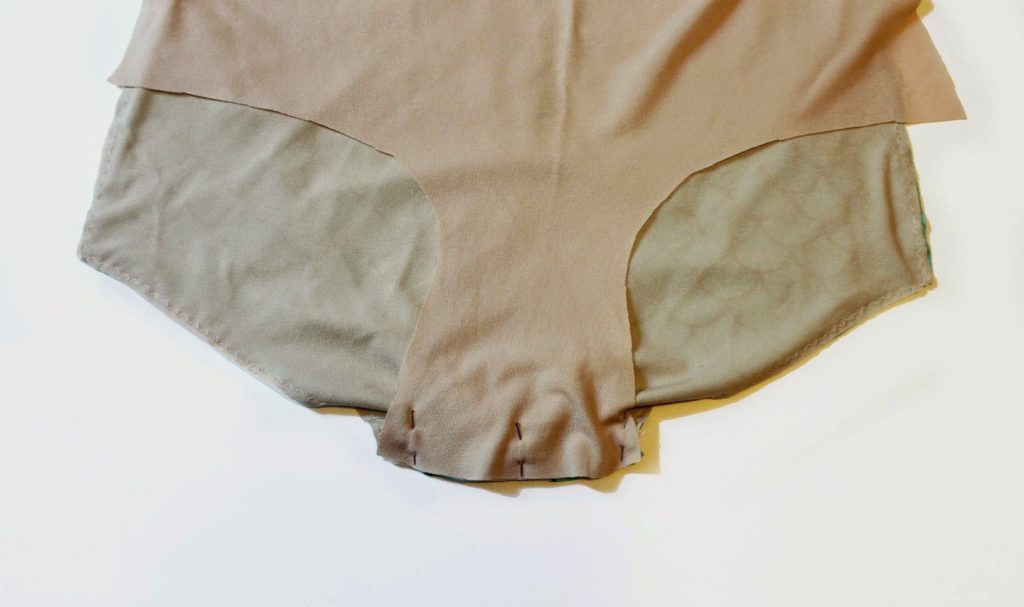
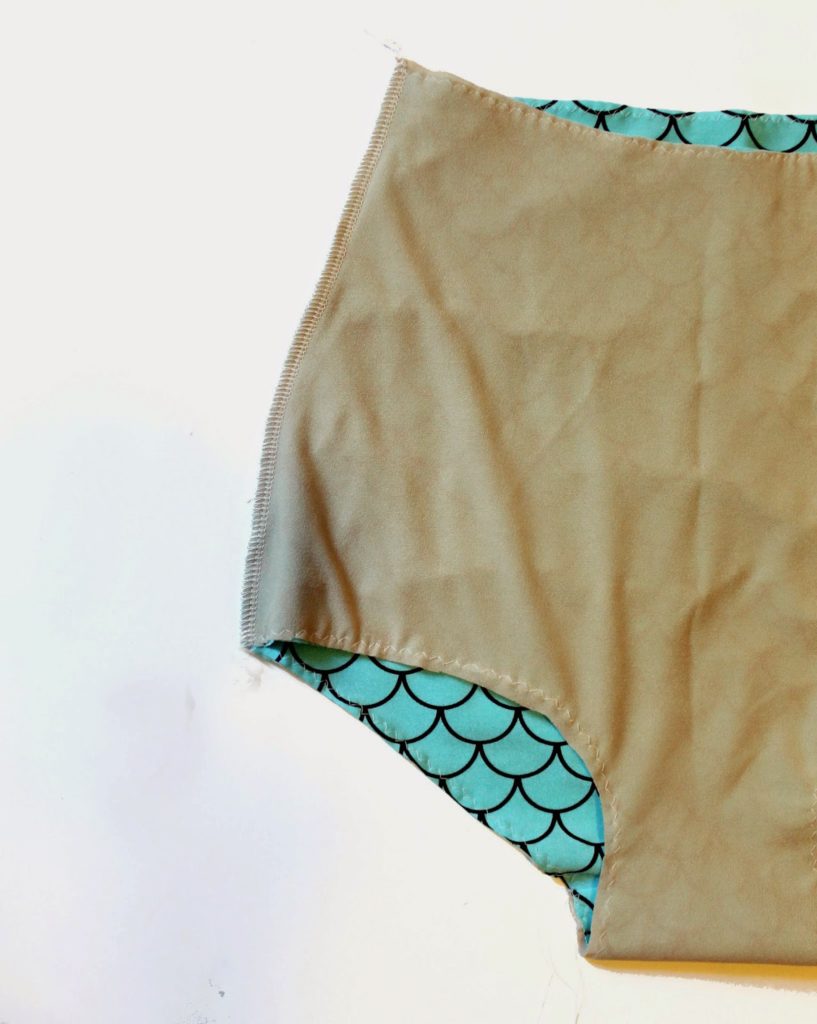
3. With Right Sides facing together, sew your Front Self along the curved crotch seam to the Back Self & Lining. Seam Allowances are 1/2″.
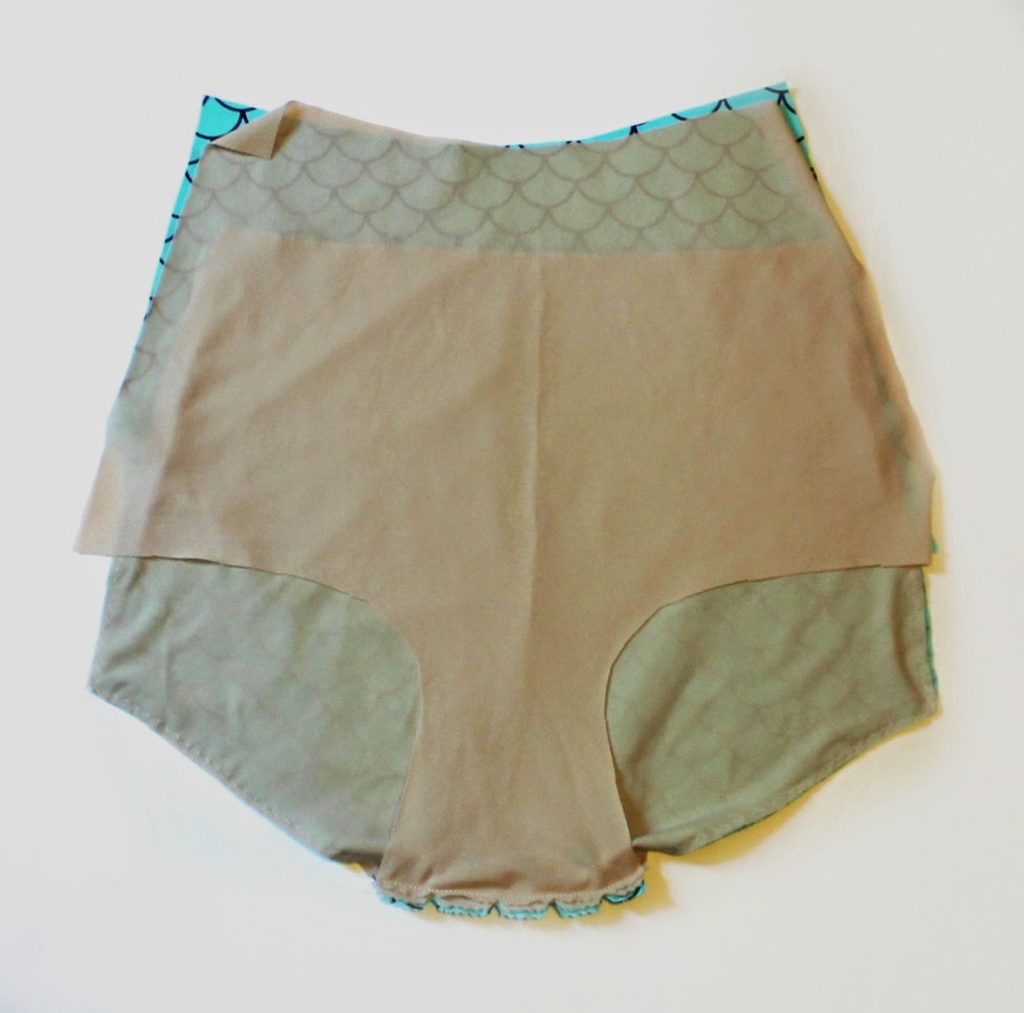
4. With right sides of lining facing, pin the Front Lining to the Back Lining & Back Self piece. Your Back Lining and Back Self get sandwiched between the Front Self and Front Lining at this point. This gets a little confusing… what we are working towards is encasing the crotch seam between the lining and exterior fabric.
5. Clip and Grade back the crotch seam allowance, then fold your lining forward, towards your Front Self. You’ll now see that your seam allowance is hidden between your lining and exterior fabric.
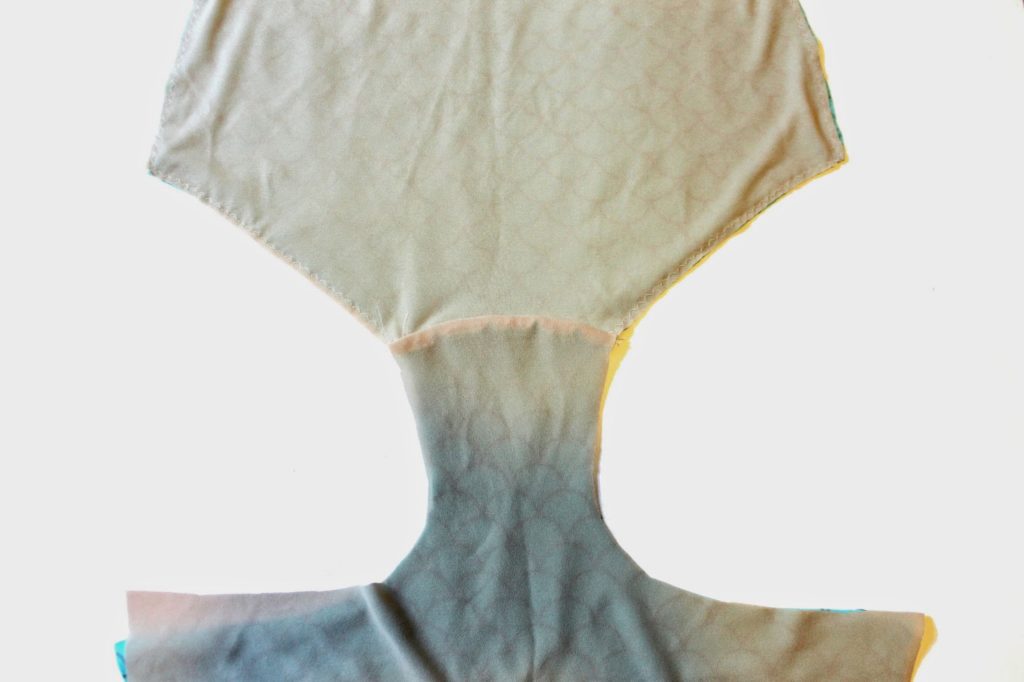
6. Baste the Front Lining to Front Self around the outer edge. We can now treat this as 1 single piece.
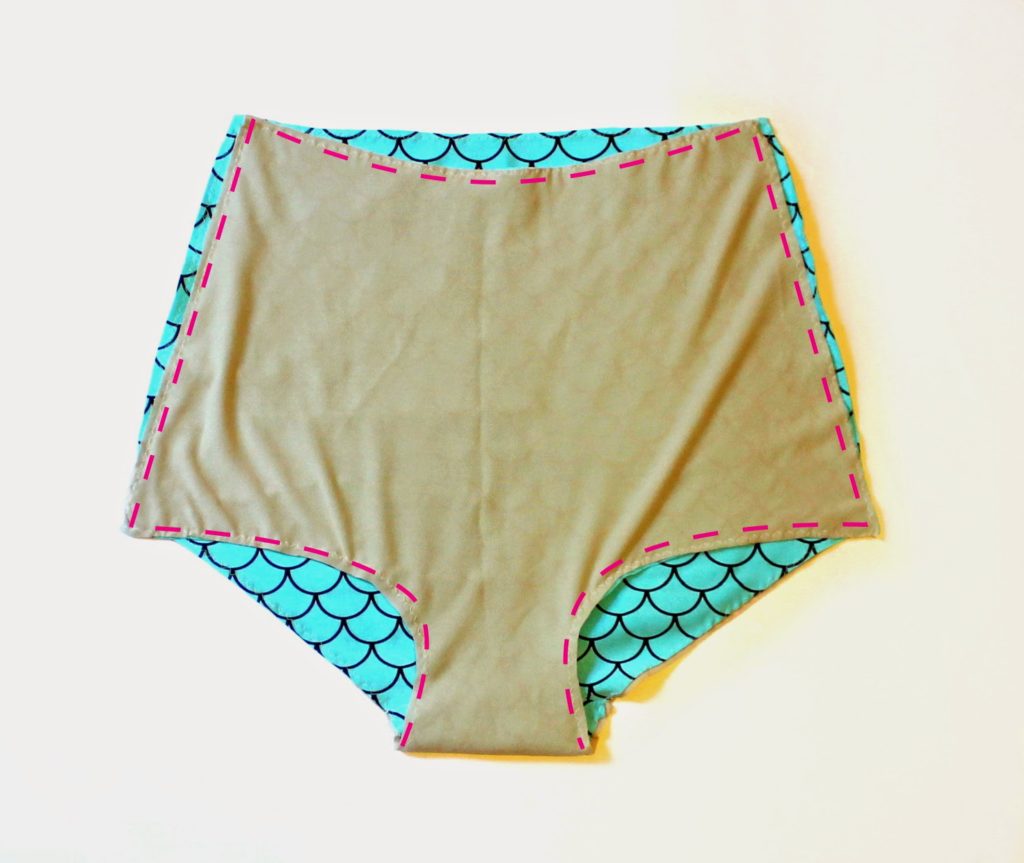
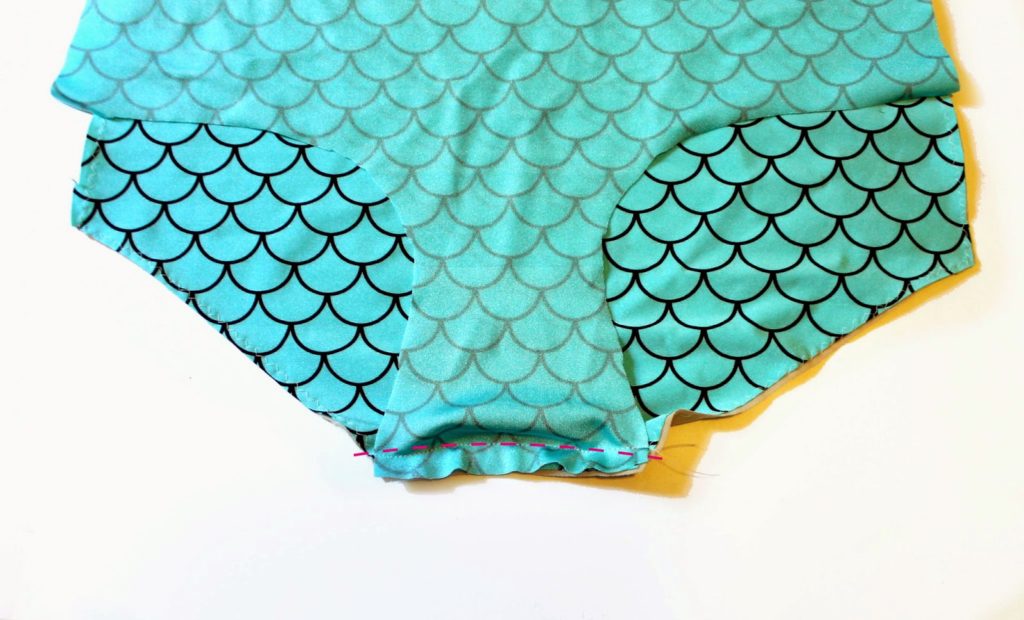
7. Stitch side seams together. I’m using my serger, but you can use a zig zag stitch if you wish.
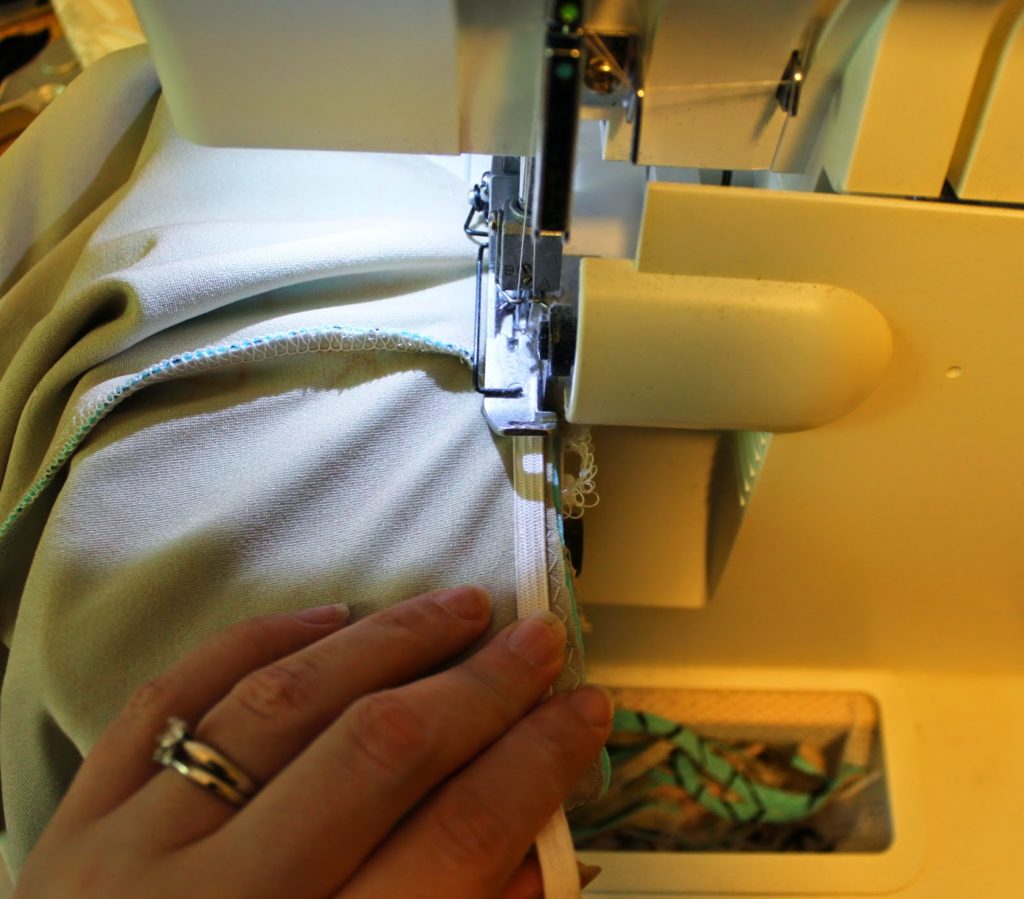
8. Apply elastic around the waist and leg openings to the wrong side (lining side) of the garment. I’m using a serger to apply my elastic, but you can also zig-zag stitch it on.


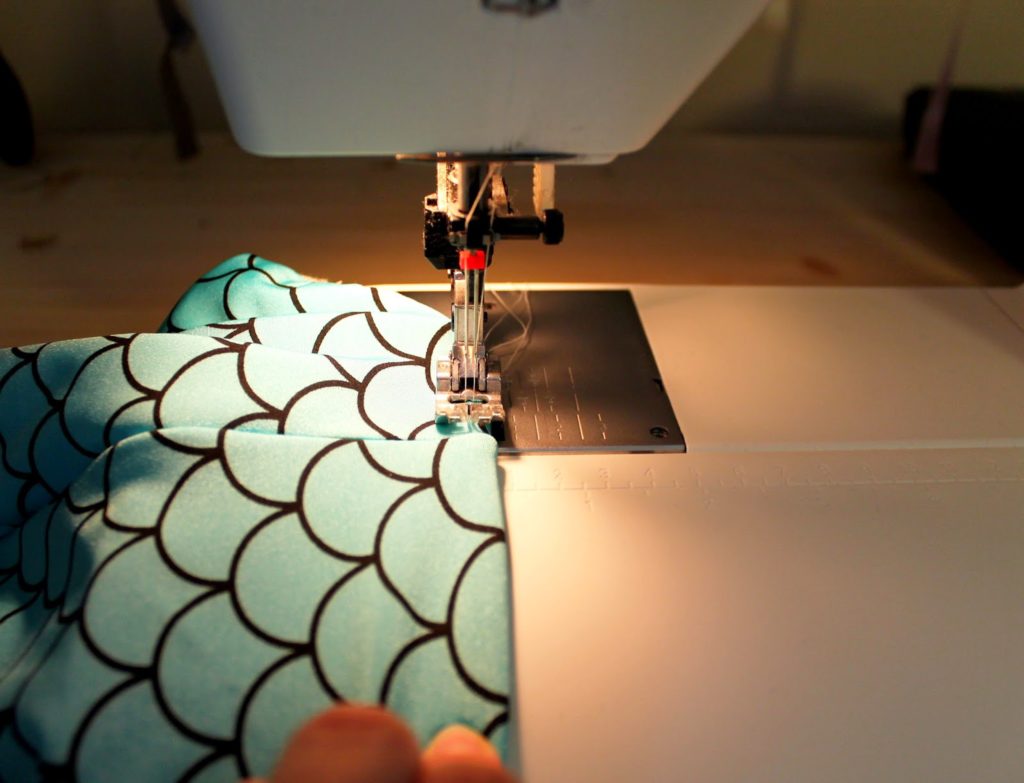
9. Turn the elastic under, and top stitch down using a twin needle.
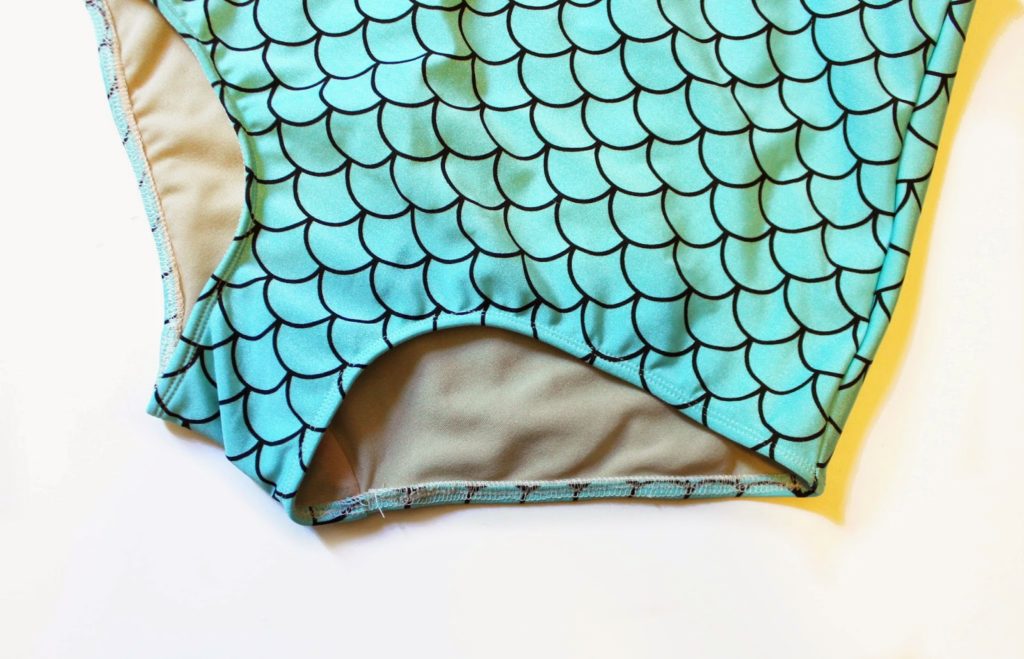
And there you are… ready for some fun on the beach!
7 Comments
gingermakes
June 27, 2014 at 4:02 pmThis set is adorable!!!
emily.marie
June 27, 2014 at 11:00 pmI am soooo into that suit. Always wanted to be Ariel, but would need a purple top. 🙂 When I decide to get on the swimsuit train, I'll be well prepared with your complete tutorial set! Thanks!
Heather
June 28, 2014 at 5:32 pmMy inner mermaid is ecstatic! So cute!
allie
June 28, 2014 at 9:34 pmI'm in awe at how easy this seems to be! Perhaps even I could take the swimsuit plunge with these bottoms… and I love that mermaid-y scale print.
Andrea Ryan
January 28, 2015 at 5:37 amThis is so easy. I want that pattern! 🙂
http://www.thefancyfashioncastle.blogspot.com
tamItee
July 21, 2015 at 1:07 amWhere can I get the pattern
sarah.e.norwood@gmail.com
July 21, 2015 at 2:05 pmRight here: https://www.etsy.com/ca/listing/175084880/high-waist-panties-sewing-pattern?ref=shop_home_feat_3