
Ok, I’m going to admit, this part can get a little confusing, which is why I’m doing it first.
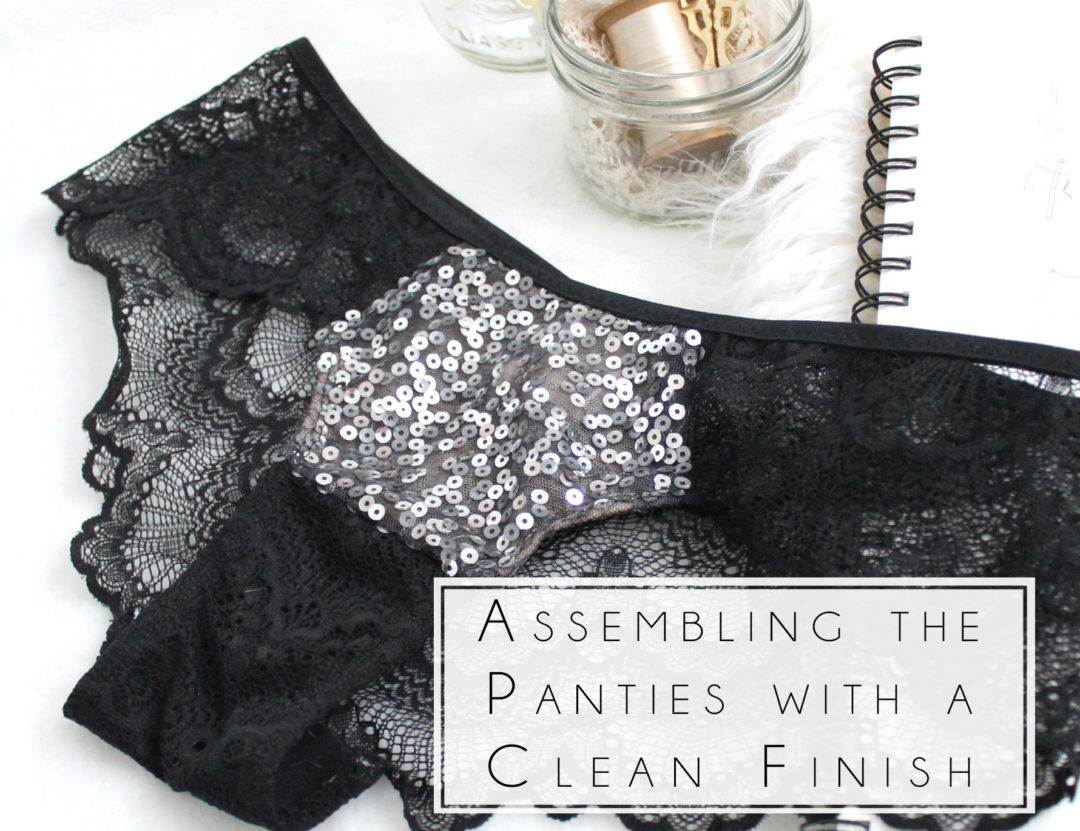
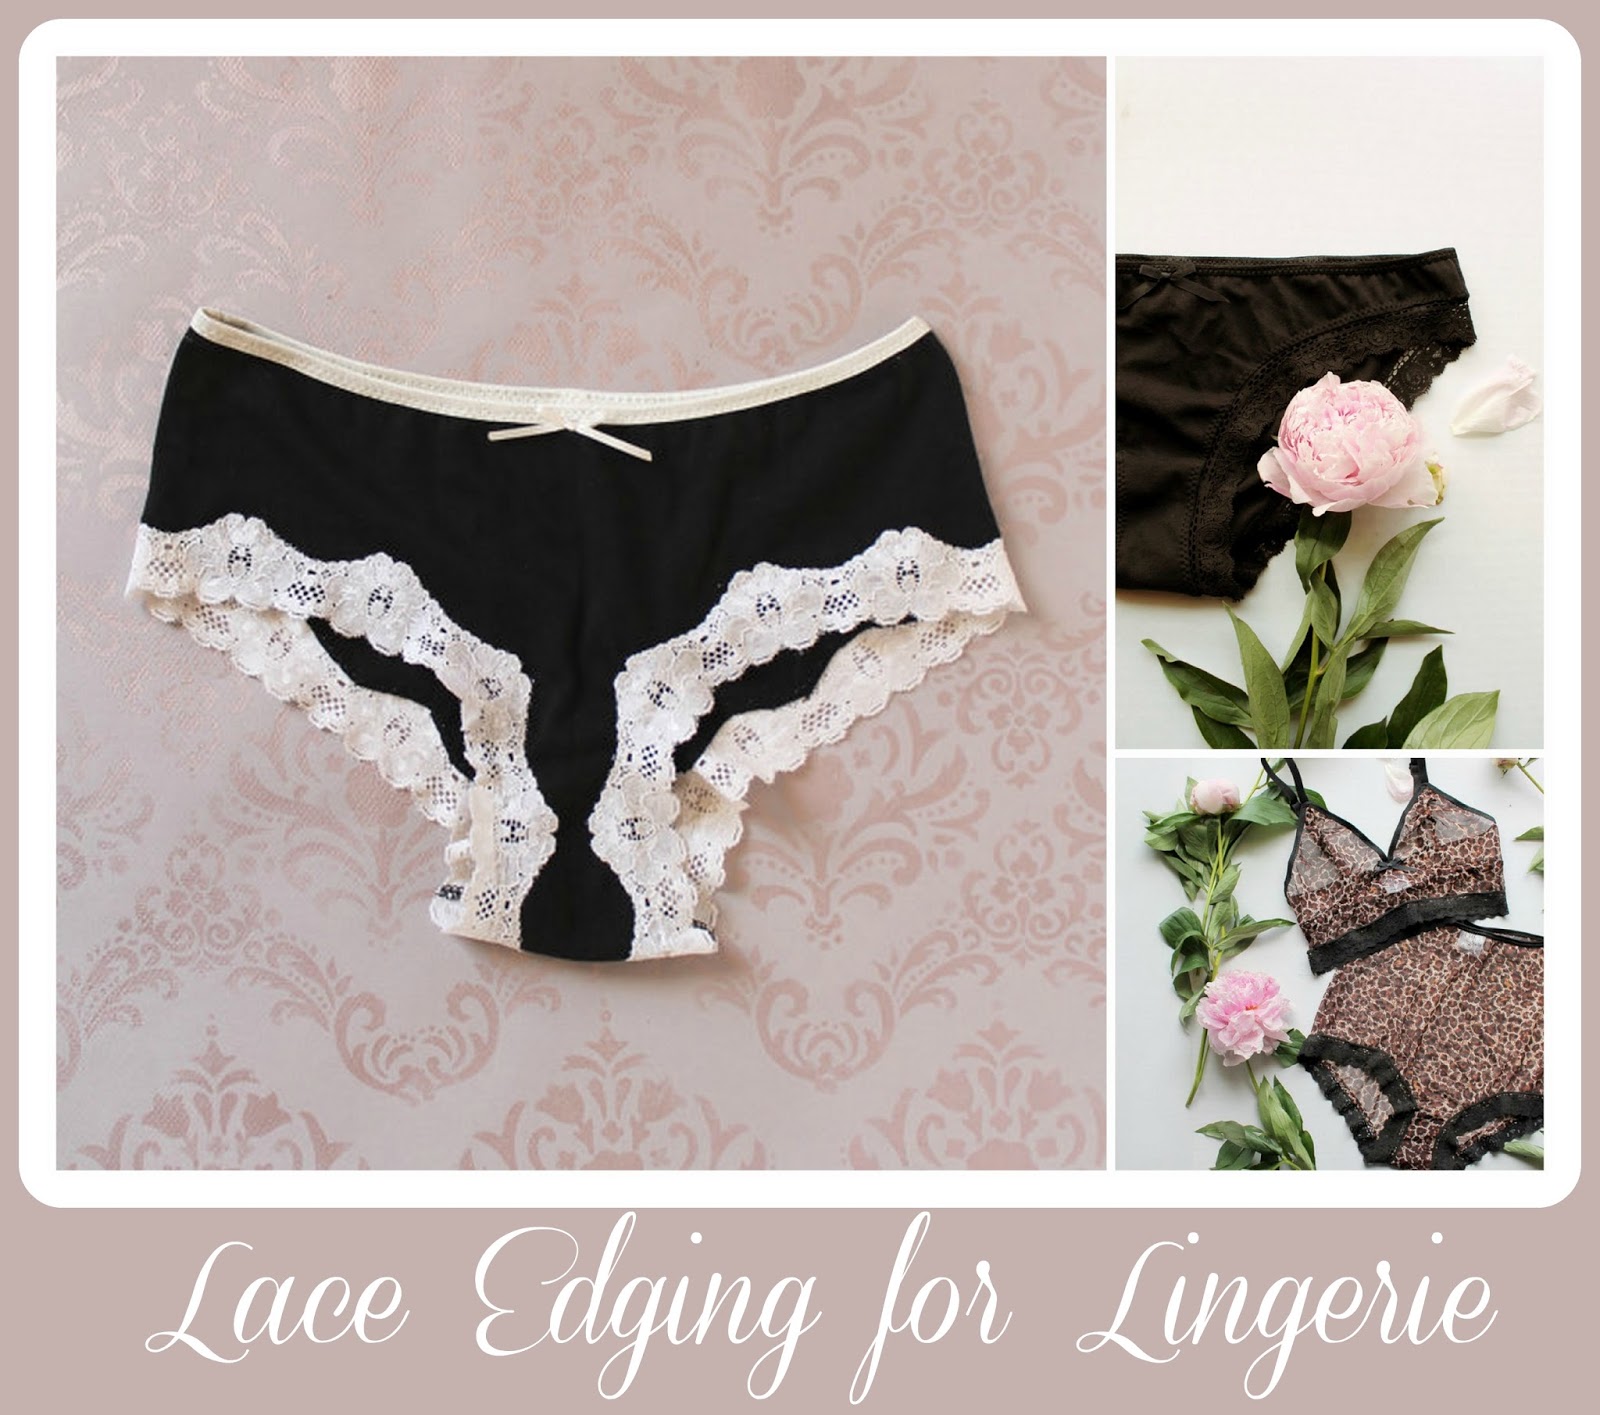
Sequin fabric can be really scratchy, so my goal is to sew these with as clean a finish as possible. This means hiding as much of the seam allowance between the lining and sequin fabric as possible.
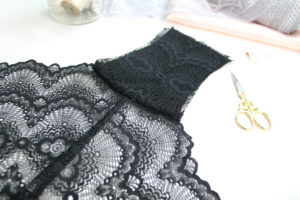
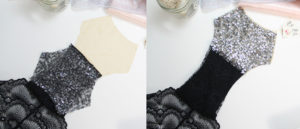
We’re going to start by sewing the gusset pretty much the same as in the pattern instructions. With the Panties Back sandwiched between the Lace Gusset Piece and Gusset Lining, stitch in place using a 1/2″ seam allowance. The Gusset should overhang the edge of the scalloped lace by about 1/4″.
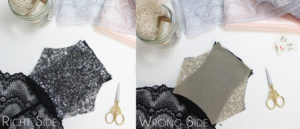
Folding the gusset forward, so that the seam allowance is encased between the lining and lace layers, pin the sequin fabric along the straight edge of the gusset, going through both the lace and lining layers of the gusset. The right side of the sequin fabric should be facing the right side of your gusset. You can baste this here, or just flip it over, and pin the lining along that same seam. Stitch using your sewing machine or serger.
That part was do-able, right?
Here’s the tricky to explain part:
With the right sides together, baste the Sequin Panties Front to the Panties Back down the “side seam” (I put that in quotes because it’s not technically at the side, but this phrase will do). The mesh lining is left loose at this point! Make sure your sequin fabric overhangs the scalloped edge of the Panties Back by 1/4″. This is important for the next installment.
Now that the seam is basted together, working from the inside of the garment, take your mesh lining and twist it so that the right side of the fabric is facing the wrong side of the lace, and pin in place down that newly basted seam. Stitch using a 1/2″ seam allowance.

Are you thoroughly confused?
I made a video to walk you through the process:
I would consider this an advanced technique, but in my opinion it’s a must-do for this style of panty. The video will show you how to sew the gusset, as well as both side seams so that the seam allowance is completely hidden between the lining and sequin fabric.
If you are really struggling with this method, just sew a regular seam. Treat the sequin fabric and lining as one, and pin it down the side seams so that the sequin fabric overhangs the scalloped edge by 1/4″, and finish with a zig-zag or serger.
In my opinion, this is the hardest part of the sew along, so once we’re done this, we’re in the clear!
Next up I’m going to show you how to finish the leg line with some elastic for stability, and how to finish the waist with fold over elastic.
2 Comments
Jenny Sandoval
January 20, 2017 at 8:55 amHey, Sarah! I’ve got a question.
So, I have a HUGE distaste for panties that have a back seam. For my Kim Kardashian butt, I’ll get a wedgie. If anyone’s reading this, stop laughing.
No pun intended, but can I butt the 2 intersecting back seams to make just one back piece? Would this work?
For brevity and to note comment on all your articles, here’s another query (as y’all say!) Let’s start from a little “guess what.” I have breast implants and although I was a C cup prior — and although all my bra patterns are made for knits — these suckers aren’t gonna be pushed down. Think about it: they’re solid bags of silicone, over-filled with saline. In other words, my knits may as well be wovens.
I did the FBA per your instructions and added 1/2″. I was wondering about another tute on your jasmine bra where the gal did an actual princess seam-like FBA. Would that be better for my situation?
I ask only because I have no crappy fabrics that will mimic the ones I’m using for my jasmine. I’m using a Hilco nude euro knit with TONS of 4 way stretch and I’ve bought some super stretchy galloon (spelling?) lace for another bra. I don’t want the double boob we all dread.
And yay, I bought the pj bottoms, chemise, another nighty, the longline bra and I’ve got my hand on the button for Claudia.
Goodbye, Victoria’s Secret overpriced grannie bras (I’m a hb 30″, fb 35″, under bust 29″, but remember my boobs are like big ole softballs!) I’m soooo happy I don’t have to special order anymore. And at 37, I’m really regretting my 19yr old former self for these breast implants!
sarah.e.norwood@gmail.com
January 20, 2017 at 6:45 pmHi Jenny,
If you are using scalloped lace for the back of the panties you cannot cut the back on the fold. It’s just impossible to do unfortunately. You could use a sheer mesh or jersey on the back. Those can be cut on the fold, and there are instructions in the Claudia Pattern on how to do so.
If you have a lot of ‘projection’ to your breasts, I’d suggest doing the FAB like I suggested AND exaggerate the curve by adding more depth at the apex.
I hope that makes sense and answers your questions!