

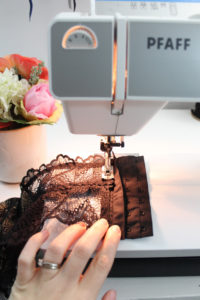
Now that the bra is basically assembled, it’s a great opportunity to “try it on”. Pull it on around you, like you normally would. It should fit snug with a small gap at the centre back where the closure will get applied. If you find you have some overlapping fabric, trim it back a bit.
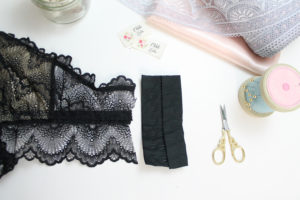
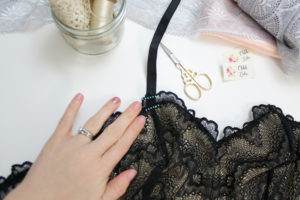
Make sure that both sides of your Centre Back are the same length. Cut a strip of hook and eye tape about the same length as your Centre Back edge. Cut it so that you have some space between the cut edge and the first and last hook/eye.
With the tape left open, baste the hook side of the tape onto the inside of the righthand side of the bra. The hooks should be facing towards the inside of the garment. You might want to use a zipper foot here. I find that my regular foot is sufficient. I just move my needle into the right-most position.
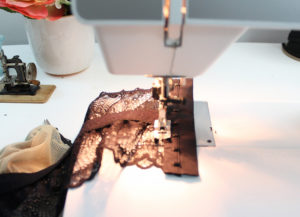
Once that is basted on, fold the tape so that it is encasing the raw Center Back Edge, and top stitch down.
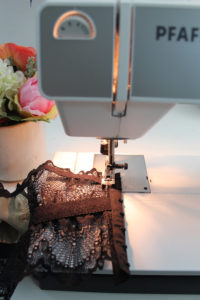
You do a very similar process on the other side with the “eye” side of the tape. Baste it on to the lefthand side of the bra so that the “eyes” are facing up. Then, fold the tape back down to bind that Centre Back Edge and top stitch in place. I use a tight, narrow zig-zag stitch to “seal” the upper and lower edge of the tape.
There are instructions in the pattern on how to assemble bra straps, but if you’re having any trouble, here is a step by step video:
Here is how I attach my bra straps:
I pin the strap so that the plush side of the strap is facing the inside of the bra. The strap is facing down. I do a row of stitching to anchor the strap in place.
I then fold the strap up, and to another row of stitching, with lots of back tacking to anchor it securely in place. This method hides the raw edge nicely so the strap area is not scratchy. I have sensitive skin, so if there is any slightly scratchy bit, I end up with a nasty rash. I’ve found this is the best way for me to finish the front strap.
On the back, I do a tight row of zig-zag stitching PLUS a row of straight stitching as close to the upper edge of the lace as possible, then trim back any excess strap elastic. I make sure to stitch the strap onto the elastic edging as that is the most stable part.
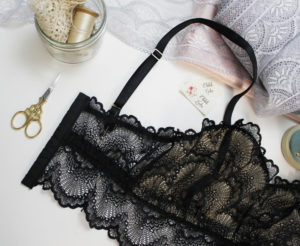
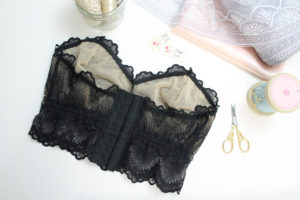
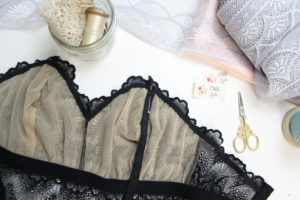
That’s it! That’s the Jasmine Bra, sewn in lace with a sheer lining and long-line band. Was there any step that you had trouble with that you need any more clarification on?
The next steps are going to be the Garter Belt portion. Just a reminder that I’ll be showing you two different garter belts. There’s the FREE Cora garter belt pattern, or the Mina Pattern (my personal fav!).
1 Comment
Chris Griffin
February 13, 2017 at 1:52 amThis was a lot of fun to make!