
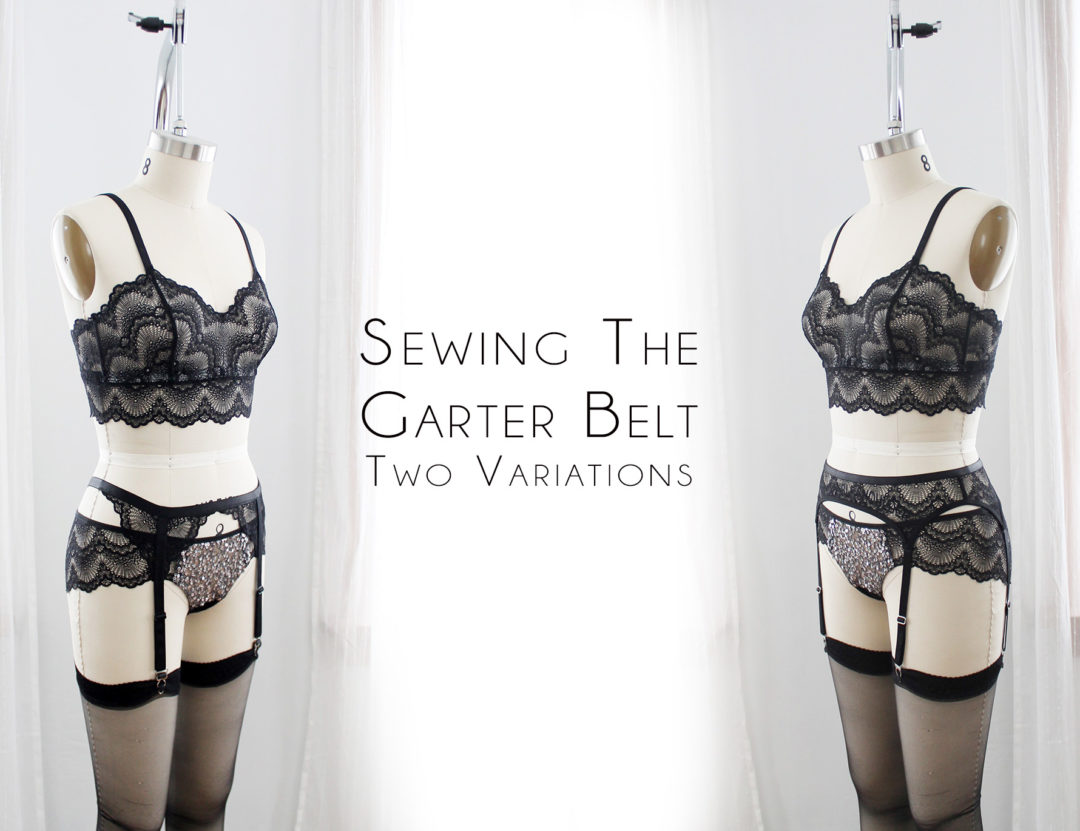

This post is going to wrap up the construction of our three-piece set. I’m going to go through some tips on both the Mina and Cora garter belts. The Mina is my favourite garter belt pattern. It’s got simple, classic lines. The Cora is available as a free tutorial, and is very quick to put together. There is also a paid version which comes with a few different variations.
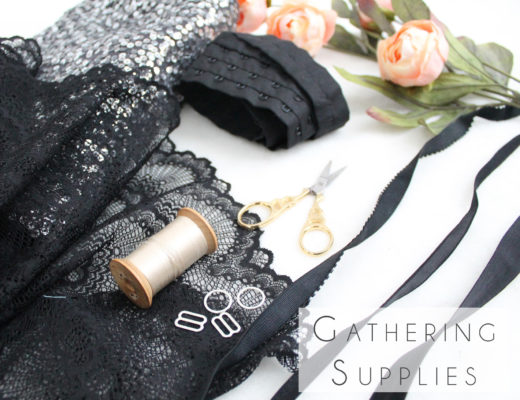
Which ever belt you choose, you’ll need to start by making 4 adjustable garter straps.
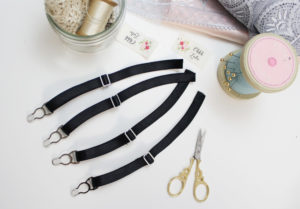
I’ve got a handy video on my youtube channel that will walk you through how to assemble these. It is basically the same as assembling a bra strap, except you use a garter clip instead of a ring.
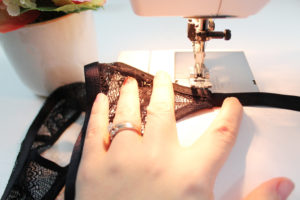
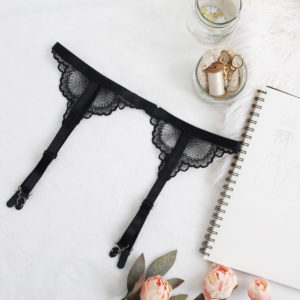
For my Mina Garter Belt, I used satin strap elastic along the waist band in stead of band elastic. Because there is 1/2″ seam allowance included on the waistline, I began by trimming that back by 1/2″
From there, I used a twin needle to attach the elastic directly to the right side of the garment. You could also use a tight zig-zag stitch. I like the way this turned out – it really coordinated it with the rest of the set.

I have a video on YouTube about sewing band elastic. While the video is about bras, the same techniques can be applied to the garterbelt.
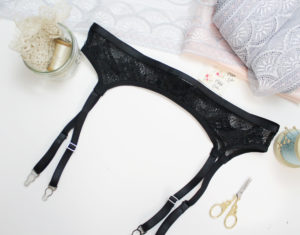
The assembly and finishing of this garter belt is quite easy. The lower curved edges get finished with fold over elastic. Don’t pull the elastic too tight here – it should basically just act as a binding.

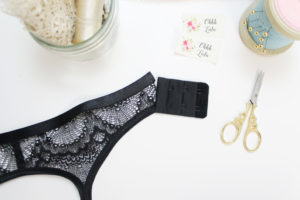
The back closes with a standard hook and eye closure.
Attaching the garter straps is quite easy. Place the strap against the strap extension with the right sides together. Stitch in place using a 1/2″ seam allowance. Be sure to backtack since this is a point of stress. Fold the seam allowance under, and top stitch using a tight zig-zag stitch, again being sure to back tack.

I find the Mina Garter Belt to be more flattering on my shape. I’m quite soft through the waist and hips, so this belt maintains a smoother line on me than the Cora does.
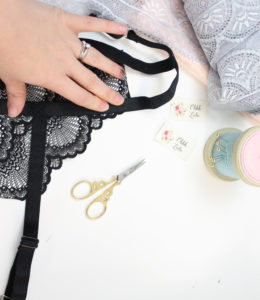
I’m not going to go into too much depth on the Cora Variation, since the tutorial for this style is available for Free Download.
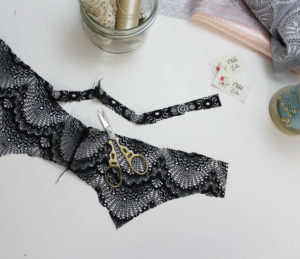
There is no scientific method to determine how big the lace insert should be. Simply place the garter belt over the lace and see what works best!
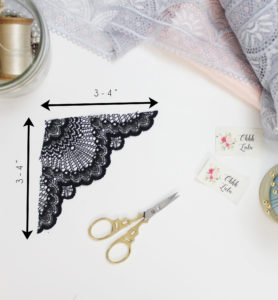
My lace triangles ended up being about 3.5″ long/high. This length was too long to work on the back because of how close the closure/adjustable portion is to the centre back, so I only did the lace on the front. However, if you were to make these smaller and/or sew the belt without the adjustable back, you could do the lace detail on both the front and the back.
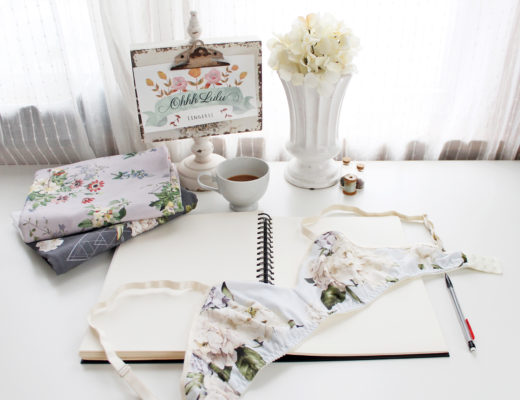
That’s it! Our three piece sets are complete!
If you’d like to share your make with me, please send me an email (sarah @ ohhhlulu.com) with your photos and any links, and I’ll share them in a round-up post!
Thanks for sewing a long with me.
No Comments