I’ve been in the lingerie-making business for EIGHT years. It’s actually hard to believe! It feels like just yesterday I was working two jobs, desperately hoping (and working my butt off) for Ohhh Lulu to catch on…
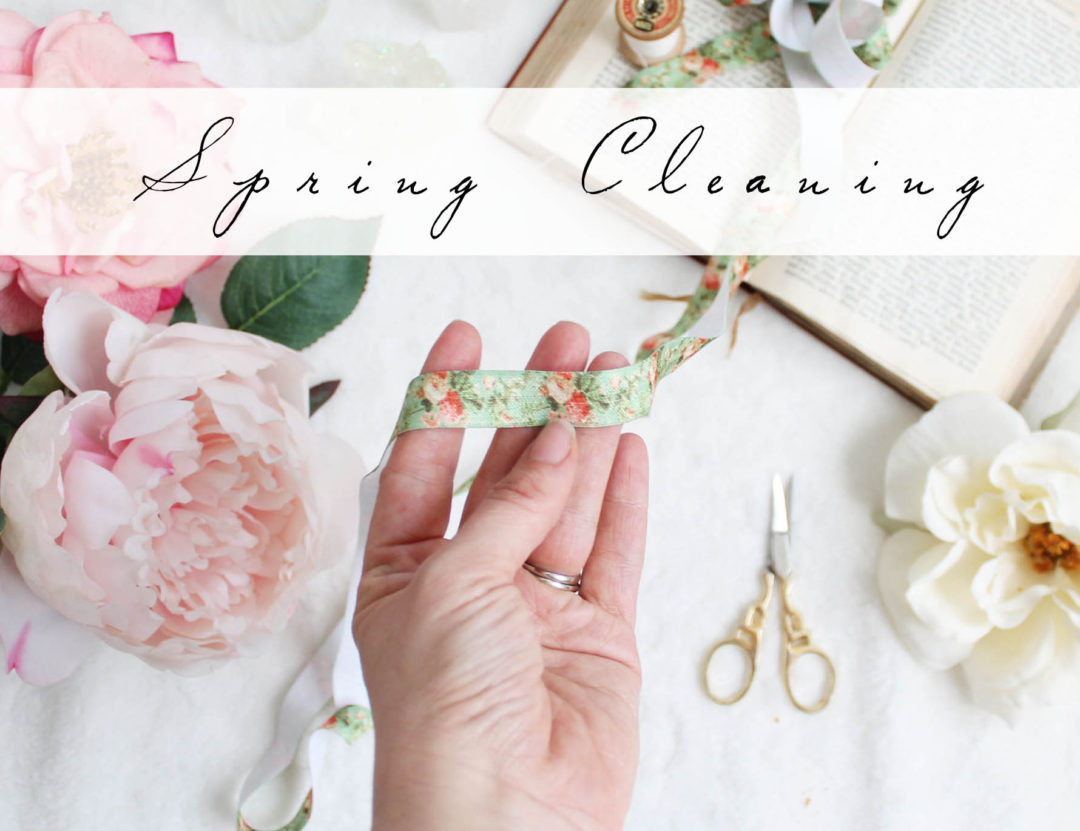
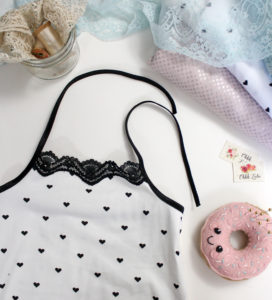
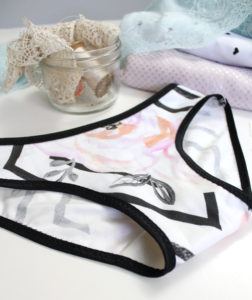
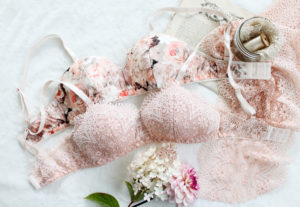
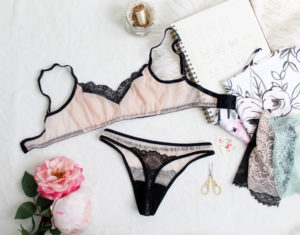
Over those eight years I’ve bought a lot of supplies. I live in a small town, so I do most of my supply shopping online. Sometimes I buy things that aren’t quite what I needed. I usually throw those into a box and wait and see if the need for them arrises…
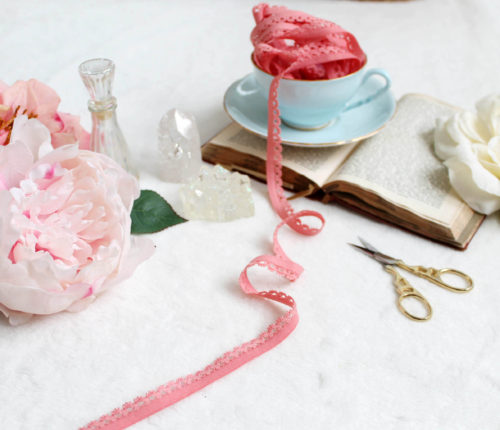
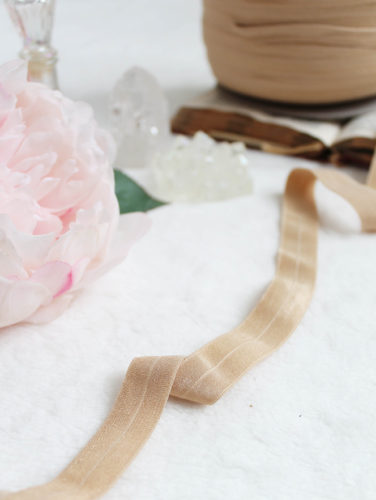
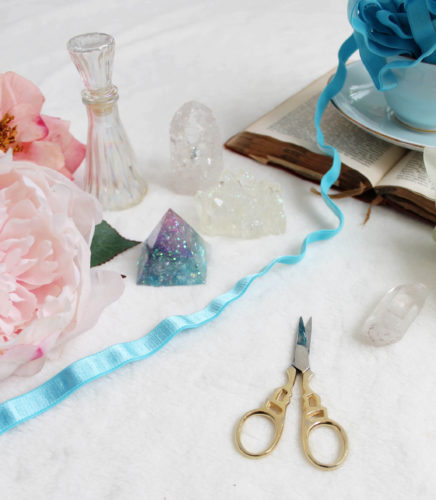
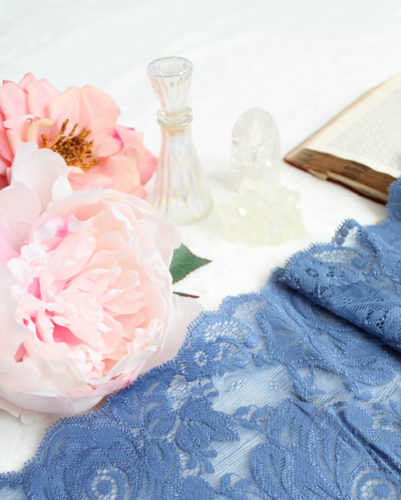
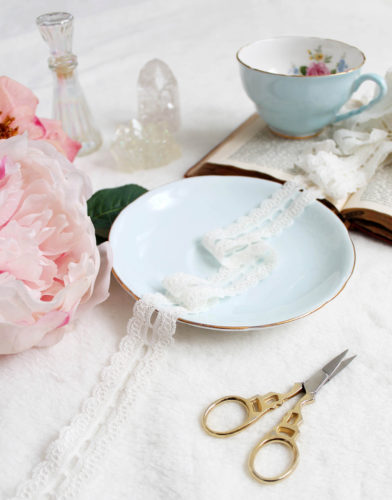
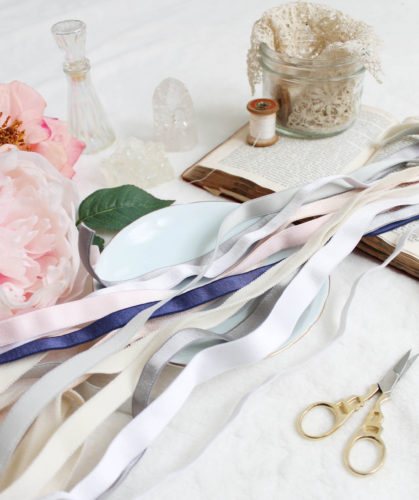
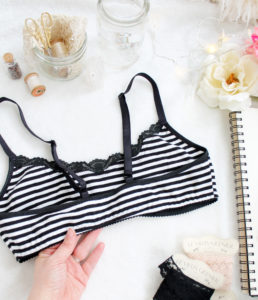
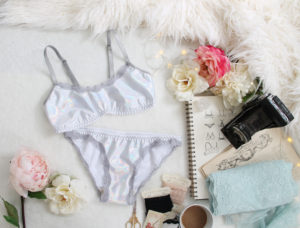
I finally decided to go through that box. This is just a small selection of what I have! If I have the time and energy, I may post some more.
I had a lot of fun photographing these items! Lately I’ve really gotten into UV Resin crafting, creating glittery faux-crystals (I’m actually prototyping some pattern weights), and I had fun using them in the background…
I posted all of these things last night and I know a few have already sold out, so get ’em while you can!
Oh, and one last thing! To celebrate the long weekend, I’m offering 15% off all PDF sewing patterns! Offer expires on Monday, May 21, Midnight. Discounts are already applied in my Etsy shop, but you can use coupon code LongWeekend15 if shopping directly here!
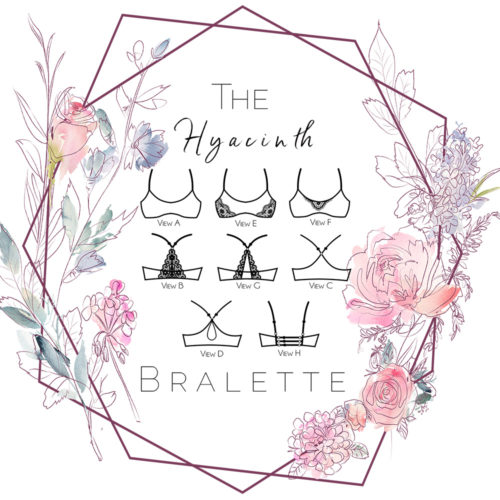
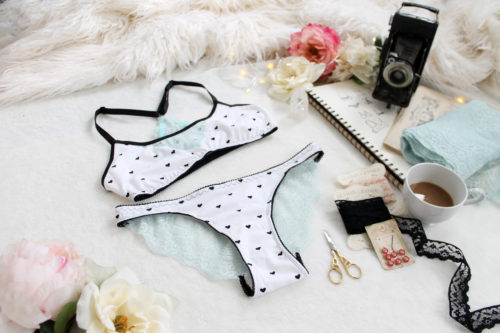
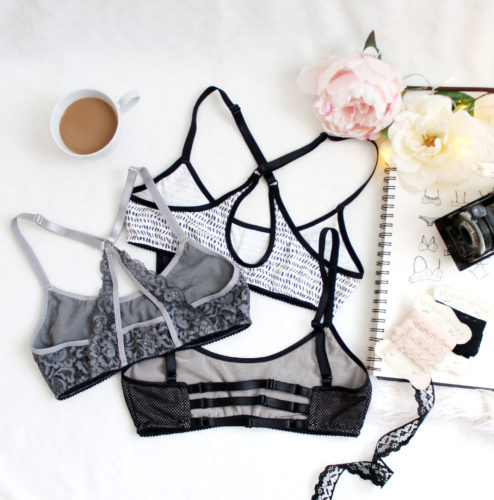
One of my favourite things to do with a pattern is figure out all of the different ways I can style it. The Hyacinth has such simple style lines that it really adapts well to many different variations!
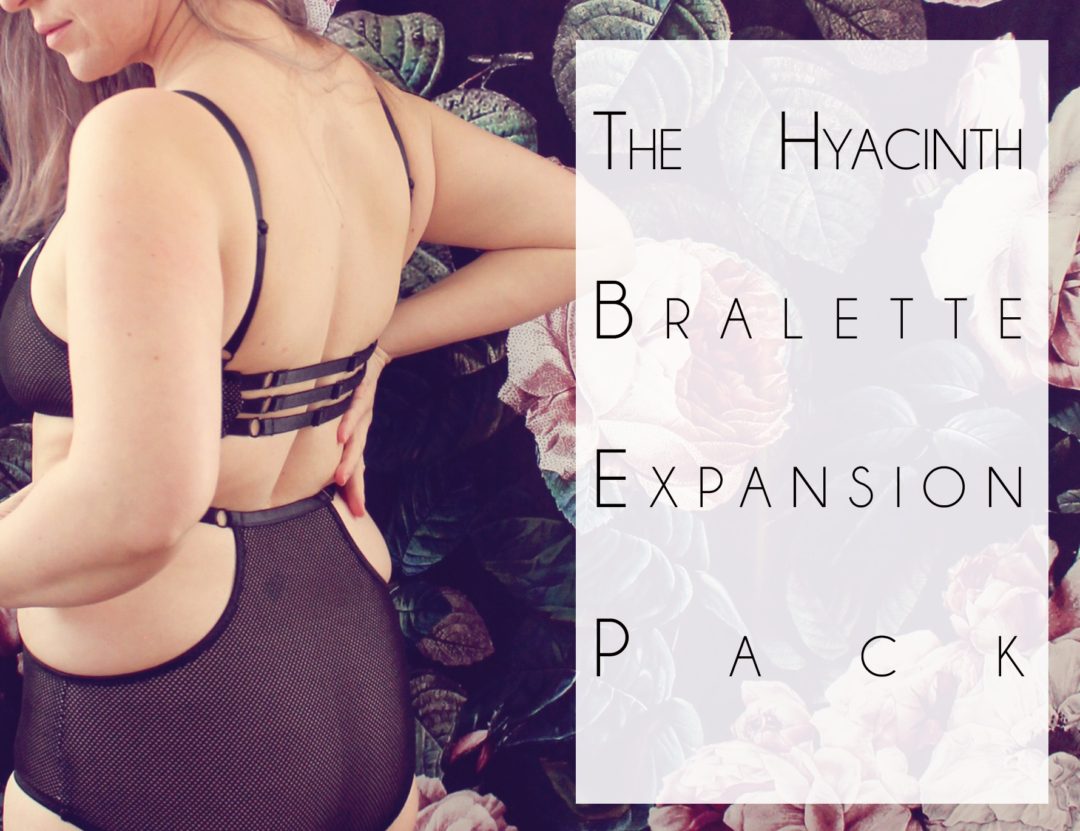
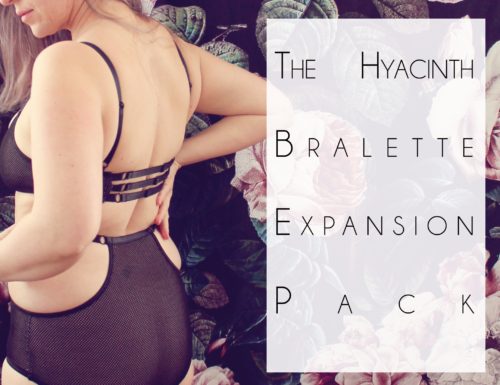
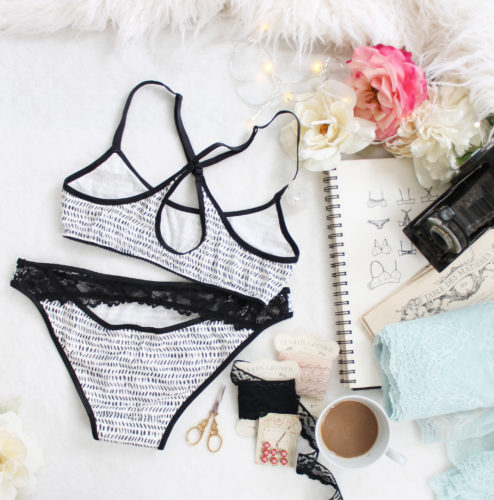
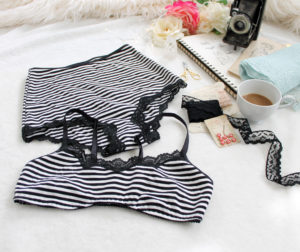
Today, I’ve released an Expansion Pack for the Hyacinthe Bralette Pattern. This Pack includes lace overlay pieces, several back variations, as well as in depth instructions, including how to finish the neckline with fold over elastic instead of lace.
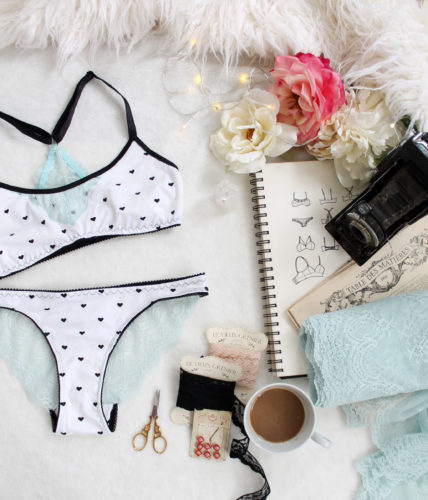
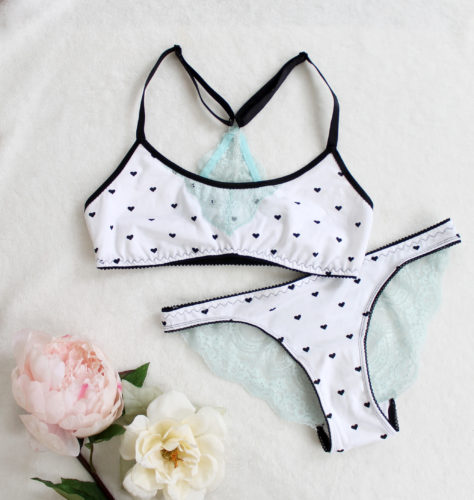
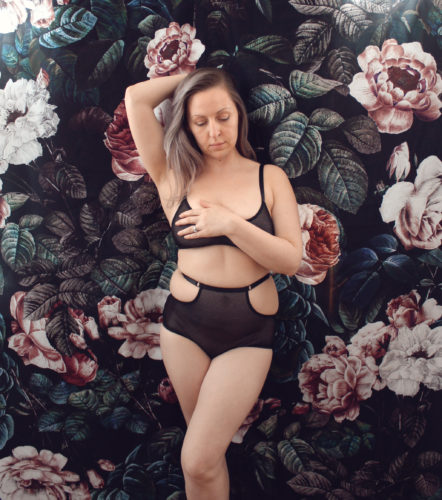
One of my surprise favourites is this keyhole cut out variation. I felt ho-hum about it when I was finishing up my first sample, but when I put it on, it just felt amazing to wear! It’s funny how designs can change based on how you feel in them. I paired this variation with my Justine Panties. I often forget how much I love this pattern. The minute I put this set on I felt like a million bucks.
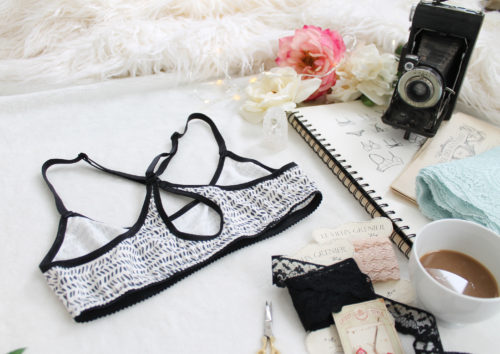
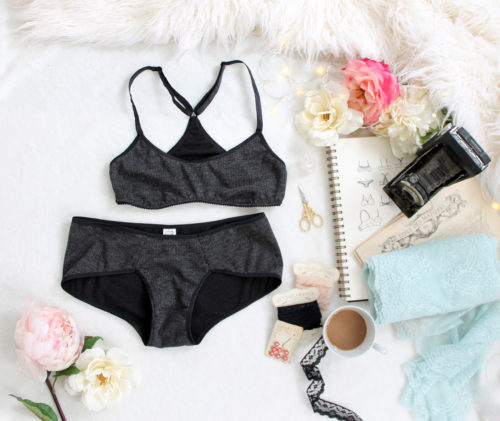
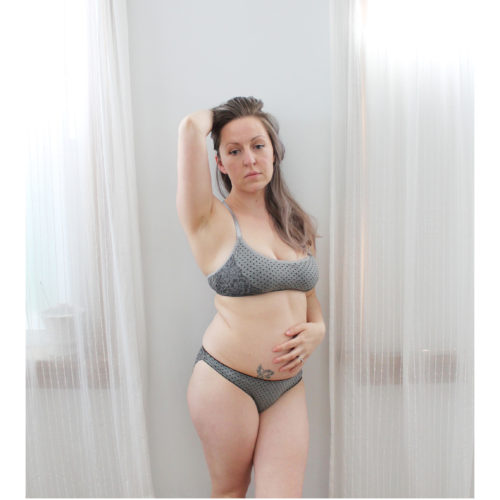
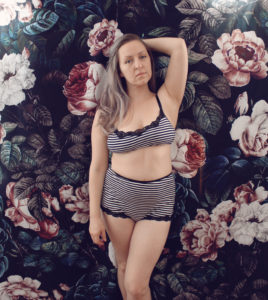
I also really love the simplicity of the plain racerback variation. It’s reminiscent of my Josephine Pattern, but with the plain front. I really like how this style of back feels. For me, its super comfortable and conforms to the curves and angles of my back. I paired this version with a simple pair of Claudia’s.
The Celeste Panties make a great pairing with the Hyacinth Bralette. They are my go-to for everyday undies.
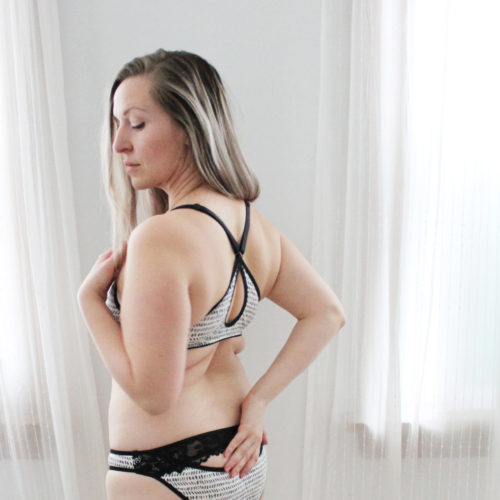
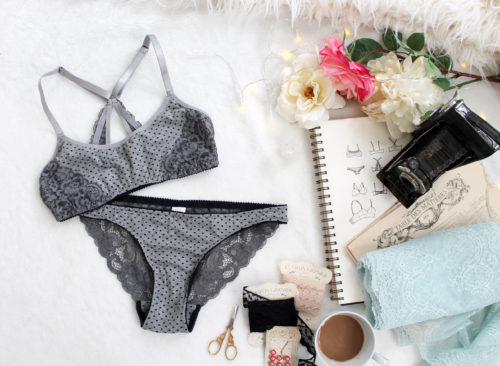
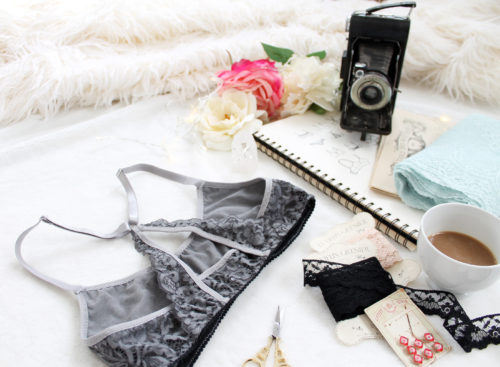
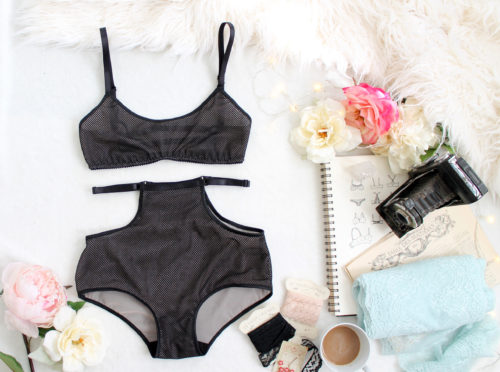
Without a doubt, though, this variation is my favourite. It’s the most forgiving and gives a great fit due to the adjustable nature of the strapping.
I decided to pair it with my Ava Panties, and sewed both pieces out of a mini-fish net. The inner goth in me loves it so much!
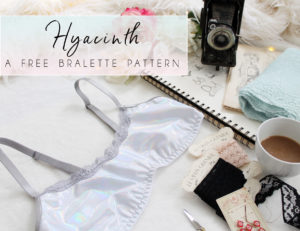
I have a new pattern! And the best part is, it’s FREE!
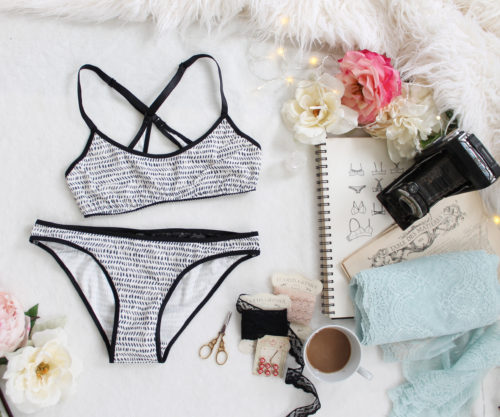
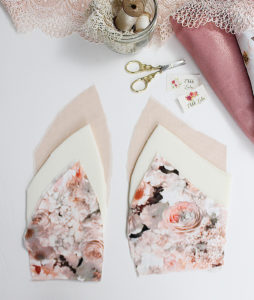
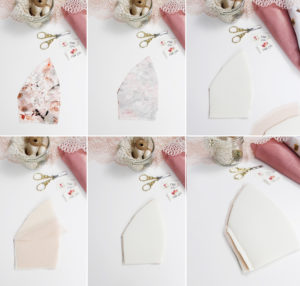
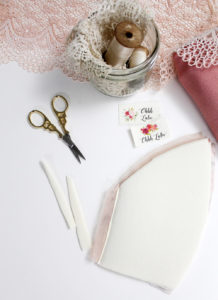
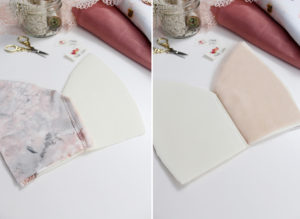
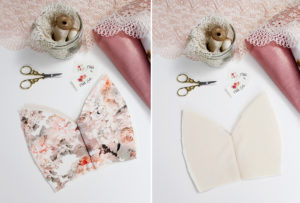
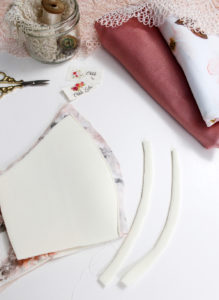
The Hyacinth Bralette is a super simple pattern. It’s just two pieces and only requires a small amount of fabric, making it the perfect scrap buster. If you are new to sewing, with a bit of experience working with knits, this is the perfect project for you. If you’re a more experienced sewer, the Hyacinth will be a quick yet rewarding sew.
I’ve posted two videos on YouTube. One will walk you through how to alter the Hyacinth Bralette for a larger cup size (a D+), and the other walks you through the general construction. You can check those out here.
This bralette isn’t designed for support. It’s meant to be a light garment, ideal for smaller cup sizes, or as lounge wear. I think it would also make a great bikini top.
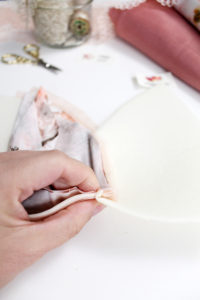
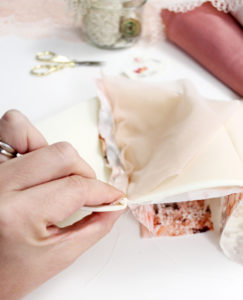
The instructions provided with the pattern will walk you through how to add lace trim to the neckline, band elastic along the lower edge, fold over elastic around the side and back upper edges, as well as how to sew adjustable straps. This pattern is developed for stretch knits. I like something with about 5% spandex for stretch and recovery.
I’ll be releasing an expansion pack for the Hyacinth Bralette very soon which will include several back variations as well as lace overlay options. I’m super excited about it and have had so much fun working on all of the samples….!
Get your free copy of the basic Hyacinth Bralette here. And stay tuned for the expansion pack!
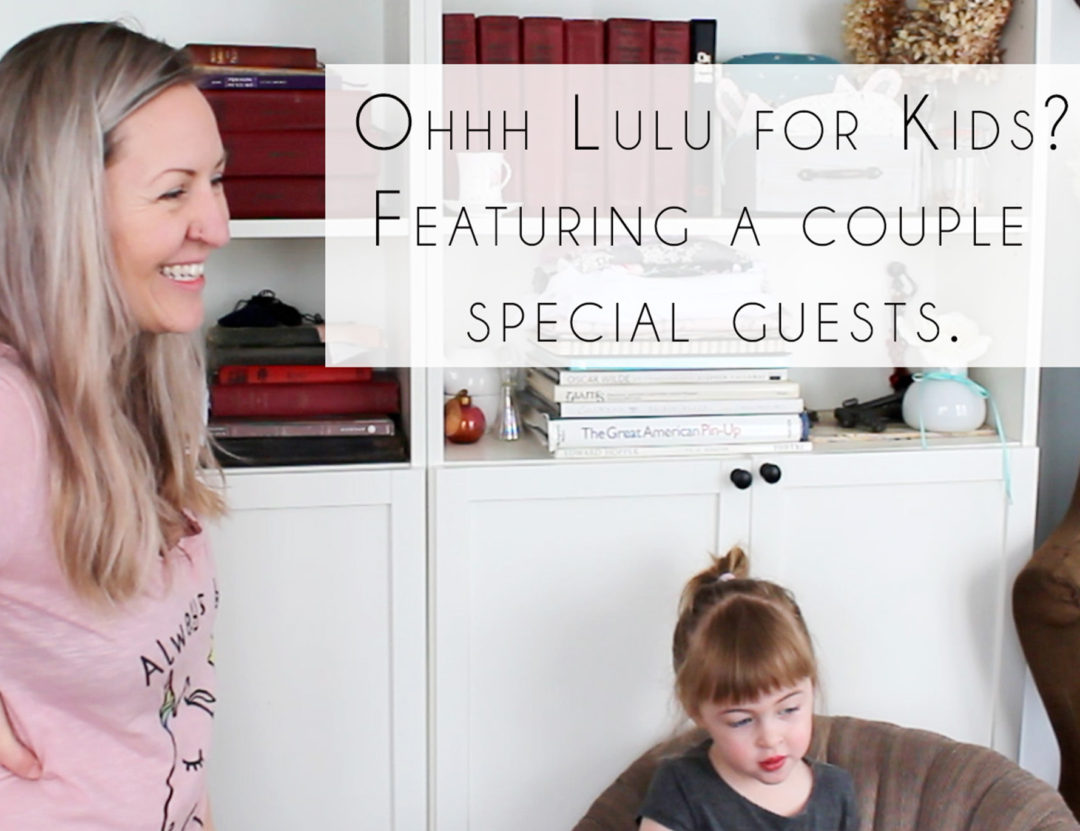
I reluctantly decided upon parenthood. I was always more the “cool aunt” type but I’ve got to admit, I love being a parent and 3 year olds, despite their tantrums and attitude, are pretty awesome. One of the things I love most about having a kid, is sewing for kids!!!
When Izzy started potty training (glad that’s a thing of the past), I started making her her own undies (naturally). A couple years ago for Christmas, I made her up a bunch of matching cami and underwear sets. She really loved them and I did too. So recently, I decided to dive into the world of childrens pattern grading. I have ZERO experience grading for kids, so this was an endeavour for me!
The patterns aren’t quite ready yet, but they will be soon. I wanted to give a little sneak peek of what you can expect.
Izzy is kind of (ok, seriously) obsessed with YouTube videos. The other day she was quietly playing by herself, chatting away, when I caught her say “Let me know in the comments!” She was acting out her own little video. What a ham. So I asked her if she wanted to co-host one of mine, which she did. So, here it is. We talk about chickens. Izzy loves chickens. Our new puppy Leah also makes a guest appearance.
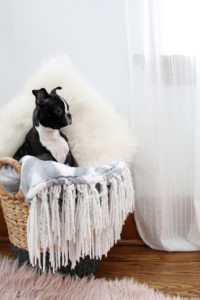
Speaking of puppy, look at her! I took a few photos a few weeks ago and she has already changed so much! Her ears are entirely pointy now and she’s getting quite the little personality. She’s a snuggler, but a bit bossy around Oliver. I’m looking forward to starting training classes with her soon.
I’ve had lots of people message me to see if I had a facebook group for my patterns… so I’ve finally made one!
This is a private group. I want this to be a warm, welcoming, body positive environment where we can all feel comfortable sharing our intimate makes. This can also be a place where we all can learn from one another.
Don’t be afraid to ask questions… no matter how simple it may seem, everyone starts somewhere.
I’ll be contributing a couple times a month and have so many ideas about topics I’d like to cover. If there is anything specific you would ever like me to cover, please let me know in the comments for via email! I can’t always reply to every message I get, but I do read every single one.
Nothing will change over here! I’ll still be bringing you new tutorials, hacks and inspiration through my own blog, but Craftsy will be a great sewers resource!
Happy Halloween, everyone! It’s one of my most favourite times of the year. I love the costumes, scary stories, horror movies, candy, crisp fall air, the crunch of leaves underfoot… It’s just the best!
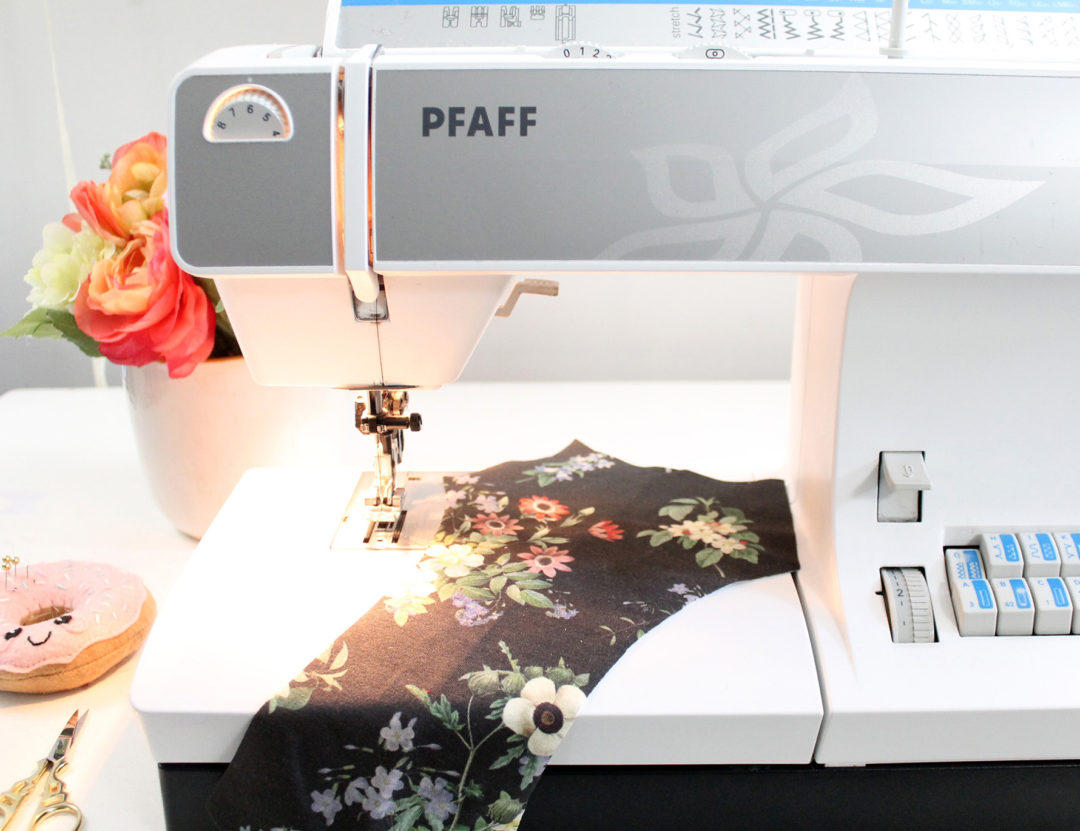
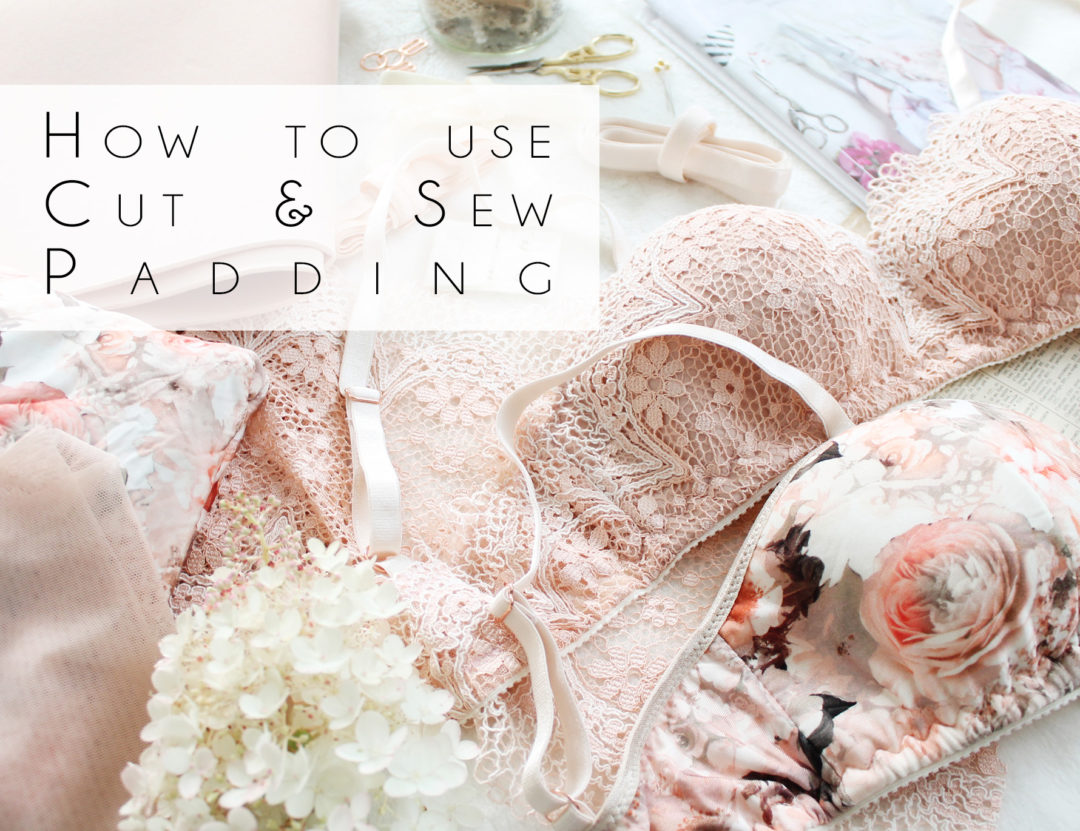
Way back when, I wrote up a tutorial on padding the Jasmine Bra with balconette style pre-formed cups. Over the last few months, I’ve been experimenting with a new method, using cut and sew foam.
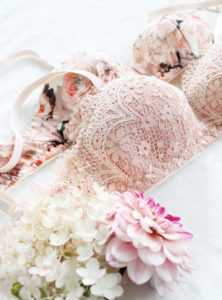
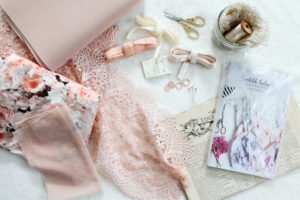
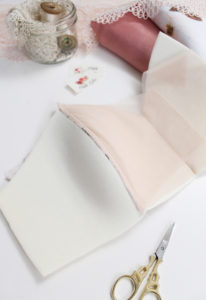
Cut and sew foam is available through most bra making suppliers. There are lots of options, but I recommend Bra Makers Supply in Canada or Arte Crafts in the US. Cut and sew foam is quite thin, maybe 1/8″ or so thick. It has some 2-way stretch. Adding foam to your soft bras will add a little bit of body and structure, as well as a little extra coverage if you are concerned about visible nipples. My personal preference is still for non-padded bras, but this is a nice option if the things above are of concern to you! Or, if you just want to try something new. I will say, I’ll be adding this to my bikini top sewing repertoire, but I’m still not sure padded bras are for me.
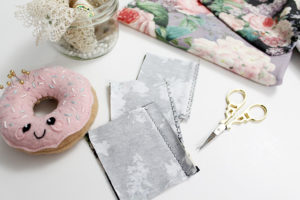
Aside from the foam, you won’t need any other special supplies – just what it outlines in the pattern for a lined bra.
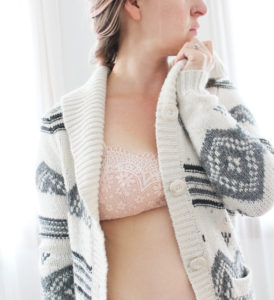
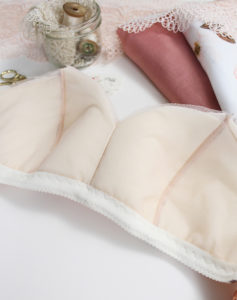
Feeling cozy!
The method for assembling the bra with foam padding is essentially the same as a lined Jasmine. The main difference comes with how we will finish the interior seams.
Instructions:
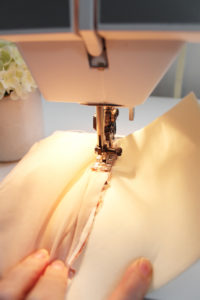
Begin by cutting out your pieces. Cut the bra exactly as you normally would, but also cut out the cup pieces in cut and sew foam.
Place the Centre Front Self/Exterior pieces right side together, aligning the CF seam. Place a piece of foam over top of that, then the lining pieces with the right sides facing each other. Finish with the final piece of foam. Stitch together down the centre front seam.
Trim back both pieces of foam as close to the stitching line as possible.
Open the Front up, separating one half of the foam. With your fingers, press the seam allowance towards the foam.
Using a zig-zag stitch, top stitch the seam allowance to the foam. When your needle “zigs” to the left, it should just catch that little bit of foam left in your seam allowance. The idea here is to flatten the seam, and in addition, the zig-zag stitching almost acts as an understitch, helping the lining and exterior fabrics fall into place.
Trim back the seam allowance as close to the stitching line as possible and open the Centre Front pieces.
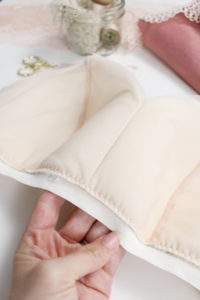
To assemble the rest of the cup, place the Side Front Self/Exterior against the Centre Front curved cup seam so that the right sides are facing. Place the Side Front foam against the wrong side of the Side Front Self. Flip the garment over, and then place the lining down the curved seam, sandwiching the Centre Front between the Side Front Self/Foam and Lining. Stitch together.
Once again, trim back both pieces of foam seam allowance as close to the stitching line as possible.
Fold the seam allowance towards the Side Front Foam, pushing the Side Front self and lining towards the centre front.
Just like you did with the centre front seam. Zig zag stitch the seam allowance to the Side Front foam.
Trim back the remaining seam allowance as close to the stitching line as possible and flip the Side Front self and lining over the foam.
Attach your Back Band pieces as indicated in the pattern instructions and sew on the band elastic. It is very important that you trim any excess fabric beyond your band stitching line back to allow the bra to fold under properly.
Top stitch the band elastic in place. Be careful here, it gets quite thick. Go slowly and take your time! Finish the upper edge with Fold Over Elastic as outlined in the instructions, and complete the bra with a back closure and straps.
I would say this is more of an “advanced” tutorial. It can be quite tricky to get all of the layers to line up properly. That is definitely the most challenging part. Getting the fit just right is also a little more of a challenge because the foam will limit the vertical stretch of the bra, which tends to be more of an issue for the DD+ crowd.
If you prefer video format, I’ve uploaded a quick tutorial on how to add foam padding to the Romy Bra:
… And how to add padding the the Lace Jasmine Variation!
In my younger days, I wore thongs a lot more. It was the style of the times. As I’ve “matured” I’ve replaced most of my skimpy thongs for more comfortable (still pretty) styles. That’s not to say that thongs aren’t comfortable – they definitely can be! And they serve a practical purpose…
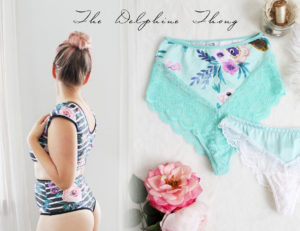
A High Waist Thong may not be super practical for every day wear, but hot damn… it looks great on. I was skeptical when I first started getting requests for a high waist thong, but I thought I’d try it out. I was very pleasantly surprised!
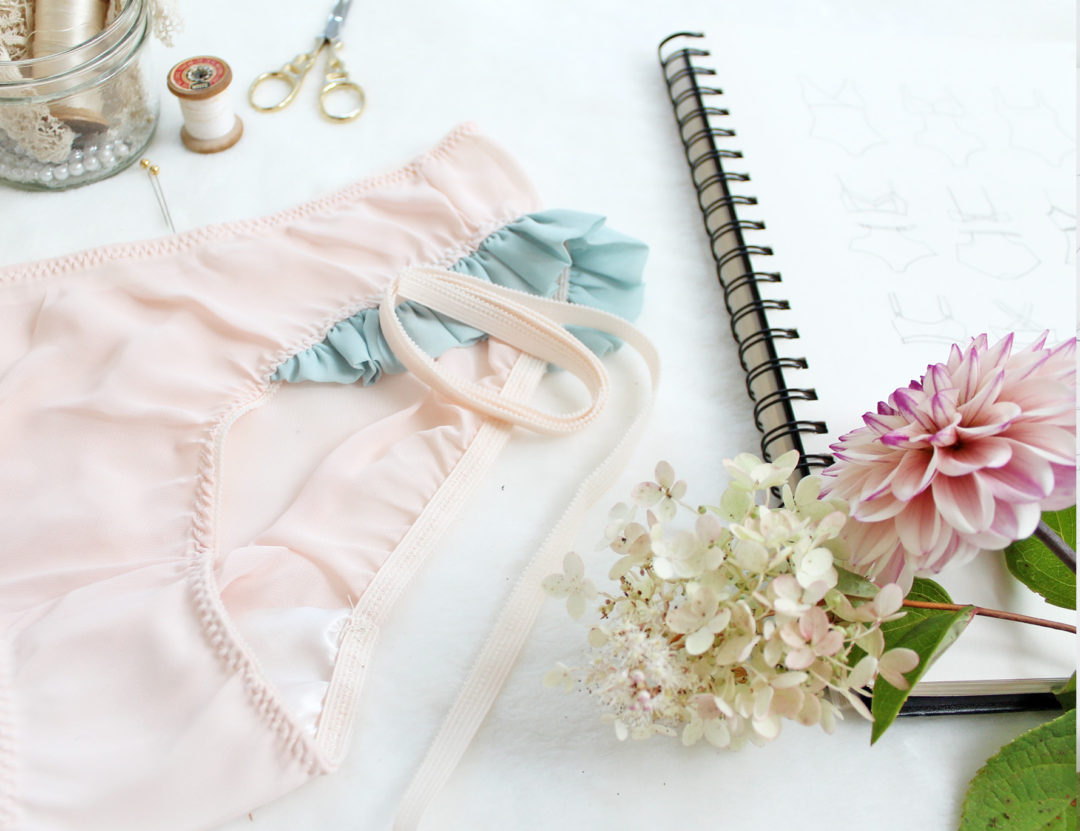
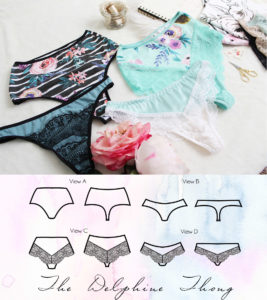
The Delphine Thong
As I was developing this pattern I wanted to come up with a way to use scalloped stretch lace on a high waist thong – that’s View C of the pattern. It’s a little bit Ultimate Lace Panties mixed with a little Ava Panties and I’m really happy with how it turned out. The style lines allow you to mix and match colours and fabrics, one of my favourite things to do with a design!
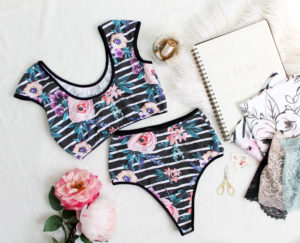
I made a few different sets as I was sewing up samples, pairing the basic high waist version with my Natalie Crop Top, then I made some bottoms for a Romy Bra and Jasmine Bra (from my Valentine’s Day Sew Along) from my own lingerie drawer.
Ugh… I’m sick! Isabel came down with a cold late last week and I seem to have gotten it. In a way, it’s good timing to be laid up with a sore throat and aches and pains since I have a lot of computer work to do on the couch…
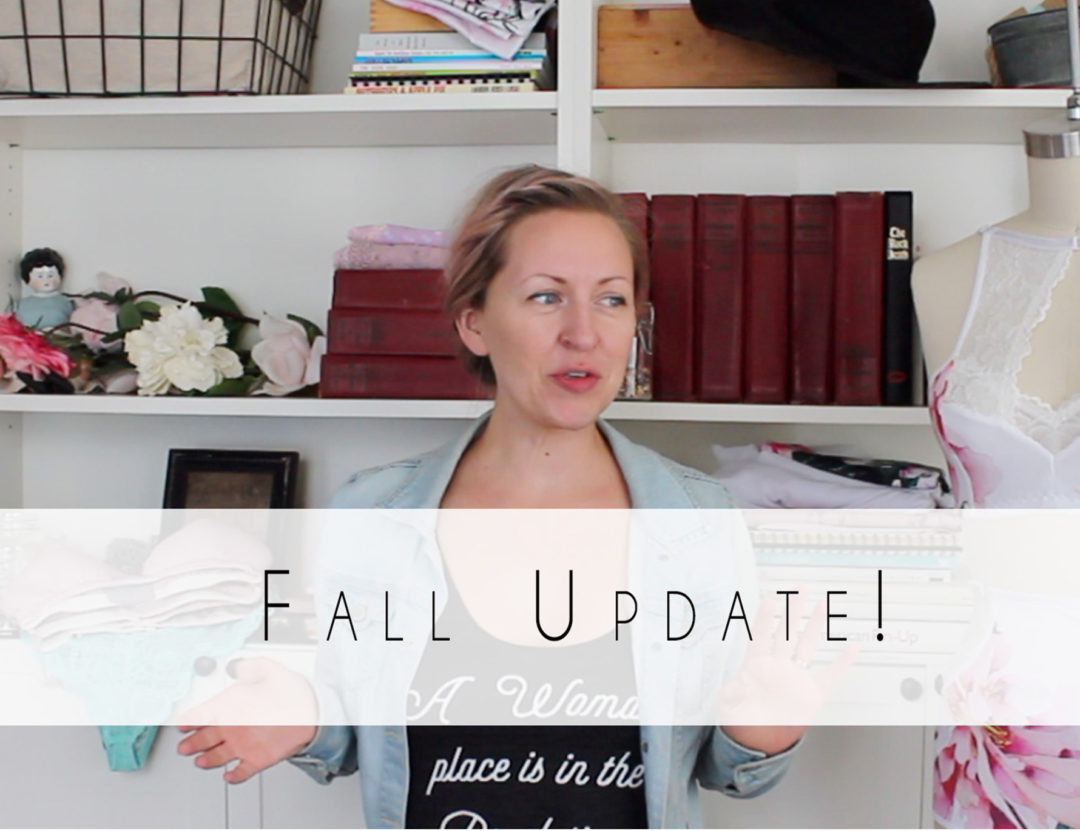
I posted a new video on my YouTube Channel last week with some Ohhh Lulu related updates. I’ll be finishing up most of what I talked about here over the next couple of days…
Summertime tends to be a little quieter work wise, which is nice because life tends to be a little busier around that time of year. Dan had a couple of weeks vacation. We didn’t really do much, just a few day trips and did some work around the house.
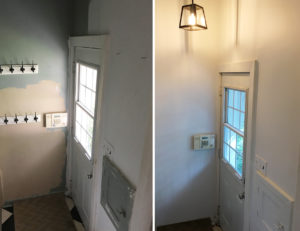
When I first saw our house I fell in love right away… You know how when you first start dating someone, you see all of their wonderful aspects, but it’s not until you’ve been dating for a while that you start to see their flaws? That happened with this house (ha!). I saw all of the wonderful bones of the house and some how didn’t notice until I moved in that the exterior was only half painted. Every single wall was half painted. It was like someone started painting all of the easy bits, then when the job got too high to reach, they stopped.In my defence, I was juggling a 1 year old, a business, and a pending nervous breakdown (only semi-joking). The side entry and kitchen also had some water damage, which was repaired by the seller prior to closing. Big mistake. The person who did the repair did a really crappy job. We’ve stayed dry, but the drywall job in the side entry was terrible. There were huge gaps between the door frame, baseboards and milk door that no one bothered filling and the side entry was left three different colours. It took me a good portion of a morning to fill and patch that area and we ended getting the painters who did the exterior of our house to paint this area white. The ceiling in this area was super high and would have been difficult to do on my own.
So many things went wrong with the closing of this house that I’m still irritated about. Our lawyer totally screwed up our closing and was unhelpful, the house was filthy (like disgusting filthy… like a pile of rotting food in the backyard, a tampon under the stove filthy), there was junk left everywhere despite stipulations in our purchase agreement… We ended up renting a dumpster over the summer to get rid of all of the previous owners old junk which cost us almost $400. SO frustrating! I think what upsets me more than the additional expenses we incurred, was the TIME it took to address all of the things went wrong… I wish I had’ve been in a better mental state when we first moved in because I should have sued to cover the extra costs we encounter… However, I’m super happy with the house now. I just am having a hard time letting go.
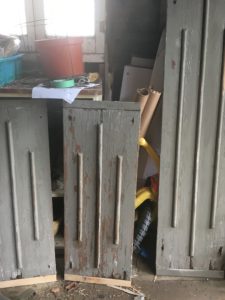
We had the exterior of the house painted white (actually a very very pale grey), and used a darker grey on the shutters. The wood shutters were in pretty rough condition, but with a little TLC, a lot of caulking and fresh paint they have a little more life left in them! I also painted the front door bright blue for a pop of colour. I love how it looks, fresh and modern colours on a traditional storybook cottage base. We also put up a new, more modern light fixture. We’re supposed to be having new soffit and fascia installed as ours is in very rough shape but I haven’t heard boo from the company we hired for a little while… So hopefully that is still happening!
Our poor shutters pre-painting.
Painted and pretty!
Isabel started at a new daycare this month. I was so sad to hear that her previous daycare provider was going back to work for a local school board. We had such a great connection with her and the kids there! But we were lucky to find someone else who is close by, and happens to have some chickens, which (aside from horses and dogs) are Isabel’s favourite animal (a frequently heard phrase in our house is “Mom, let’s talk about chickens.”). Isabel is a pretty amazing kid. She is so easy going and flexible as far as changes go. She’s adapted so well to the new daycare. I, on the other hand, have a hard time adjusting to changes like these and find myself missing the old daycare! Mostly, my morning chats with her provider…
We’ve also started a few other things this month. Isabel went for her first swimming lesson two weeks ago, and is starting gymnastics at the end of the month. I’m loving this stage of parenthood. She is developing her own interests and her personality is really coming out. She is sweet and funny, loves horses and dancing, but also likes to fix things with her dad and get dirty in the garden. I’m amazed every day by how smart and well spoken she is for an almost-three-year-old. She just is the light of my life.
Practicing her dance moves.
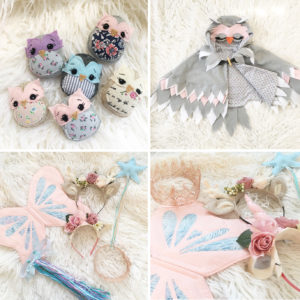
This summer I’ve made time for some fun crafty things too. I made little owl “good bye” gifts for the daycare kids, as well as an owl costume for Isabel. I also made up a whole bunch of dress up items, like butterfly wings, unicorn and deer headbands and crowns for Isabel and a friend of hers. I love making these little things.
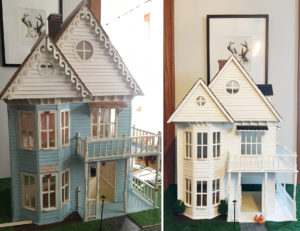
Lastly, I’ve got a new obsession… a dollhouse! This dollhouse was made by my uncle for my cousin Amanda years ago (like 20 years or so). After he passed away, it got stored at my parents house where it had a bit of an accident (got knocked over). I couldn’t bare to see it go to waste so I stored it in my attic for another 5 years. A few weeks ago I dragged it downstairs, got out some glue and started putting it back together. I took off the gingerbread trim, added a plain fascia and fresh paint. I did a bit of “landscaping,” made the first floor open concept, and am waiting on new flooring to arrive. I look forward to working on this every day! It has been so much fun and a nice change of pace from lingerie.
So, it’s been a busy summer. I’m looking forward to cooler weather and longer nights.
We use cookies on our website to give you the most relevant experience by remembering your preferences and repeat visits. By clicking “Accept All”, you consent to the use of ALL the cookies. However, you may visit "Cookie Settings" to provide a controlled consent.
This website uses cookies to improve your experience while you navigate through the website. Out of these, the cookies that are categorized as necessary are stored on your browser as they are essential for the working of basic functionalities of the website. We also use third-party cookies that help us analyze and understand how you use this website. These cookies will be stored in your browser only with your consent. You also have the option to opt-out of these cookies. But opting out of some of these cookies may affect your browsing experience.
Necessary cookies are absolutely essential for the website to function properly. These cookies ensure basic functionalities and security features of the website, anonymously.
Cookie
Duration
Description
cookielawinfo-checkbox-analytics
11 months
This cookie is set by GDPR Cookie Consent plugin. The cookie is used to store the user consent for the cookies in the category "Analytics".
cookielawinfo-checkbox-functional
11 months
The cookie is set by GDPR cookie consent to record the user consent for the cookies in the category "Functional".
cookielawinfo-checkbox-necessary
11 months
This cookie is set by GDPR Cookie Consent plugin. The cookies is used to store the user consent for the cookies in the category "Necessary".
cookielawinfo-checkbox-others
11 months
This cookie is set by GDPR Cookie Consent plugin. The cookie is used to store the user consent for the cookies in the category "Other.
cookielawinfo-checkbox-performance
11 months
This cookie is set by GDPR Cookie Consent plugin. The cookie is used to store the user consent for the cookies in the category "Performance".
viewed_cookie_policy
11 months
The cookie is set by the GDPR Cookie Consent plugin and is used to store whether or not user has consented to the use of cookies. It does not store any personal data.
Functional cookies help to perform certain functionalities like sharing the content of the website on social media platforms, collect feedbacks, and other third-party features.
Performance cookies are used to understand and analyze the key performance indexes of the website which helps in delivering a better user experience for the visitors.
Analytical cookies are used to understand how visitors interact with the website. These cookies help provide information on metrics the number of visitors, bounce rate, traffic source, etc.
Advertisement cookies are used to provide visitors with relevant ads and marketing campaigns. These cookies track visitors across websites and collect information to provide customized ads.


