
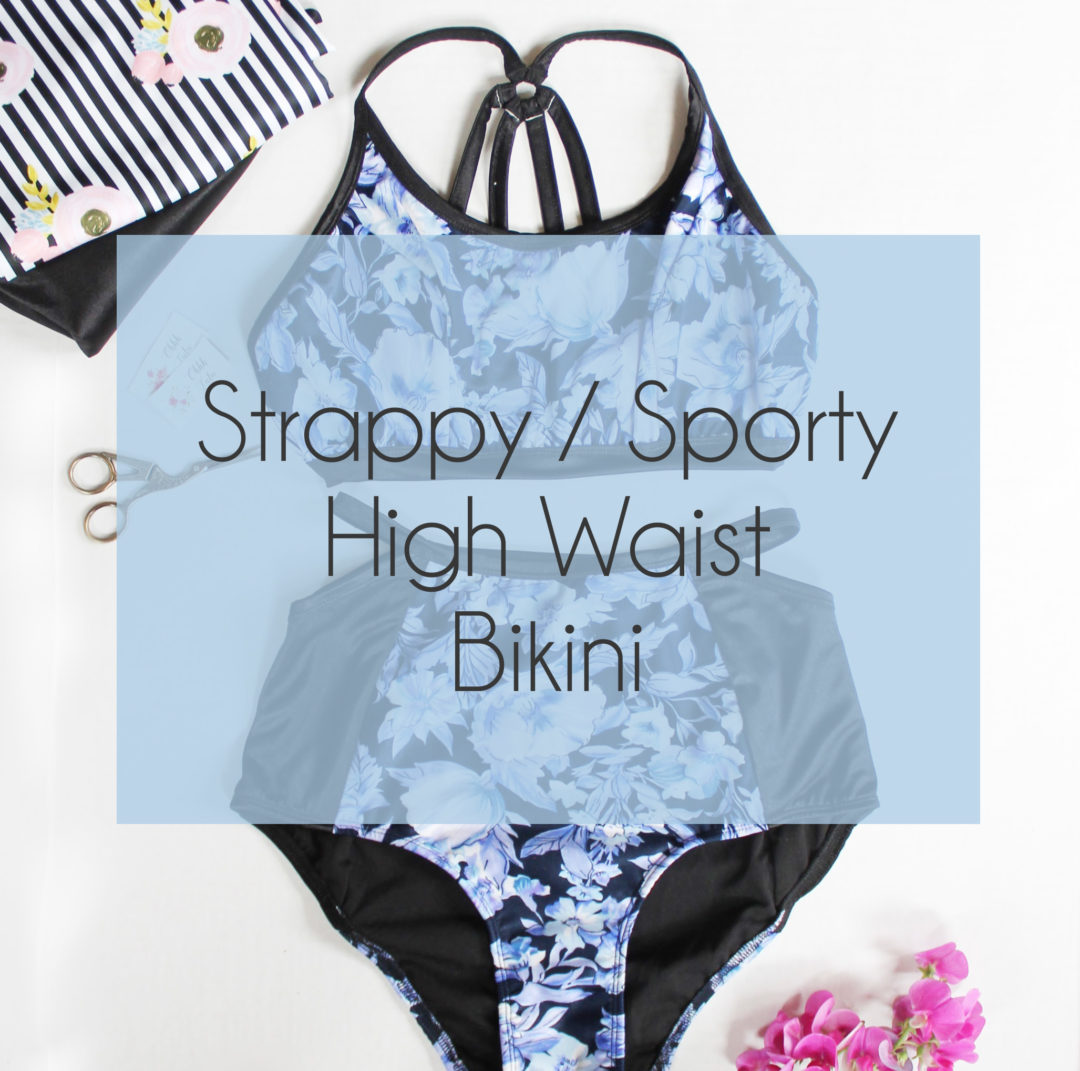
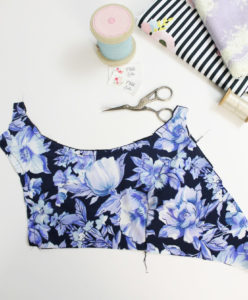
Since moving to Washago, I’ve been spending a lot of time at the beach with Isabel, which means I need a few new bathing suits. I’ve always found it difficult finding RTW bathing suits, since I have a full bust and like a fit with a little more coverage so that I can, you know, actually swim. At the same time, I want something that looks awesome.
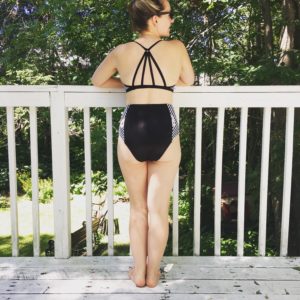
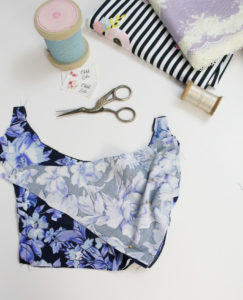
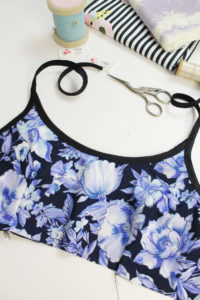
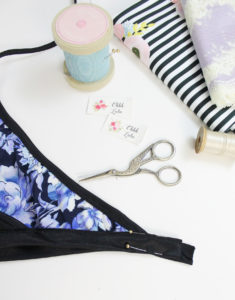
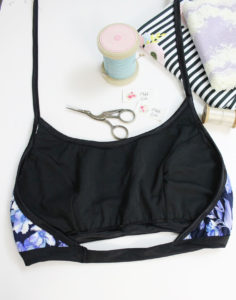
So, I made this suit a couple weeks ago and it has had a lot of wear already! I used the Amber Bra for the top and the Panties from my Cindy Pattern for the bottom – I like them because they have high cut leg, which I find more flattering for my petite stature.
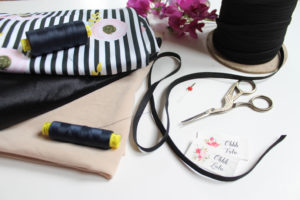
Aside from the patterns, you’ll need the following supplies:
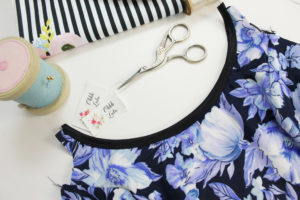
- Swimwear Fabric -I used a print and a solid for binding
- Nylon swim lining
- 1/4″ elastic (you can use clear elastic)
- Twin Needle
- Two spools of thread
- 5/8″ (or larger) metal ring
Directions:
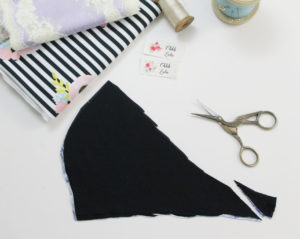
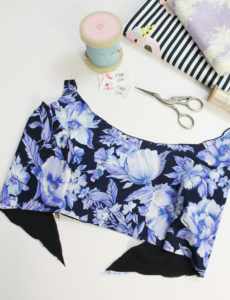
- Cut the pattern out of your swim fabric & lining. Taper the Side Back down to a point.
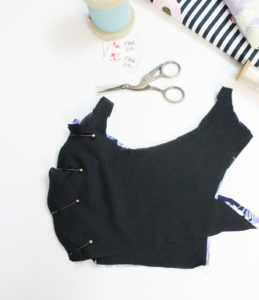
2. Baste the lining to the swimsuit front.

3. Pin the side front swimsuit fabric to the front swimsuit along the curved seam and baste together (right sides facing). Flip over and pin the swimsuit lining along the curved seam of the front swimsuit, so that right sides of the lining are facing and stitch together. This creates a totally encased seam and anchors your lining so you don’t get slipping between the two layers. Repeat on opposite side. If you are feeling confident, this can all be done in one step.
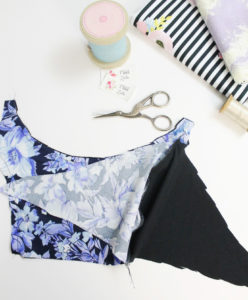
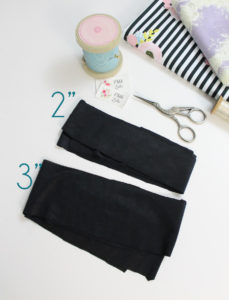
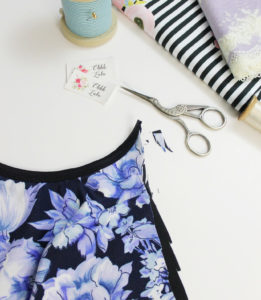
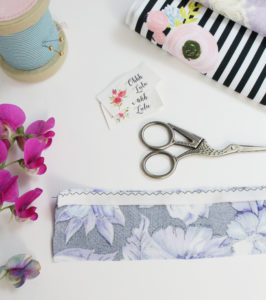
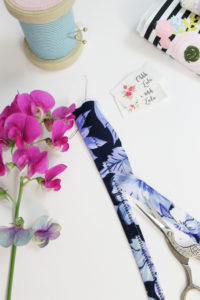
4. Cut a couple long lengths of your contrast fabric to create a binding. I cut two 2″ wide lengths (2″ by approximately 54″) and one 3″ wide length (3″ by approximately 30″) for my size small top.
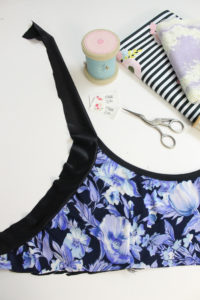
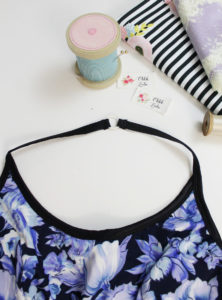
5. With the right side of the binding facing the right side of the swimsuit top, baste binding along neckline using about a 1/2″ Seam Allowance. Gently pull on the binding to create a bit of tension to carefully contour the edge of the top.
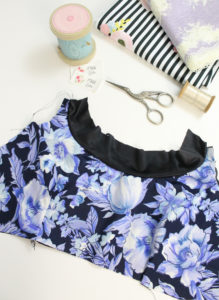
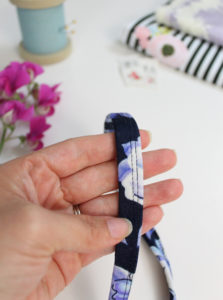
6. Load your sewing machine up with your twin needle and two spools of thread. Fold the binding towards the wrong side and top stitch in place using your twin needle. I do not double fold my swim biding. I just fold it back once and trim back the excess along the wrong side. This way is quick, easy, and less bulky.
7. Trim the small strap tab back to a point. Apply the binding along the side in a the same manner as steps 5&6, but leave a 6″ long tail extending past the neckline. As in the previous step, fold the binding in half and use a twin needle to stop stitch. I do a single fold, then trim away the excess fabric.
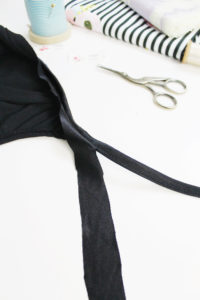
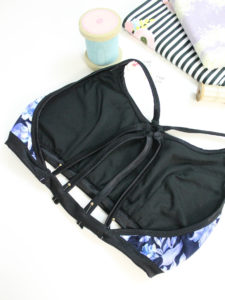
Extra Credit: add some stability and strength to your straps by wrapping the binding that forms your neck strap around a piece of elastic. I am heavy chested and always find stitches in my swimsuit straps pop! Adding clear swimwear elastic (or something heavier) will help. (I’m really sorry I didn’t take pictures of this part! the next step will give you some idea of what I mean)
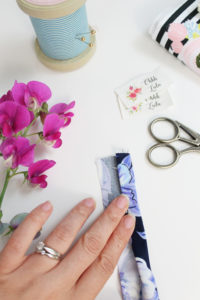
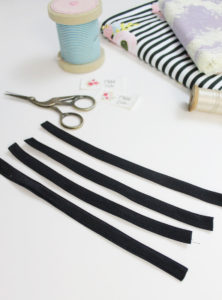
8. Now we are going to create the strap details for the back. I’m adding elastic to mine for some strength and stability. This is optional – you may opt to just sew a traditional spaghetti style strap/tube. I created by straps by basting a length of elastic to the wrong side of a strip of my binding. I folded the binding 3 times to fully encase the elastic. Using a twin needle, I stitched down one edge, then simply trimmed back the excess. This is a quick and easy way. You may opt to double fold your binding, but I find it gets a little bulky. I then cut the strap into 4 lengths of 8″.
9. I used the wider piece of biding to for my band. In the exact same method as in previous steps, baste the binding onto the lower edge of the top, pulling on the binding as you go to contour the bottom of the top. Fold to desired width, and top stitch in place, trimming back the excess fabric once you are done. Leave approximately a 1″ tail on one end and a 4-5″ tail on the other.


10. With the right sides together, pin and stitch band together. Fold seam allowance to one side and top stitch down.
11. Wrap ends of strap around your metal ring and stitch in place using a tight zig-zag stitch.
12. Wrap one end of each of the 4 straps you made previously around the ring and stitch using a tight zig zag stitch. Pin the opposite end of each of the 4 straps evenly along the band. I used a tight zig-zag again to anchor them along the band.

Last year I posted a video demonstrating how to apply swimsuit binding. You can view it HERE. To add more stability to the edges of your suit, you can add clear swimsuit elastic. I didn’t have any on hand, so I omitted it, and so far have found it to be just fine!