Browsing Tag

spoonflower

Test Driving the new Spoonflower Quick-Sew Project Book!

Reviews, Sales

I was provided with a copy off the Spoonflower Quick-Sew Project Book in exchange for my honest review.

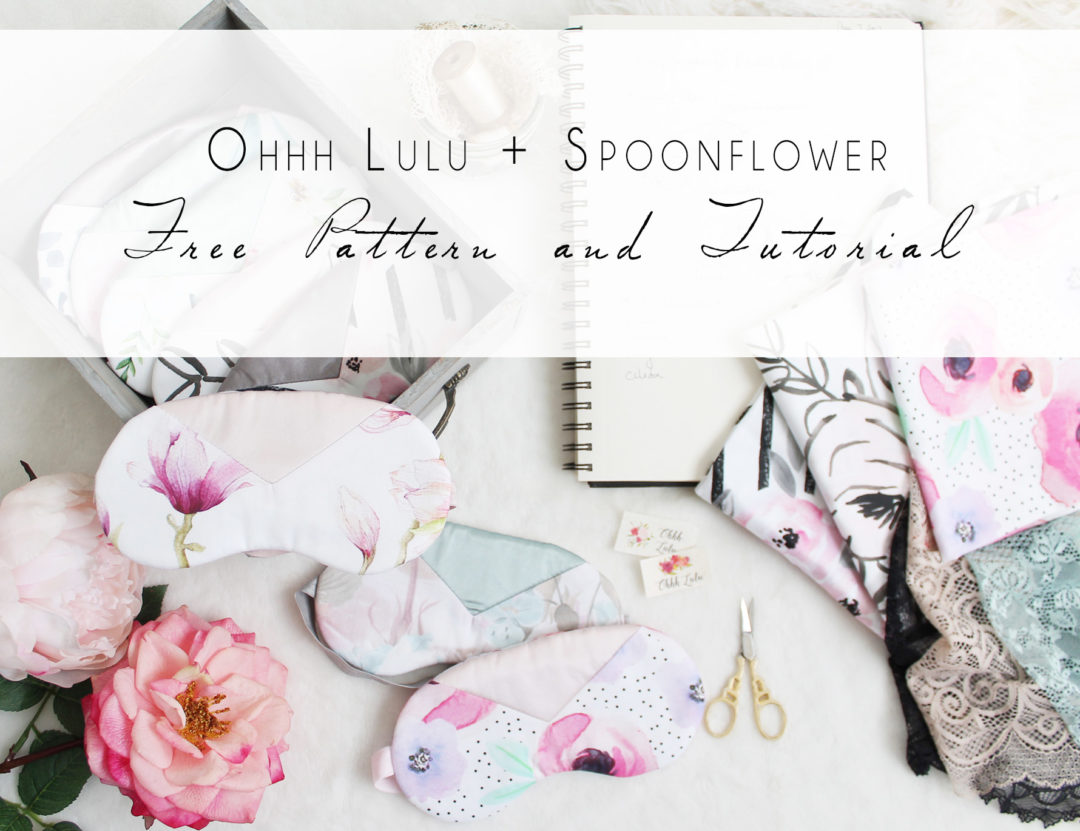
I don’t often do reviews on my blog, but when Spoonflower let me know that they were publishing a book of DIY projects, I knew I wanted to get involved (and that it would be amazing).

I discovered Spoonflower fairly late in the game, but quickly became totally addicted to their fabrics. I’ve lost countless hours browsing through all of the designs and dreaming up my own prints. Aside from the fact that you can find basically any print of your dreams, I love the fact that I can work one-on-one with and support other indie designers through Spoonflower!

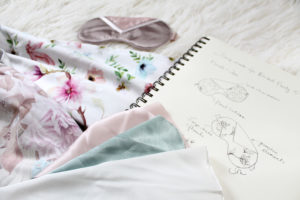
The Spoonflower Quick-Sew Project Book couldn’t have been released at a better time. With the holidays coming up, I’m always trying to think of creative gifts to make and this book is absolutely full of them. My absolute favourite thing about this book is that they include projects that require very little fabric…

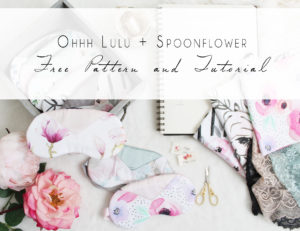
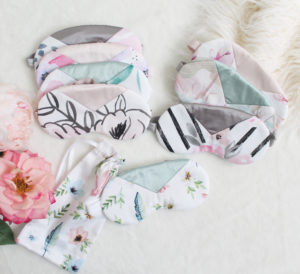
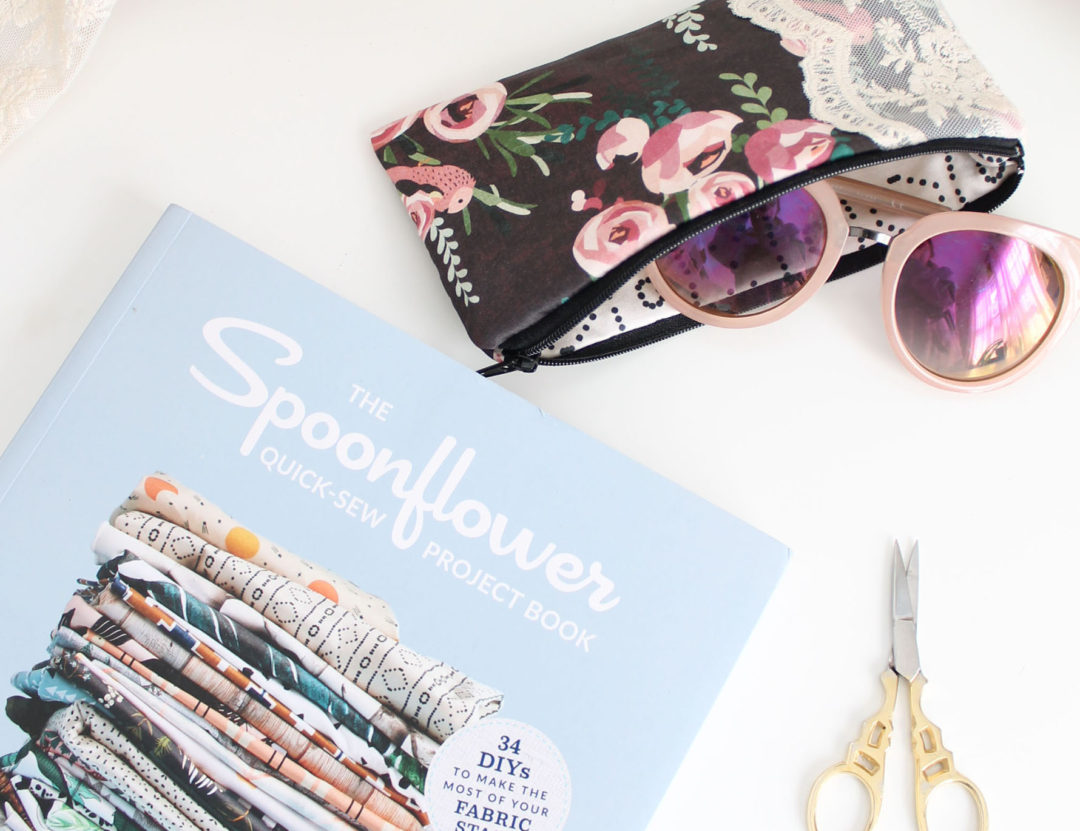
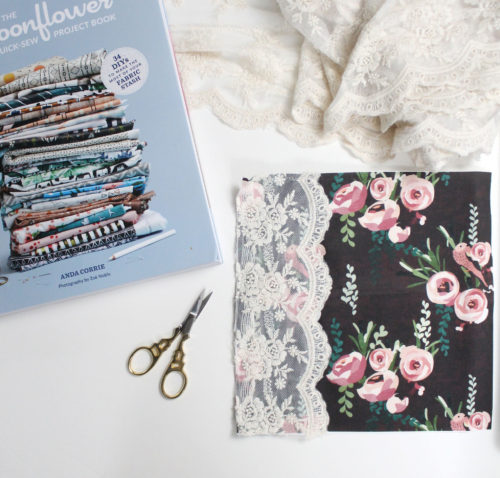
In fact, I was able to test out one of the projects that required only 2 8×8″ swatches, a scrap of quilt batting and a zipper!

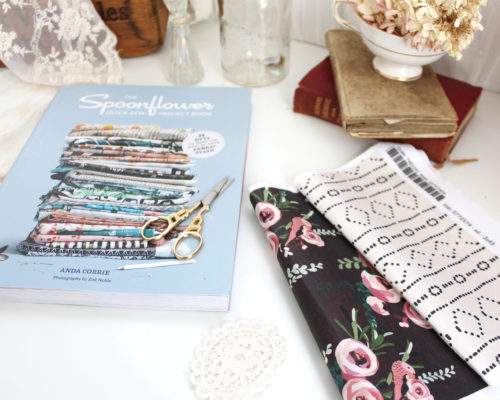
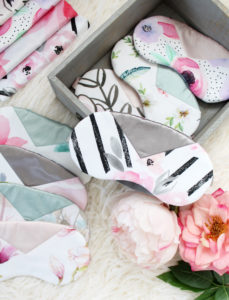
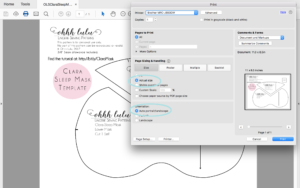
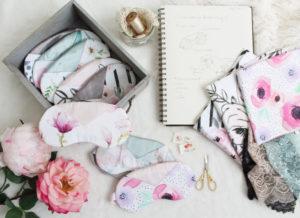
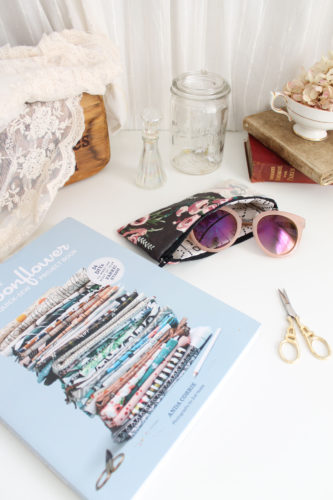
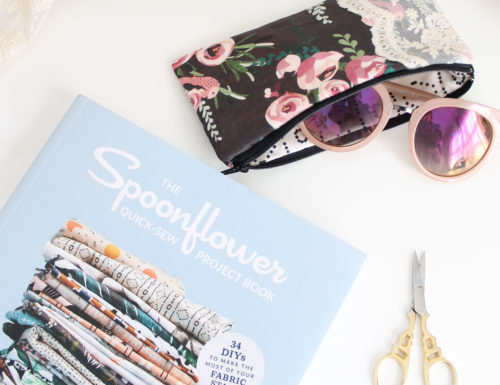
I used the instructions provided in the book to create a 2-swatch sunglass case. I selected two prints from one of my favourite designers, Holly Zollinger. Here’s a little tip, if you find a print you love but find the scale too big for your project, send the artist a message. I’ve had prints re-sized a few times for different projects (like my dollhouse!).  I used Holly’s Cyprus Floral for the exterior and the Bebe Mudcloth for the lining. For both, I went with the Cotton Sateen fabric. I like this fabric because it’s easy to work with and has a nice smooth finish.

Make it your own

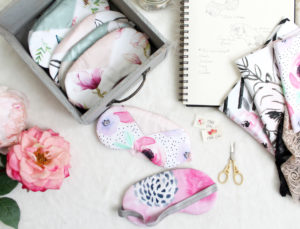
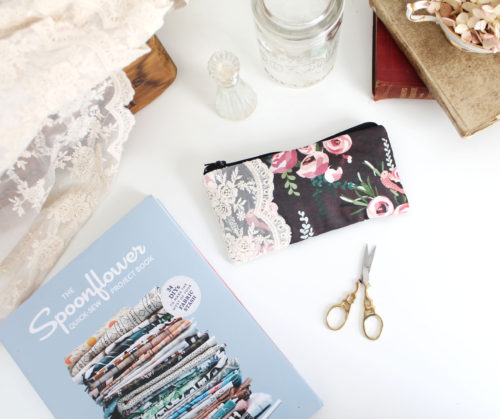
To add a little detail to my sunglass case, I cut a strip of scalloped lace the same length as my exterior piece of fabric. I then used a zig-zag stitch to attach the lace directly to the right side of the fabric. Lace overlays and appliques are an easy way to add a bit of interest. Just stitch them on prior to putting together your bag. I ended up doing an asymmetrical lace overlay, but there are lots of ways you could do it. Just play around by placing the lace over the fabric!

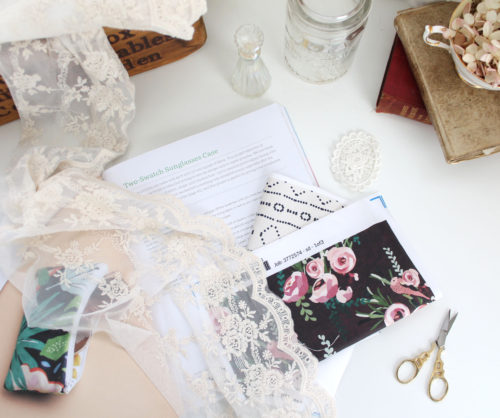
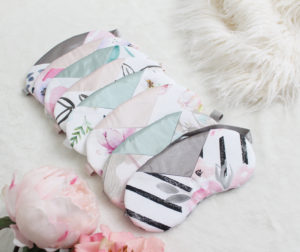
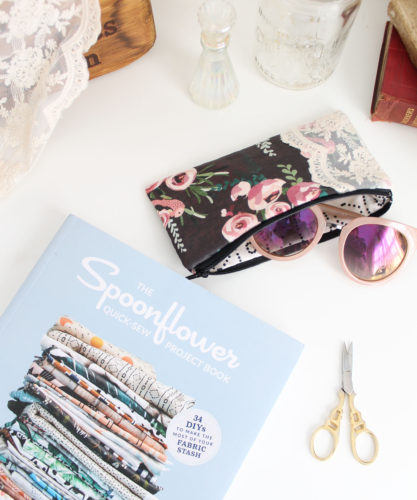
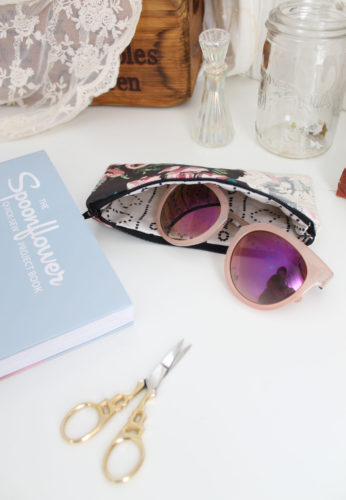
The instructions included in the book were easy to follow and came with easy to understand photos. In no time I had a finished, one of a kind sunglass case.

For more inspiration, you can see how others have whipped up this easy to sew sunglass case over on the Spoonflower Blog .

A Gift for you!

Spoonflower has generously offered my readers 10% off using coupon code QuickSewOhhhLulu10.  The offer expires December 31, 2018 and is valid on one order of fabric, wallpaper and gift wrap.

I’m definitely going to be making more of these for Christmas gifts this year. I’ve also got my eye on the Fleece Mittens and the Travel Case patterns provided in the book!

You can get your hands on a copy of the Spoonflower Quick-Sew Project Book HERE!

A free sleep mask project with Spoonflower!

Sewing Patterns, Tutorial

Spoonflower graciously sent me fabric in exchange for this tutorial.

Combining prints and colours is one of my favourite design decisions to make. I love mixing prints and combining unexpected colours – that’s why I love the Clara Sleep Mask Pattern. Not only does it let you use up all the small scraps you’ve been holding onto all of these years (yes, I’m talking to you!), but it also lets you experiment with different colour and pattern mixes!

I was so excited when Spoonflower approached me about working on a “Very DIY Wedding” tutorial. I love Spoonflower because their choice of prints is endless. And you know me, I love a good print. I wanted to create something that a bride could gift to her bridal party, and customize to each persons specific personality. I thought back to my wedding and how each of my bridesmaids were so different and unique – I loved the idea of creating a “set” of something that is also personalized to each bridal party member. I’m not sure about you, but prints speak to me, and in each of these I thought, “Oh, this one is definitely an Abbey (or Amanda, or Pam).”

You can head on over to the Spoonflower blog to view my step-by-step tutorial on how to make a Clara Sleep Mask. The template is available for download on Spoonflower, or Here on my site.

Just a quick note about printing, and this goes for all printable sewing patterns. Make sure you’ve selected “No Scaling” and “Auto Portrait/Landscape” To ensure your pattern prints right the first time.

For my project, I used Spoonflower’s Fill a Yard 2-yard cheater quilt in Cotton Sateen. Sateen is one of my favourite fabrics for sleep masks as it is easy to work with and has just a slight sheen. I paired each of the prints with scraps of silk charmeuse (backed with interfacing) from my own stash.

I wanted to select floral prints that incorporated some modern elements, and contained shades of blush, and grey-blue/green. I went through some of my favourite prints and created a collection, and from there filled up my cheater quilt with 8 different prints. You can see the prints I used here!

Even after making these with self lining (they are reversible!) I had a plenty of each print left over to make a little gift bag, and the rest is now at home in my quilt box.

Thanks again to Spoonflower for this fun project!


Floral and Lace

Design Diary, Lingerie, Uncategorized

I received this fabric from Spoonflower as part of a creative collaboration for Wedding Month. 

I’ve had my eye on this large scale peony print by Gabby Malpas for a while now. It’s so fresh and feels both classic and modern at the same time.

For this bridal-inspired lingerie set I used my Ava High Waist Panties  and Romy Bra  sewing patterns. For the bra, I added a high neckline detail using scalloped stretch lace that closes at the neckline with a small silver hook – a little detail that gives the neckline jewelry-esque look.

I wanted to give this set a really special feel, so I lined the cups in the same soft lace I used for the neckline. Now the inside looks just as beautiful as the outside.

This Romy-adaptation took me four attempts to get it just the way I wanted! I did lots of experimenting with the width of the neckline as well as the overall construction. In a little while, I’ll release this adaptation as an add-on to my Romy pattern.

To bring the top and bottom together, I added small pieces of lace along the curved cutout along the hips.

I took a lot of time plotting out my pattern placement. I used a full yard and carefully placed my pattern pieces so to achieve the effect of the flowers gracefully climbing up the sides of the garment.  Since the front and back of the Ava pattern are the largest pattern pieces in this set, I made sure to feature a large flower, asymmetrically placed, to really highlight the beauty of this print.

Spoonflower’s cotton lycra jersey has is a great weight for lingerie – it’s sturdy and has lots of give making this set as comfortable as it is pretty!


Anouk Swimsuit Add-On Tutorial

New Items, Sewing Patterns, swimwear, Tutorial

I’m in swimsuit mode this summer, despite the not-so-sunny weather. It’s been a pretty cool and really rainy summer so far, but I guess it’s still early!

I’ve just finished up a free add-on tutorial for my Anouk Bodysuit. This 25-page tutorial will show you how to sew the Anouk Bodysuit as a swimsuit! 

The tutorial includes instructions on how to sew a fully lined Anouk Swimsuit, with elastic stabilized bindings and straps.

This tutorial does not go over the ballet-wrap variation, but the technique is essentially the same – just instead of sewing a centre front seam, you finish the neckline edges with binding, then overlap down the centre front, just like directed in the Bodysuit Instructions.

There are also various ways you can tie the straps!

I really like the straps on this. I can’t wear halter straps – the weight of my boobs on my neck causes migraines. I know I’m not alone in this! This swimsuit eliminates that issue. You can criss-cross the straps in the back or front, or just do straight shoulder straps. They then connect at the centre back.

This swimsuit also has underbust elastic. I can’t wear a one piece without it, I just don’t find it comfortable. However, if you are more petite in the bust-area, you can omit that step!

This swimsuit utilizes similar techniques as my recent Cindy tutorial, so those videos make for a great reference, in addition to my tutorial.

You can download the tutorial Add-On HERE and you can purchase the Anouk Bodysuit Pattern HERE.