Browsing Tag

swimsuit

Anouk Swimsuit Add-On Tutorial

New Items, Sewing Patterns, swimwear, Tutorial

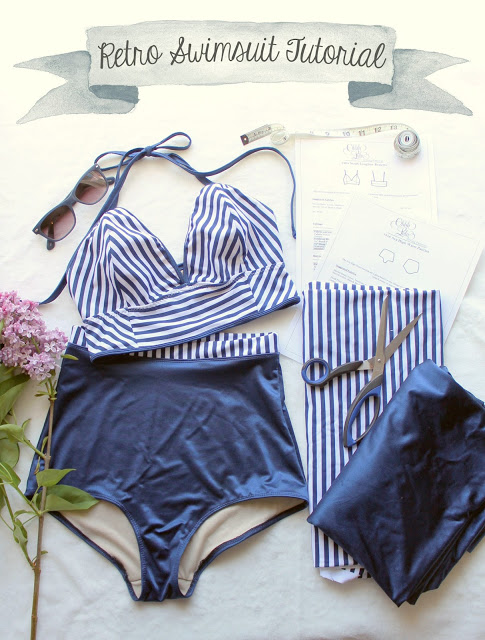
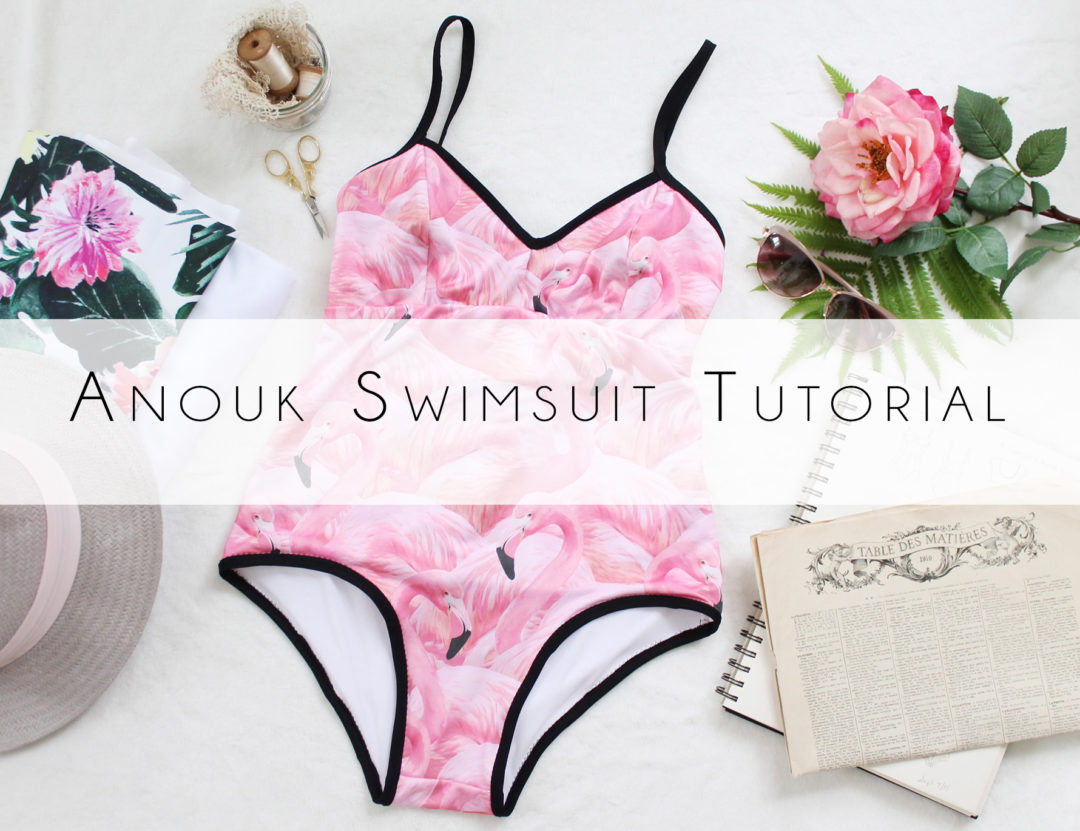
I’m in swimsuit mode this summer, despite the not-so-sunny weather. It’s been a pretty cool and really rainy summer so far, but I guess it’s still early!

I’ve just finished up a free add-on tutorial for my Anouk Bodysuit. This 25-page tutorial will show you how to sew the Anouk Bodysuit as a swimsuit! 

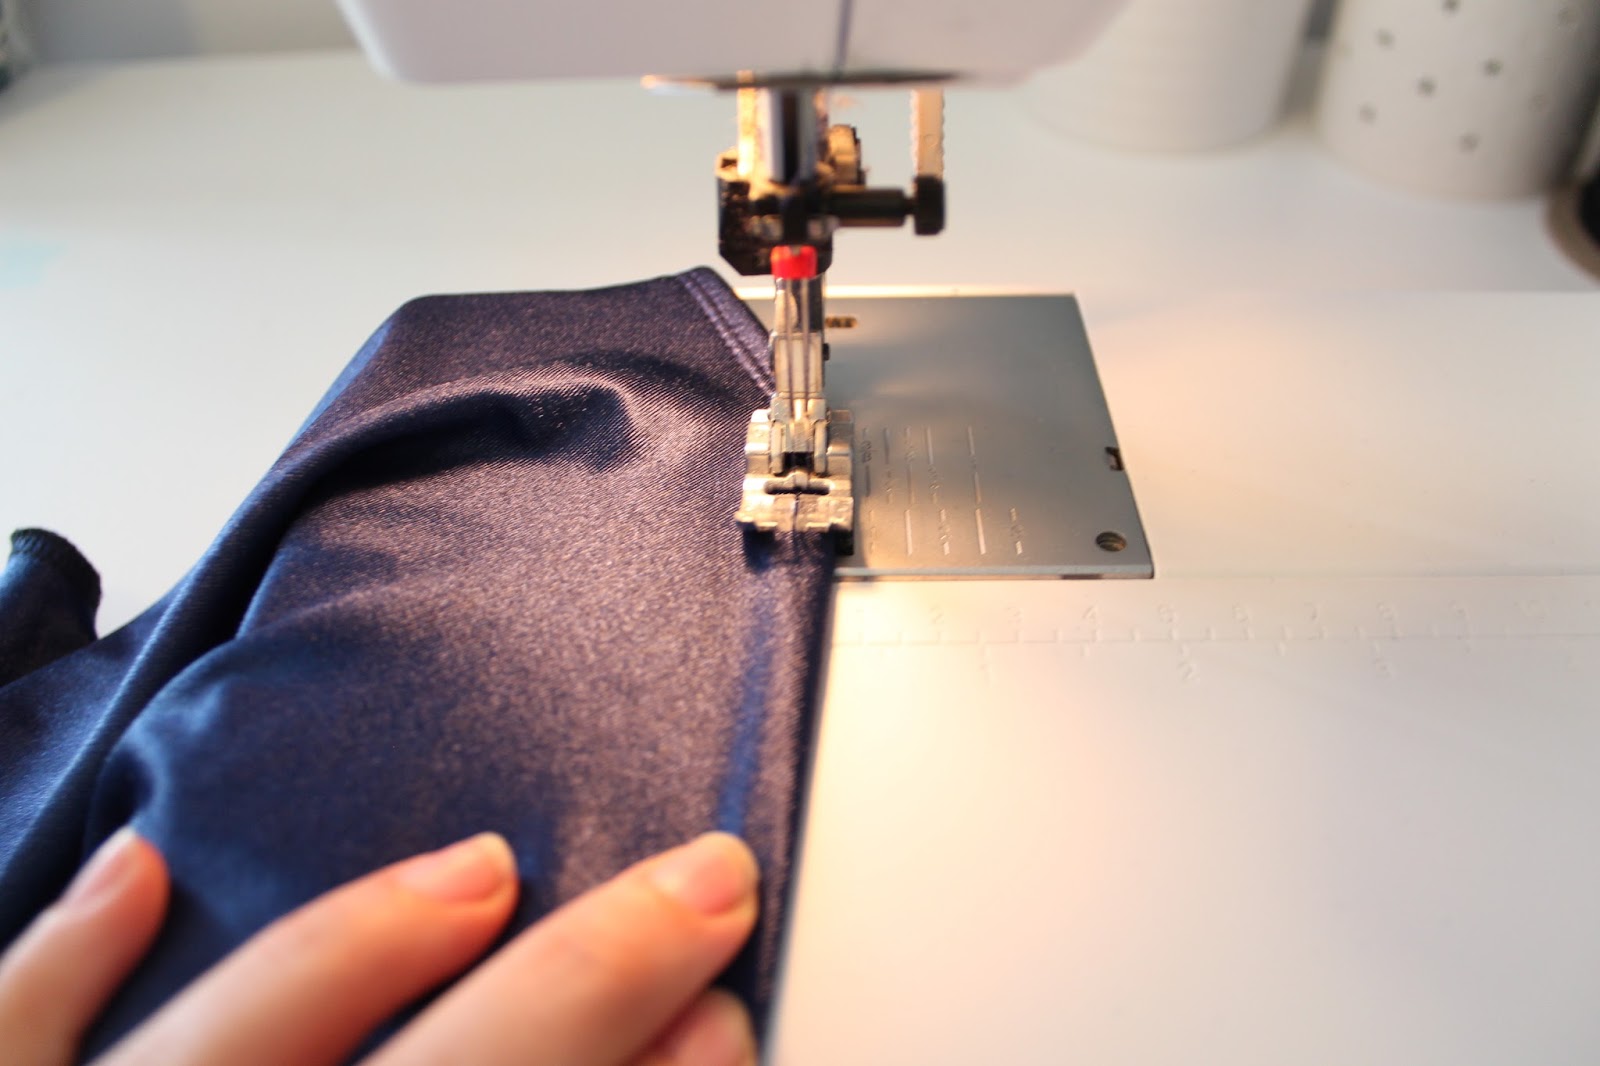
The tutorial includes instructions on how to sew a fully lined Anouk Swimsuit, with elastic stabilized bindings and straps.

This tutorial does not go over the ballet-wrap variation, but the technique is essentially the same – just instead of sewing a centre front seam, you finish the neckline edges with binding, then overlap down the centre front, just like directed in the Bodysuit Instructions.

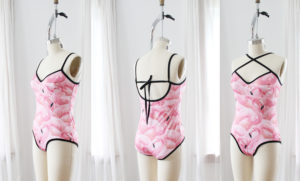
There are also various ways you can tie the straps!

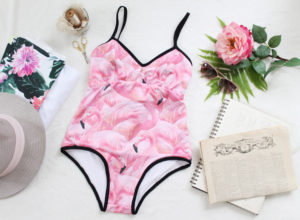
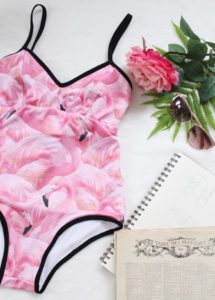
I really like the straps on this. I can’t wear halter straps – the weight of my boobs on my neck causes migraines. I know I’m not alone in this! This swimsuit eliminates that issue. You can criss-cross the straps in the back or front, or just do straight shoulder straps. They then connect at the centre back.

This swimsuit also has underbust elastic. I can’t wear a one piece without it, I just don’t find it comfortable. However, if you are more petite in the bust-area, you can omit that step!

This swimsuit utilizes similar techniques as my recent Cindy tutorial, so those videos make for a great reference, in addition to my tutorial.

You can download the tutorial Add-On HERE and you can purchase the Anouk Bodysuit Pattern HERE.

Sarah & Ava Retro Swimsuit Tutorial Part 2

Tutorial
It’s time for Part Two of my Retro Bikini Tutorial. I’ve done a tutorial on how to sew the Ava Panties as Bikini Bottoms before. I did this version just a little differently. I wanted to add a contrasting band around the waist and omit the elastic around the legs. I have full hips and thighs, so these bottoms fit snug as they are. If you’re on the thinner side, you might want to add elastic or bind your leg openings like we did on the Bikini Top.
Instructions:
1. To make the waistband, I roughly measured the waist of the panties front and back. I cut a size medium, which had the same measurement for front and back. I then drew a straight waistband, which was 2″ wide with 1/2″ seam allowance on either side. I indicated cut 2 on my new pattern piece, as my front and back measurement was the same.

 2. Cut your fabric – I’m lining the entire thing.

3. Baste your front lining to the swimsuit front.

4. Like we did with the swimsuit, we’re going to sew the lining and swim fabric all in one motion. Begin by layering: Back Self (rightside up), Front Basted Self (rightside down), then Lining. Pin together if needed and sew your seam. Now your crotch seam allowance in encased between your layers.

5. Sew your side Seams and try them on. They should fit snug all over.

 6. Sew the waistband into a continuous loop. Fold in half and press with a light iron. Attach to the waist of the panties, lining up your side seams.

7. I top stitched down my waistband seam allowance using a twin needle.

8. To finish the legs I simply finished the raw edges with my serger, then turned the edges and top stitched them with a twin needle. You can also finish with a zig-zag stitched hem, bind the legs, or use elastic.

That’s it! I’ve found it takes some getting used to sewing swim fabrics. They are slippery and can be hard to manage. But, the more bathingsuits I make, the better they get!

Here I am in mine. Neverind the pug butt and falling down fence. I made Izzy a matching suit too! Now hopefully the weather gets a little warmer so I can test mine out at the beach.