This post includes affiliate links. Purchases made through the links provided may earn me a small commission at no cost to you. This helps keep my blog and youtube channel going!
Today marks 7 days since I had surgery! I’m just getting back to work today, even though my recovery has gone surprisingly smooth. I took a few days to just lay around, rest, go for leisurely walks… It was nice, but I’m glad to be getting back into the groove.
I had intended on posting this before my surgery but was running a little behind, as is my usual style! Anyway, better late than never!
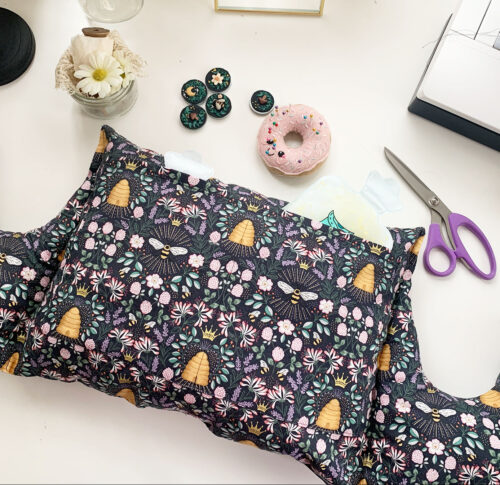
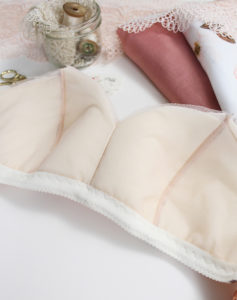
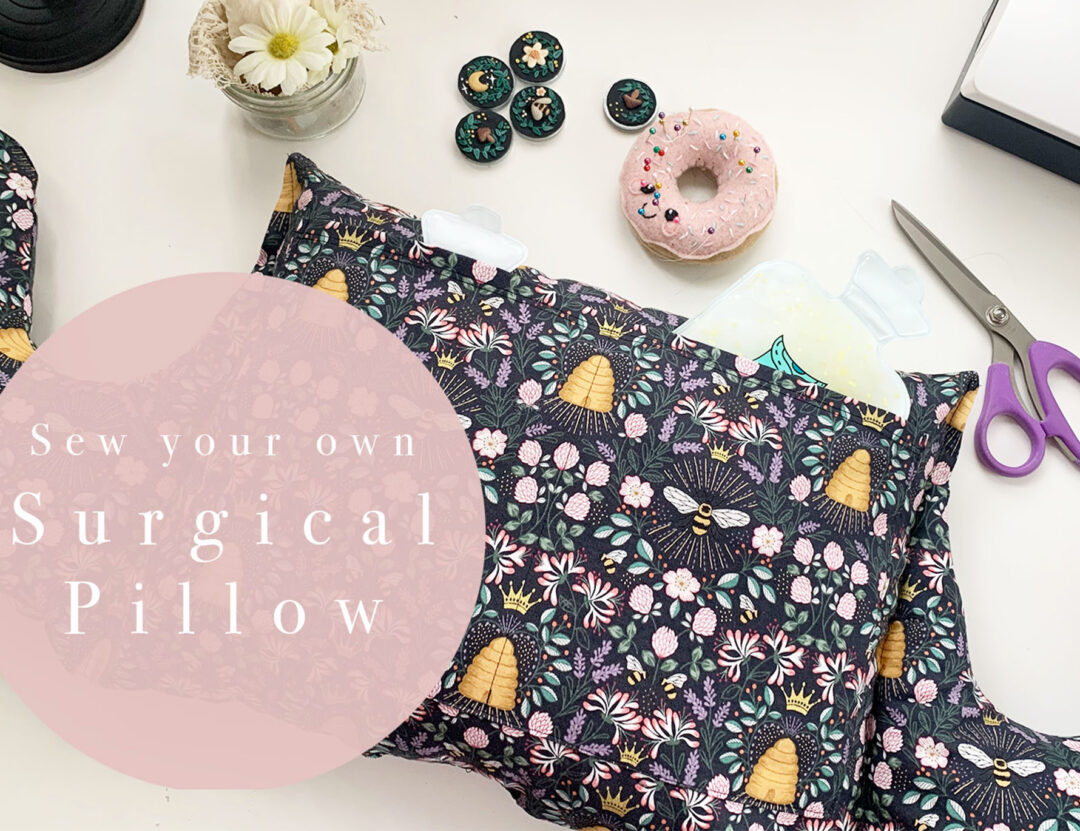
The objective of a surgical pillow is to give you something to hold or brace yourself against after having surgery that involves incisions in the chest and abdomen. I would think that it could be helpful for recovering from anything from mastectomy to c-sections. It can be especially useful for in the car to prevent a seat belt from pressing against you, or for simply holding icepacks (this was amazing). I used mine in my first few days to keep my very snuggly toddler from accidentally bumping into me.
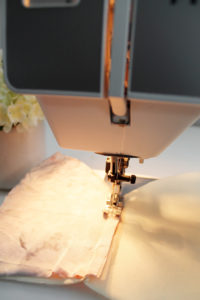
Pillows are one of the most basic things to sew. This surgical pillow is just a step up from your basic square or rectangular pillow. It’ll require sewing some curves, as well as adding optional pockets (I highly recommend), but overall it is a great beginner project.
Supplies Needed
- 1 yard cotton fabric, like quilting cotton (this is the fabric I bought)
- 1 bag fibre fill stuffing (something like this one from Amazon which would give you enough to stuff several pillows!)
- Coordinating Thread
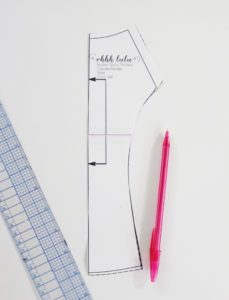
- Marking Pencil (or simple tailors chalk)
Instructions
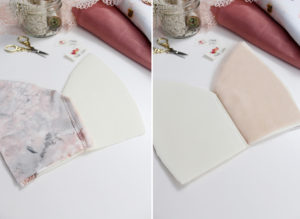
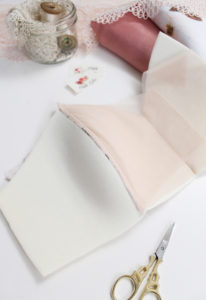
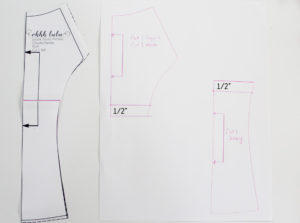
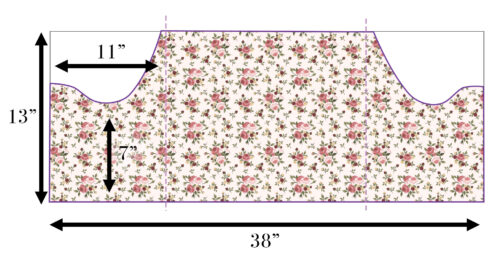
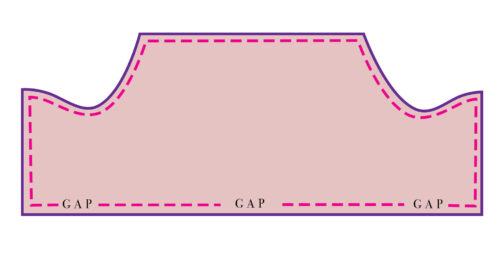
- Cut out a TWO rectangles approximately 38″ wide by 13″ tall.
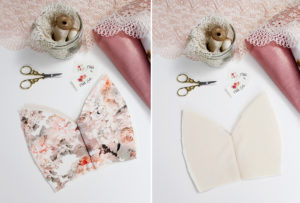
- Using your marking pencil, draw a line 11″ in from each side.
- Create an armhole on either side
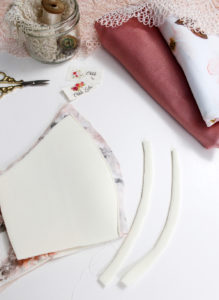
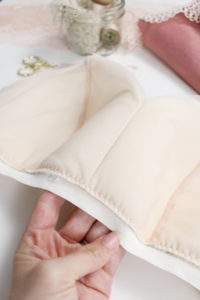
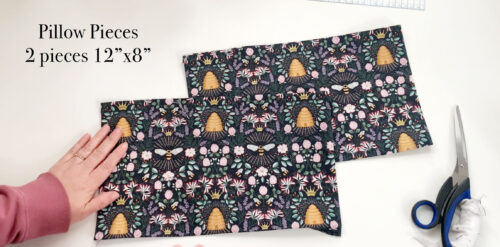
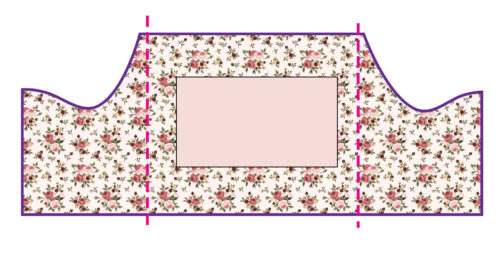
4. Cut out 2 optional pocket pieces that are approximately 12″x8″. Press raw edges under 1/2″ and top stitch the upper edge down.
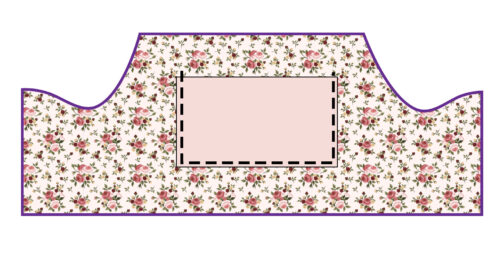
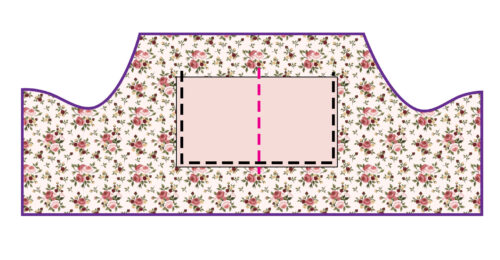
5. Pin the pocket pieces onto each side of the pillow and top stitch in place. For the side that will sit against your chest, you may want to divide the pocket into two sections for ice packs.
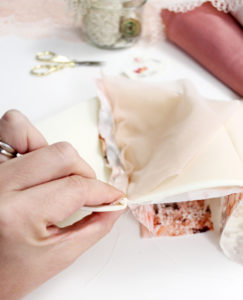
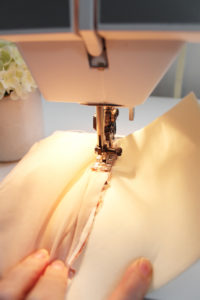
6. With the Pillow Pieces facing right sides together, stitch around the perimeter of the pillow, leaving three openings at the bottom (one on the left side, one in the middle and one on the right side). Clip corners and clip and slash curved portions.
7. Turn right side out and press flat.
8. Run a line of stitching on either side from top to bottom, about 1/2″ away from where the pillow begins to curve down. This divides the pillow into three sections.
9. Stuff the pillow with fibre fill.
10. Hand stitch the 3 openings closed.
This is just the quick and dirty. I’ve got a more thorough tutorial over on YouTube.