Browsing Tag

tutorials

Winging It – Using scalloped lace for the Birch Panties Pattern

Tutorial, Videos

I’m envious of those sewists who plan things out thoroughly and sew with intention and precision. That’s not to say my sewing isn’t excellent. I am very confident in the quality of my construction methods and demand a high level of quality from myself especially when making something for others. However, my methods can be quite chaotic… and I think there is actually some benefit to this chaos. I often come up with new ideas and techniques along the way. My mom always jokes with me that I don’t follow any of the rules and yet still end up with something beautiful.

I decided to turn this chaos into a series on my YouTube channel. I’ll just show you my designing/construction process, complete with the mistakes I make a long the way. I always liked that Bob Ross quote, “Happy accident.” So often a little mistake in my design will turn turn into a feature with a little creativity. For me, a design isn’t something I always initially see in completion. I get the idea or the feeling, and let it take a life of its own.

For this first episode, I wanted to use my Birch pattern (my current favourite for day-to-day wear), but I wanted to sew it entirely out of a relatively narrow stretch scalloped lace. I also prioritize comfort these days, so I wanted to sew them in a way that they would be pretty, but still comfortable for chasing after a toddler, working, and walks about town.

I’m really trying to grow my YouTube Channel. As I think more about what makes me happy, it’s just creating. Videos like this allow me to make practical use of that creative spark. I really appreciate the likes, comments and subs! It really does help the channel grow.

Beyond the lingerie drawer: Using Lingerie Patterns for Swimwear

swimwear

Sadly, I haven’t spent nearly as much time at the beach this year as I would have liked… the weather just has not been cooperating. But, we still have a good month left of beach weather here in central Ontario and I plan on making the most of it!

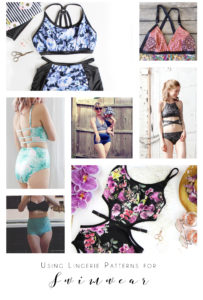
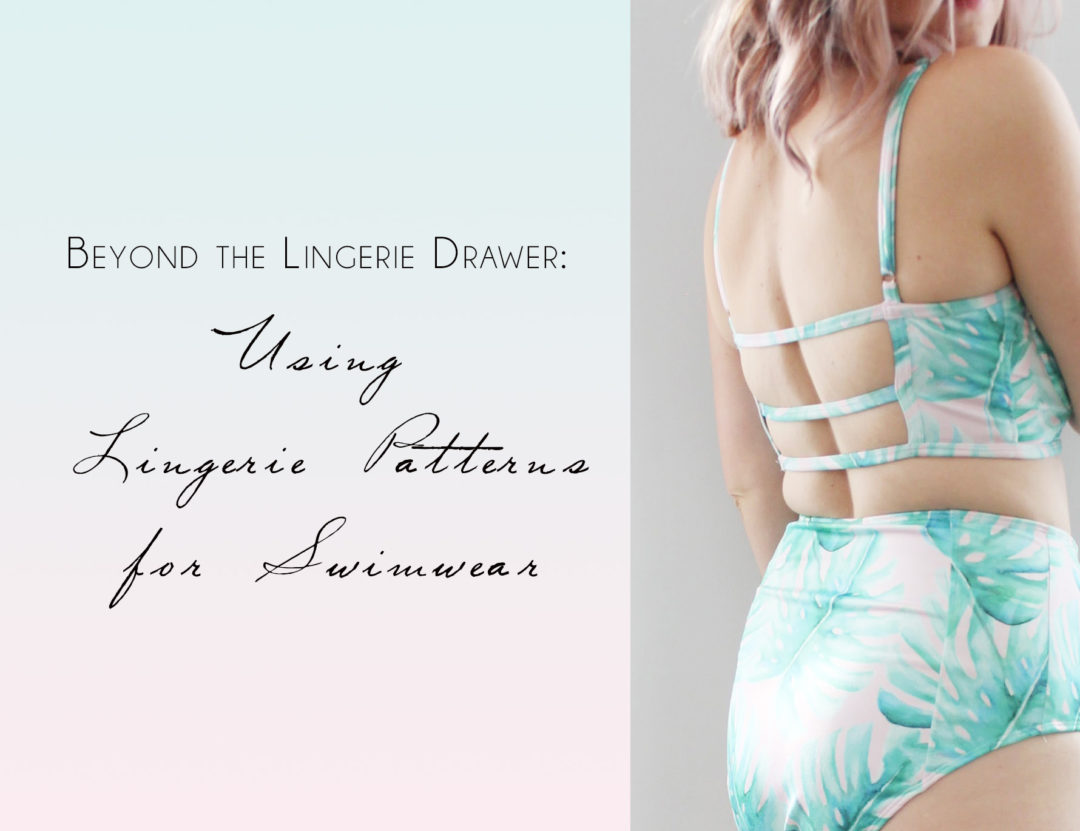
I get a lot of messages about how to make swimsuits using my lingerie patterns. It’s not too different from sewing them as lingerie, but there are a few changes I usually make. I’ll list them out here.

  1. Find a suitable fabric. Something Spandex. Within THIS post you will find some good sources for swim fabric.
  2. Line it. Line the whole damn thing in swimwear lining or spandex fabric. Do this to prevent your suit from being see-through, and clinging to every nook and cranny. You don’t want your crannies clung to.
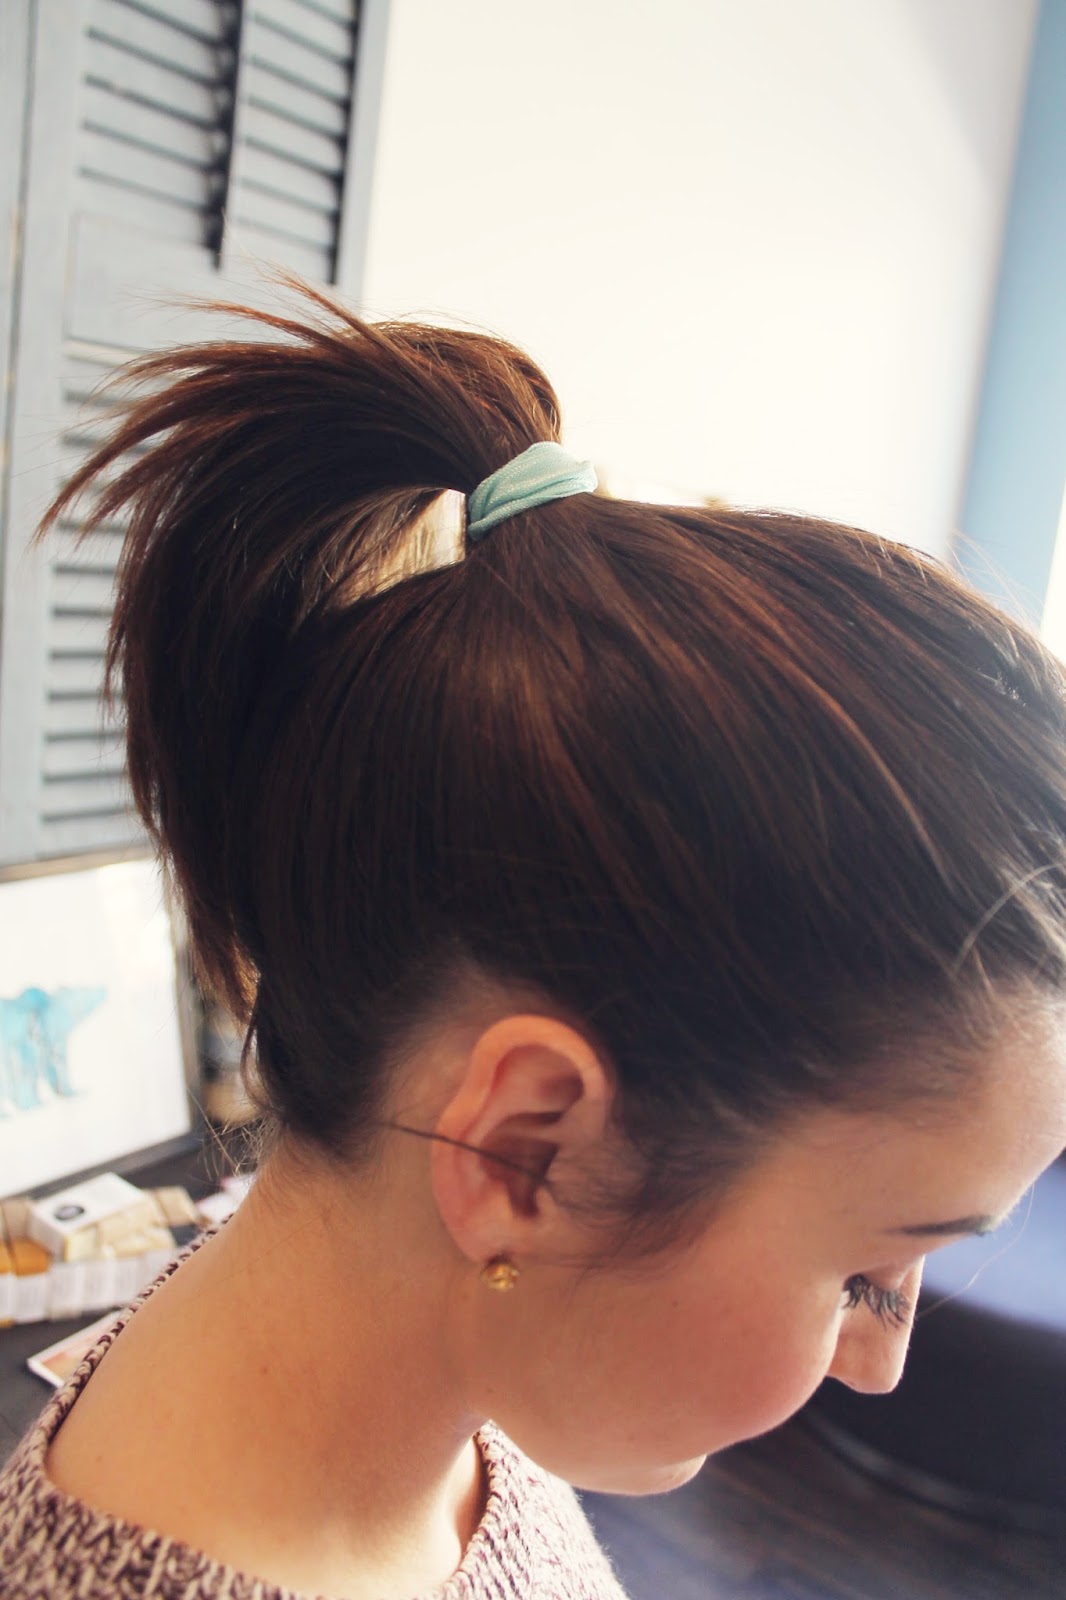
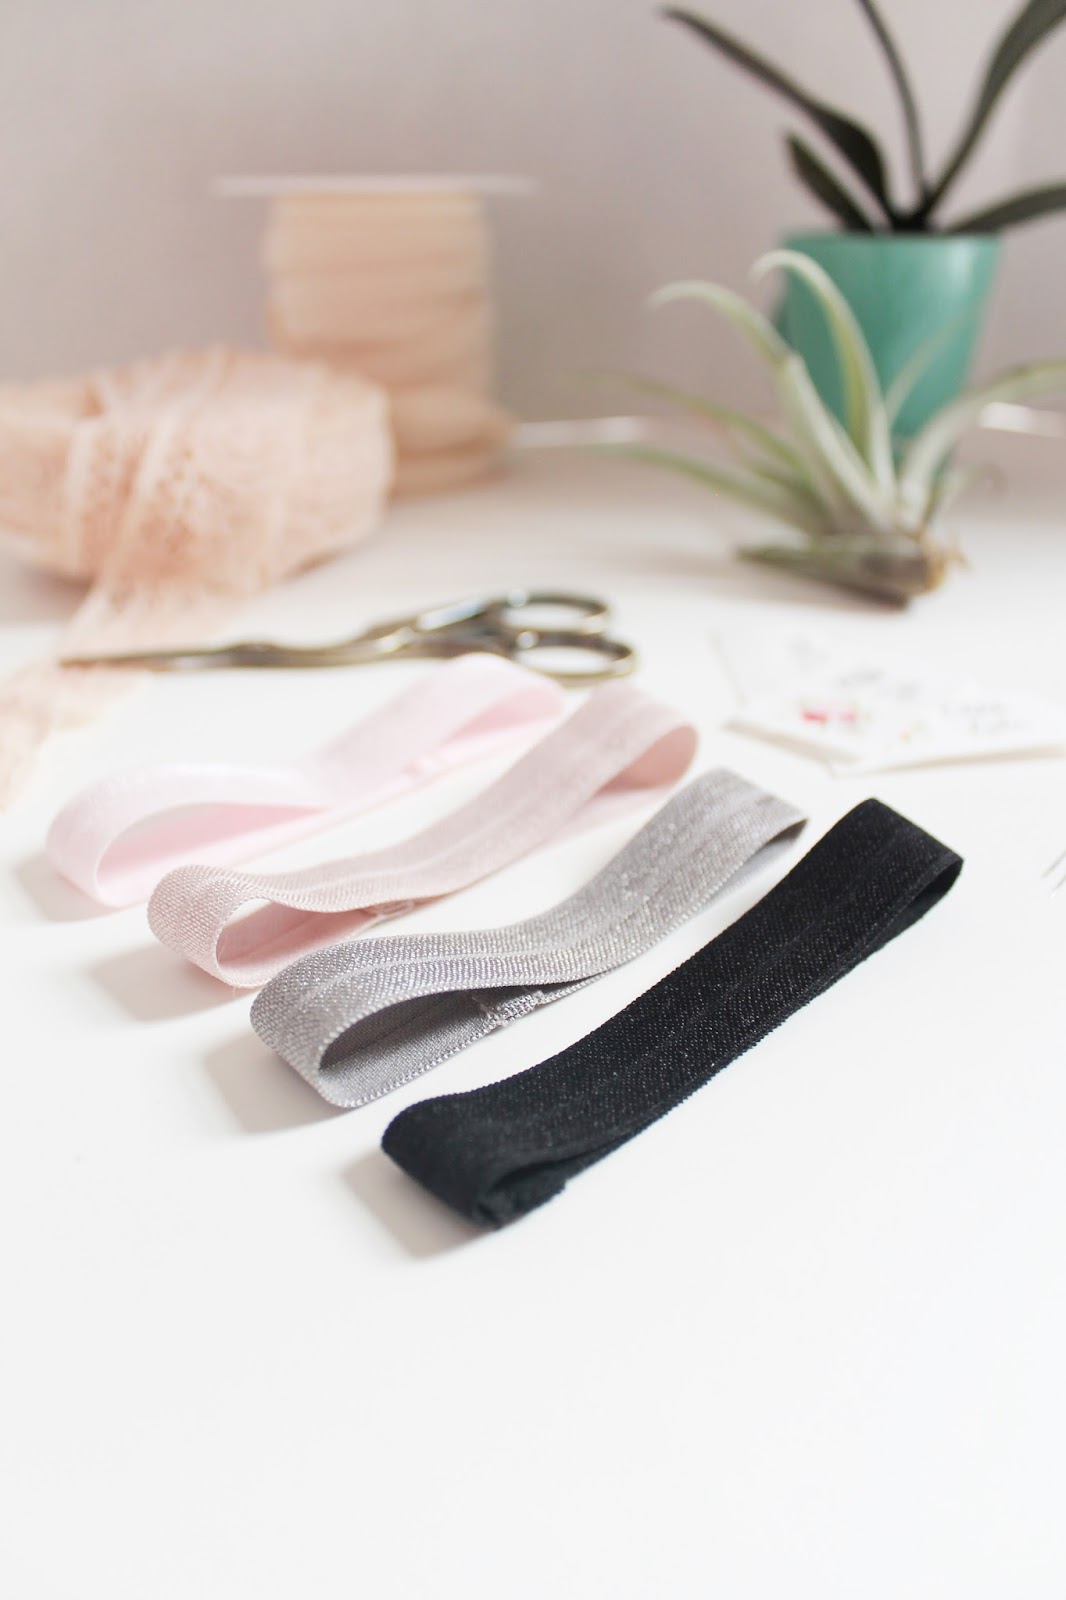
  3. Use an elastic hemmed edge  (learn about that here) or self binding (learn more here). Picot elastic or FOE makes a garment look too lingerie-like in my opinion.
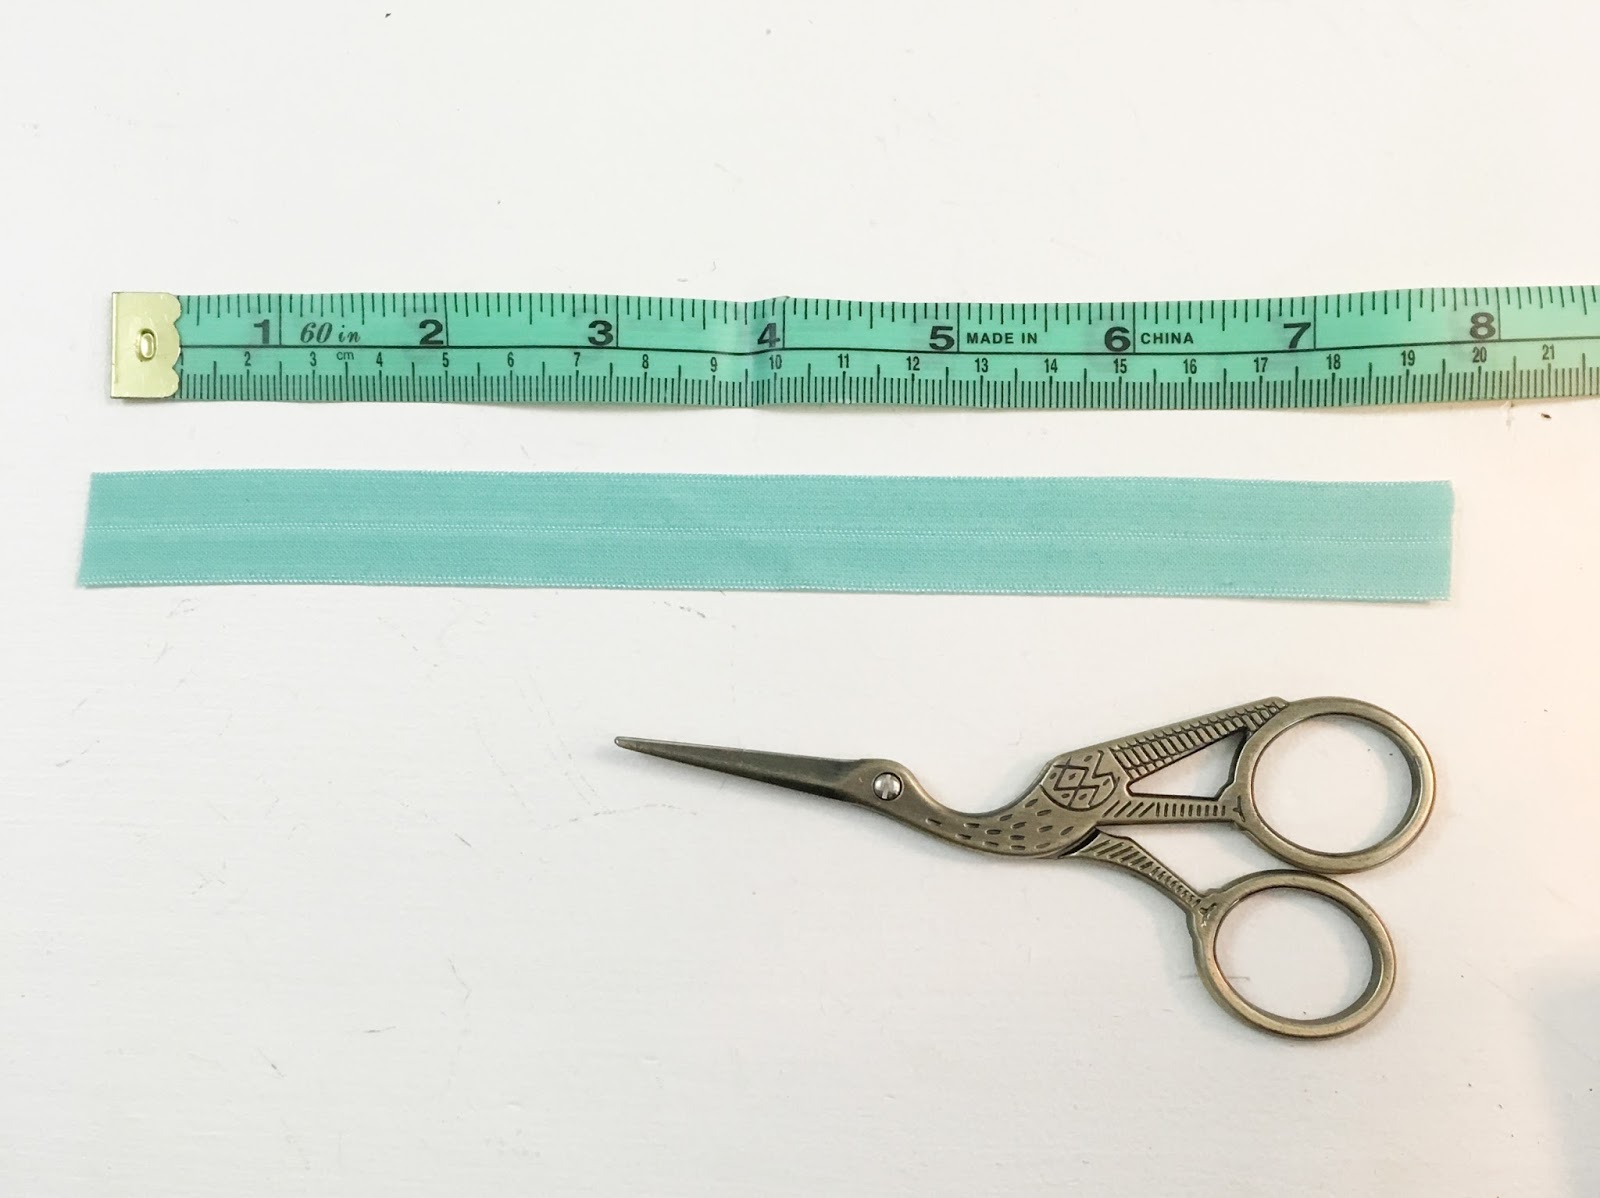
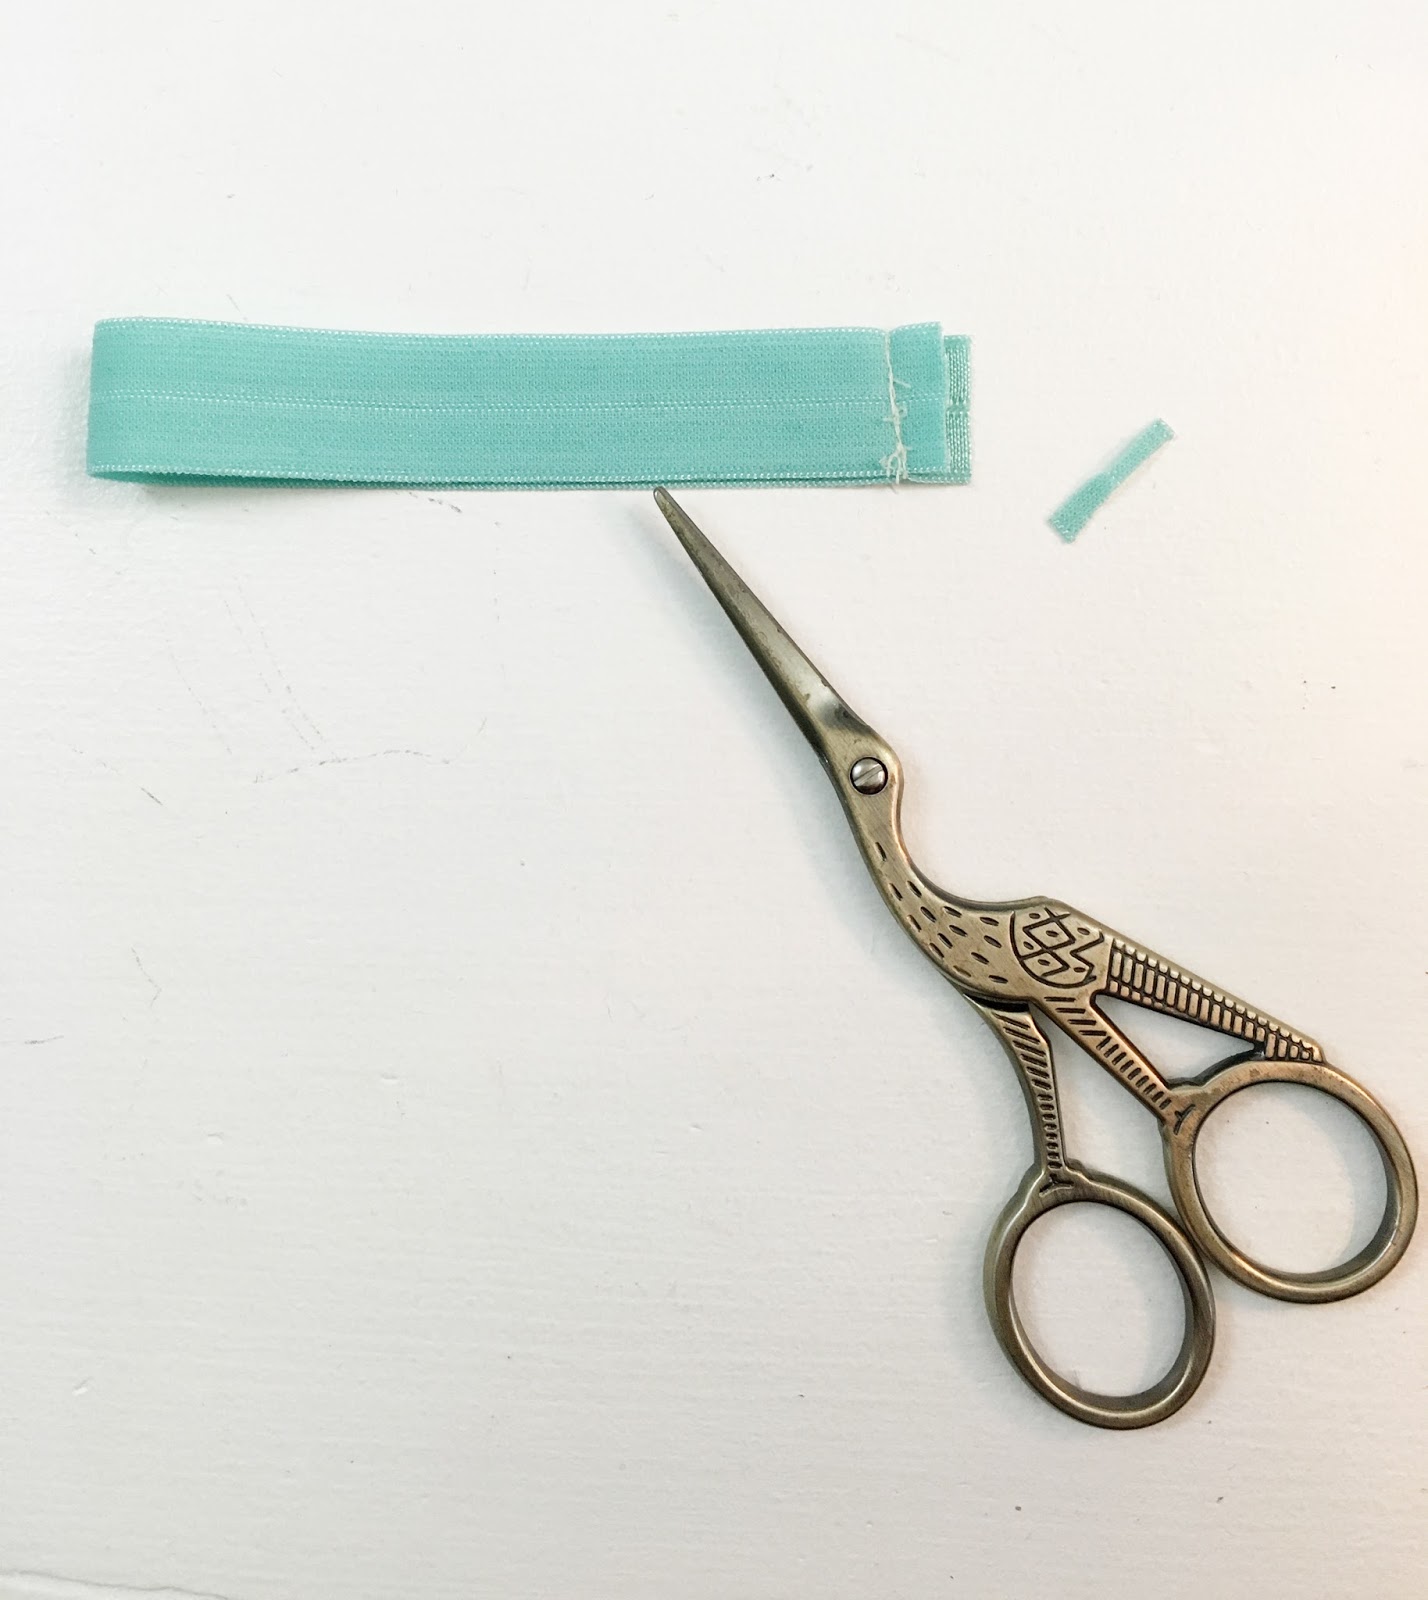
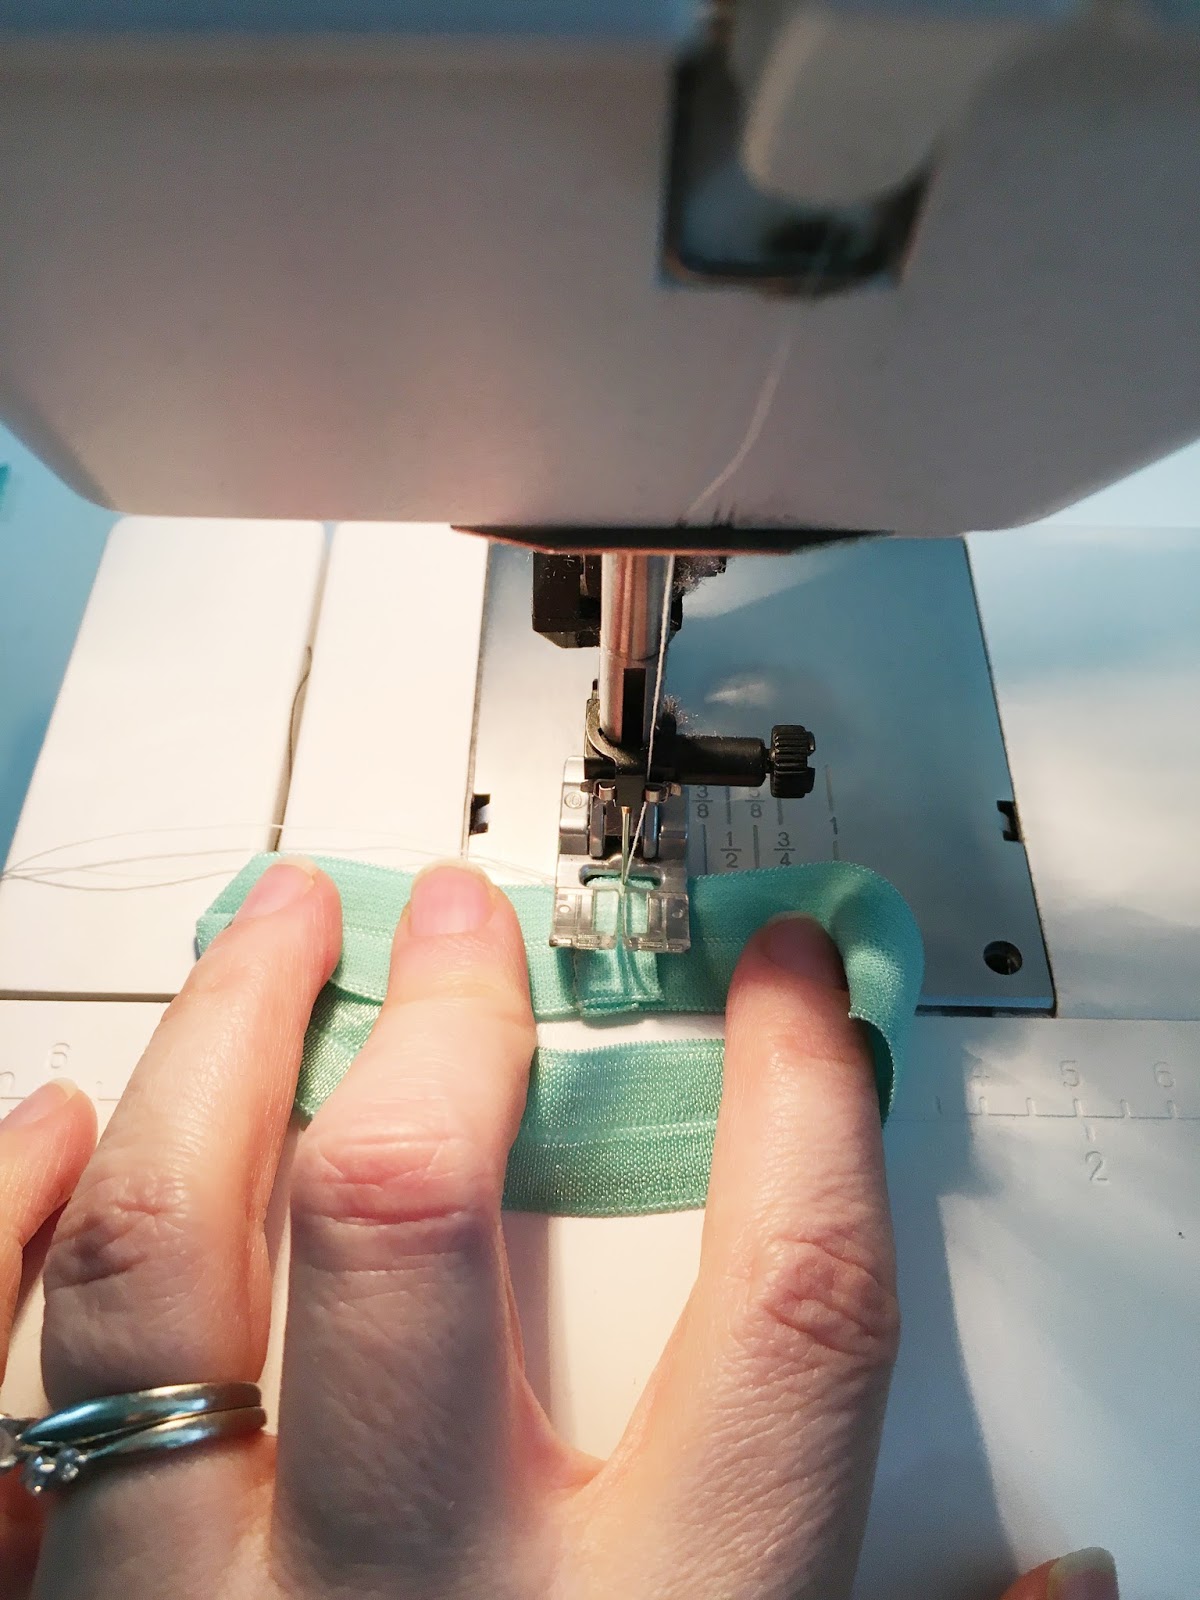
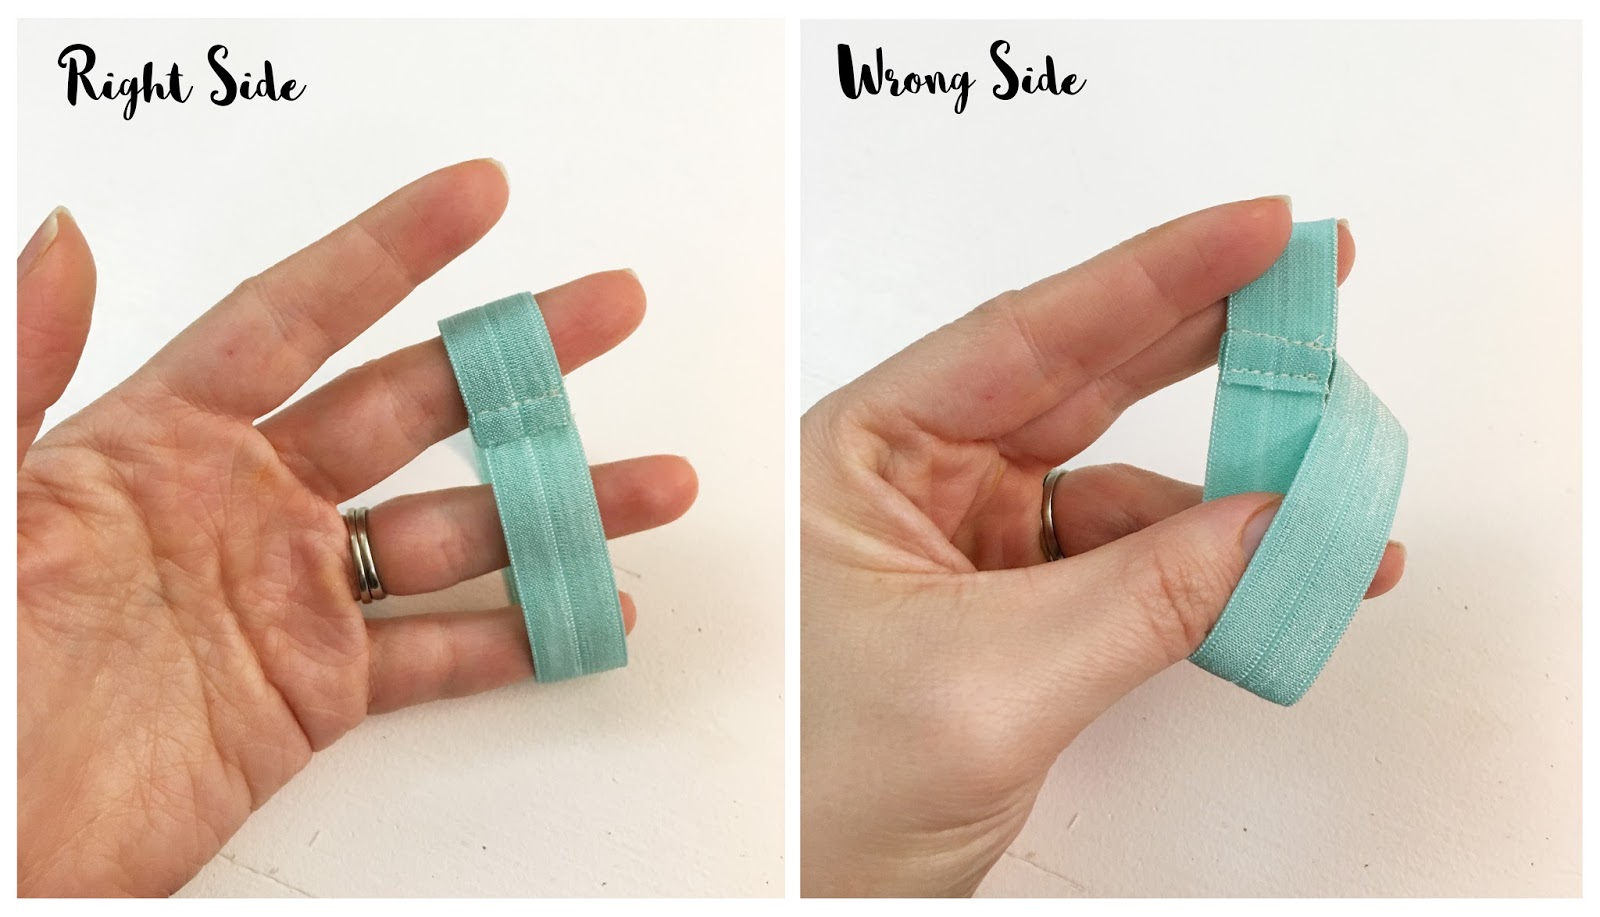
  4. Make Self Straps (which you can also learn about in This Video.
  5. Substitute a hook and eye closure for long ties, straps, or a g-hook

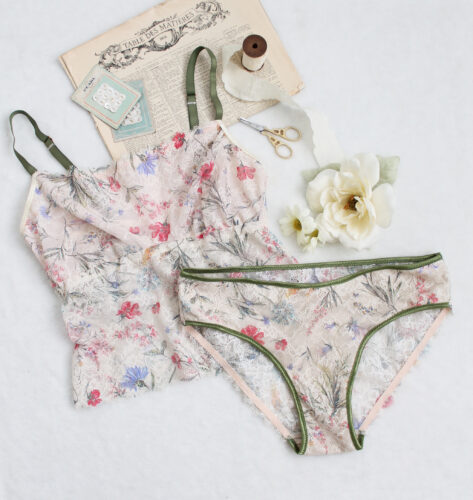
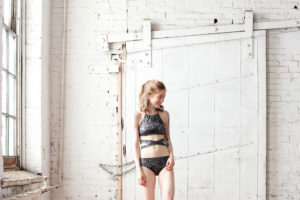
Almost any bra or panty pattern can be converted into lingerie. Here I’m going to show you some that I have made (my entire bathing suit collection is me-made using my own patterns) as well as some that other lingerie designers and sewists have made! I hope you find this inspiring and helpful! Now go get your stitch on and hit the beach!

  1. The Anouk Bodysuit as One-Piece Swimsuit. Get the details here!

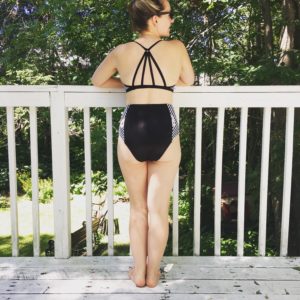
2. My strappy back Cindy+Ava Bikini. Here’s the top and here’s the bottom!

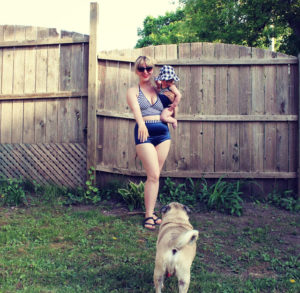
3. Another Ava Bottom with a Sarah top. I made this shortly after Isabel was born!

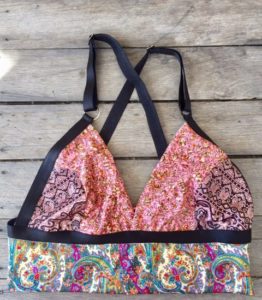
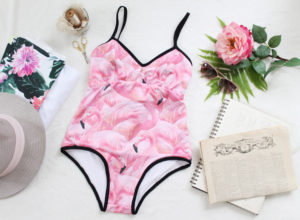
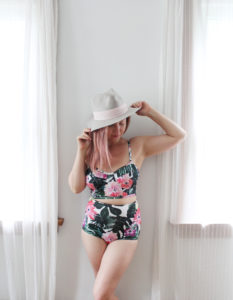
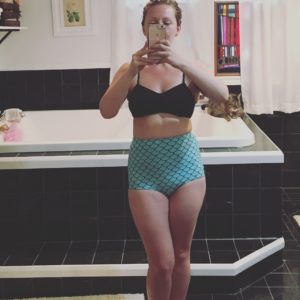
4. I used my Amber Bra for this tan-line nightmare but super cute swimsuit. I paired it with the bottoms from my Cindy pattern which have a higher cut leg.

5. This is my oldest and all time favourite bikini. It’s a basic Ava Bottom paired with a boned Jasmine Top. Seriously, I’ve had this since 2013 and I love it to death.  Get the tutorial for a Boned Jasmine Here.

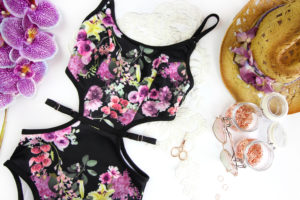
6. Evie La Luve used her Jaime Bodysuit to make this floral number. She says,

“I’ve used my Jamie Bodysuit pattern. I’ve used scuba and lined the whole thing with swim lining. Instead of using fold over and picot elastic I’ve used self made binding, incorporating rubber swim elastic. There were a few minor adjustments to the pattern pieces. First I adjusted the bra back so that it would fit a bikini closure, which i’ve used instead of the back closure usually required for this pattern. I also joined the panties front and crotch pattern pieces to eliminate the front crotch seam!”

7. Madalynne paired her patterns with some Spoonflower Sport lycra for her halter bikini. She says,

“As long as the percentage of stretch is the same or very similar, a lingerie pattern can be used for swimwear. This swimsuit, which I appropriately named August, is a combination of 2 free patterns I offer on my website, Sierra and Noelle. I transferred the bust darts into shirring at the neck and created a channeling so that I could put a tie through it. Obviously, the fabric changed. I used printed Sport Lycra from Spoonflower and swimsuit lining from Bra Makers Supply. Easy peasy to sew.”

9. Ying from Tailor Made Shop also used the Noelle Pattern to make these tropical swim bottoms.

9. Last but not least, Susan from Measure Twice Cut Once used Sophie Hines Euler Bra for this cute longline bikini top. I love the mix of patterns.

Easy FOE (Fold Over Elastic) Hair Ties that are sewn NOT knotted!

Tutorial

I have a lot of fold over elastic kicking around, and I often end up with little bits and pieces that I hoard away. I also lose things, particularly hair ties, so I’ve found a quick and easy way to use up those small bits of elastic to make hair ties that are amazing
Fold Over Elastic is nice and stretchy, with good recovery and the satin finish doesn’t snag your hair. They are also nice and thick so if you often find your hair getting wrapped up in traditional elastics (like I do), this may just solve your problem. You’ve probably seen the knotted version of these hair ties, which are well and good, but I wanted mine to have a more polished finish.
How to make sewn not knotted FOE Hair Ties!
1. Cut a length of elastic about 8″ long. I’ve got super thick hair, so if you have finer hair, you may want to cut it a little shorter.

2. Fold the elastic in half, with the right sides (shiny side) facing and stitch together using about a 3/8″ seam allowance.

3. I snip back one edge of the Fold Over Elastic by about 1/8″. I sometimes lightly singe the end with a lighter (please be careful if you choose to do this!), though I don’t find that the elastic generally frays too badly.

4. Fold the seam allowance down so that the shorter end of the seam allowance is covered by the slightly longer end. Top stitch through all layers, being sure to backtack at the beginning and end of your seam. 

And that’s it! It takes just a minute to make them and you’ll never buy a hair tie again.  Wrap a few around a printed piece of cardstock, and they make a great addition to a handmade gift. It’s also a great way to use all of that amazing printed FOE that I’m seeing all over Etsy (check out Peak Bloom, just as one example!).
Thanks to my beautiful friend, Susie, from Changing of the Garnet for modeling my little elastic for me!