Monthly Archives

January 2017

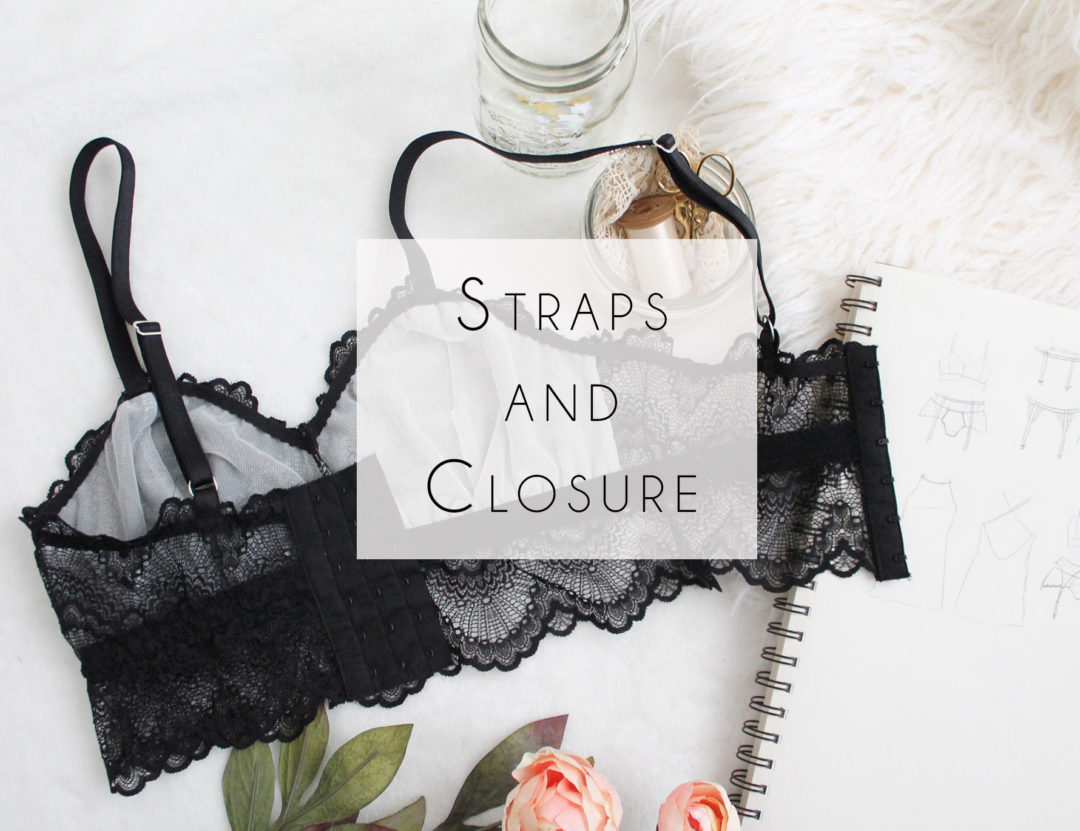
Valentine’s Sew Along: Bra Straps & Closure

Tutorial, Valentine's Day Sew Along, Videos

Now that the bra is basically assembled, it’s a great opportunity to “try it on”. Pull it on around you, like you normally would. It should fit snug with a small gap at the centre back where the closure will get applied. If you find you have some overlapping fabric, trim it back a bit.

Make sure that both sides of your Centre Back are the same length. Cut a strip of hook and eye tape about the same length as your Centre Back edge. Cut it so that you have some space between the cut edge and the first and last hook/eye.
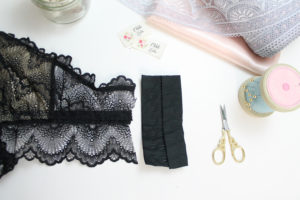
With the tape left open, baste the hook side of the tape onto the inside of the righthand side of the bra. The hooks should be facing towards the inside of the garment. You might want to use a zipper foot here. I find that my regular foot is sufficient. I just move my needle into the right-most position.
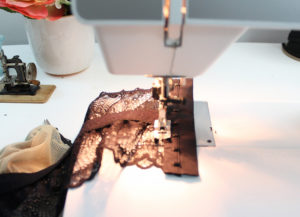
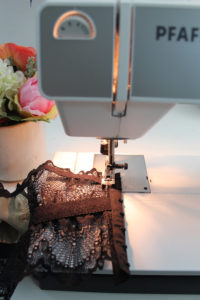
Once that is basted on, fold the tape so that it is encasing the raw Center Back Edge, and top stitch down.
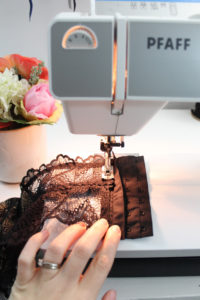
You do a very similar process on the other side with the “eye” side of the tape. Baste it on to the lefthand side of the bra so that the “eyes” are facing up. Then, fold the tape back down to bind that Centre Back Edge and top stitch in place. I use a tight, narrow zig-zag stitch to “seal” the upper and lower edge of the tape.
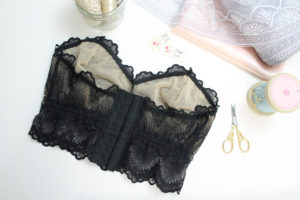
There are instructions in the pattern on how to assemble bra straps, but if you’re having any trouble, here is a step by step video:

Here is how I attach my bra straps:

I pin the strap so that the plush side of the strap is facing the inside of the bra. The strap is facing down. I do a row of stitching to anchor the strap in place.
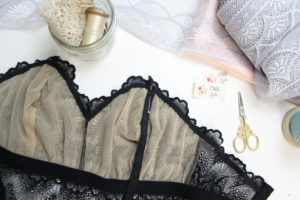
I then fold the strap up, and to another row of stitching, with lots of back tacking to anchor it securely in place. This method hides the raw edge nicely so the strap area is not scratchy. I have sensitive skin, so if there is any slightly scratchy bit, I end up with a nasty rash. I’ve found this is the best way for me to finish the front strap.
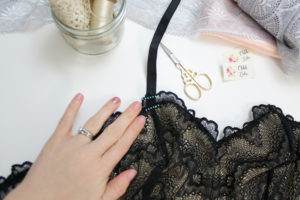
On the back, I do a tight row of zig-zag stitching PLUS a row of straight stitching as close to the upper edge of the lace as possible, then trim back any excess strap elastic. I make sure to stitch the strap onto the elastic edging as that is the most stable part.
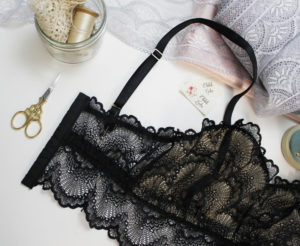
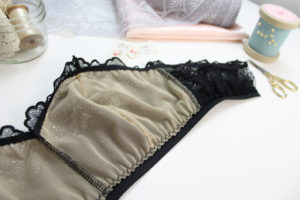
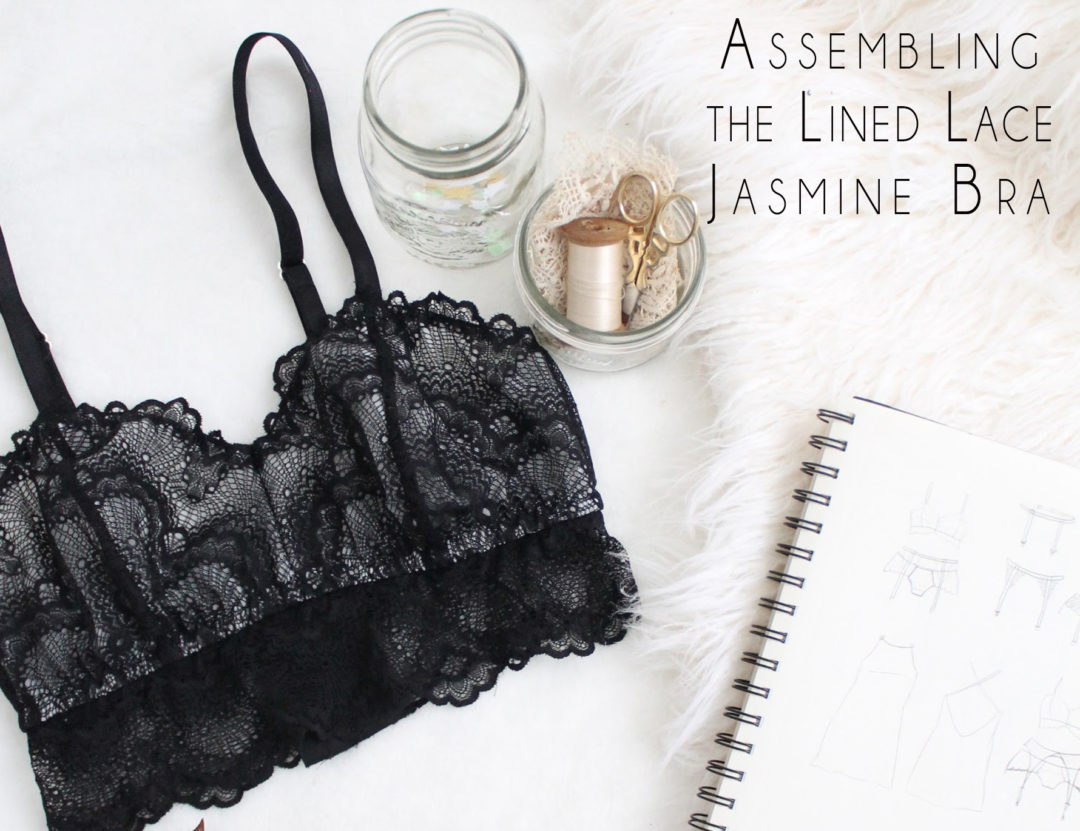
That’s it! That’s the Jasmine Bra, sewn in lace with a sheer lining and long-line band. Was there any step that you had trouble with that you need any more clarification on?

The next steps are going to be the Garter Belt portion. Just a reminder that I’ll be showing you two different garter belts. There’s the FREE Cora garter belt pattern, or the Mina Pattern (my personal fav!).
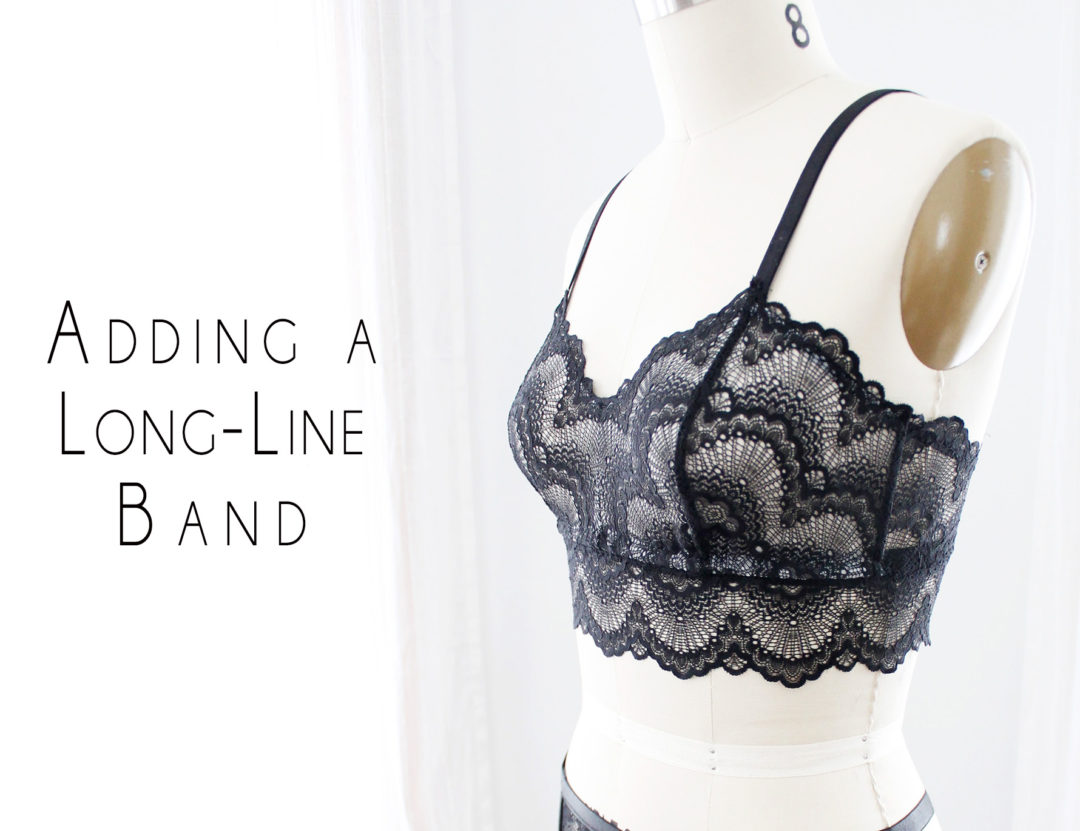
Valentine’s Sew Along: Adding a Longline Band to the Jasmine Bra

Tutorial, Valentine's Day Sew Along, Videos

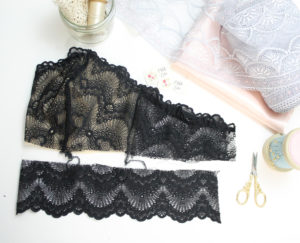
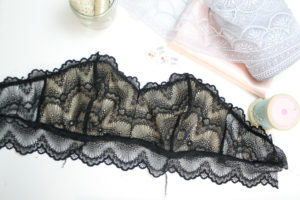
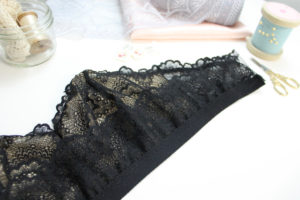
Now that we have assembled the body of our Jasmine Bra, we can add the longline lace band, and band elastic.

To do this, simply cut a length of lace just slightly less long than your bra. I then cut my lace so that it was only about 2-3″ high.

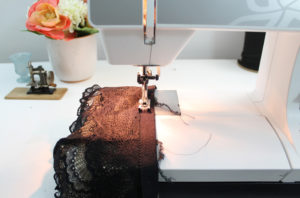
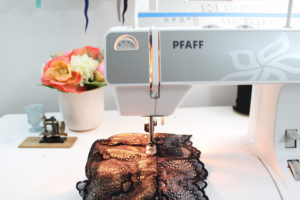
With the right sides together, sew the new lace band to the lower edge of the bra. I use a zig-zag stitch so the garment retains it’s stretch.

I’m using a 3/4″ band elastic here, but you can use any width you prefer.

Place the band elastic so the plush side is facing up and the decorative edge is running along side your stitching line. Use a zig-zag stitch to apply the elastic along the seam allowance of the bra band. Gently pull on the elastic as you stitch it in place. This creates a snug fit under the bust.

Trim back any excess fabric that extends beyond your stitching line.

Fold your band elastic up so that it is covering the seam allowance. Use a multi-step zig-zag stitch to top stitch in place. You’ll be stitching through your elastic, as well as the lined portion of the bra.

For those of you who prefer to follow along with a video, this one is for you!

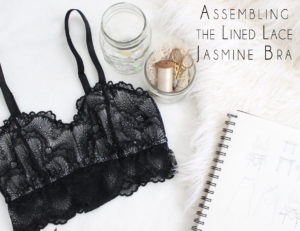
Valentine’s Sew Along: Assembling the Jasmine Bra

Tutorial, Valentine's Day Sew Along, Videos

Once again, I planned on posting this yesterday then yesterday went by in a flash! But, this part of the sew along goes by fast, I promise!

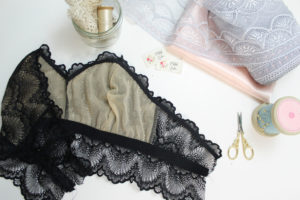
I line my bras in one step so that the lining is anchored to the exterior fabric. I do it this way because it prevents slipping between the two layers, and once you get a hang of the technique, it makes lining a bra so fast!

In one of the first steps, I went over how to cut scalloped lace. Just a reminder that you need to trim your lining back by about 1/4″ along the neckline edge.

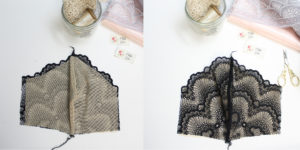
Begin by taking your Side Front Lace piece and place it so that the right side is facing up. Lay your Centre Front Lace piece on top so that the right sides are facing. You may want to baste these together along the curved cup seam at this point.

On top of that, place the Centre Front Lining on top of the Centre Front Lace piece (wrong sides are facing). Then, with the right sides of the lining facing each other, lay the Side Front Lining on top of that. Stitch together down the curved seam.
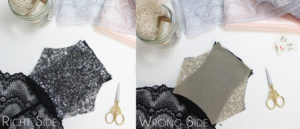
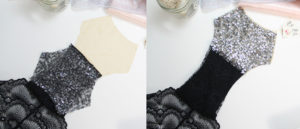
When you open up your layers, the cup is nicely lined in one action.

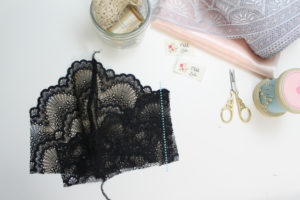
Pin the Band to the Side Front, and stitch in place.

If you are finding this  a bit confusing, this video will likely clear things up for you.

At this point, I take a length of plain old 3/8″ elastic, and use a multi-step zig-zag stitch to sew it to the wrong side each half of the bra along the upper edge. The elastic should run on top of the lining to anchor it to the bra. Make sure the elastic does not extend beyond the scalloped edge of the elastic. Gently pull on the elastic as you stitch it on to contour the upper edge.

Once the neckline elastic is applied to both halves of the bra, pin it together down the centre front and stitch in place.

If you’d like more insight on how to add elastic along the upper edge, this video will walk you through in even more detail.

A Custom Order of ‘Clara’ Sleep Masks

Design Diary

I do quite a few wholesale orders of my sleep masks for small boutiques and events. I love sewing these because they are quick and easy, but there are so many different ways to style and embellish them.

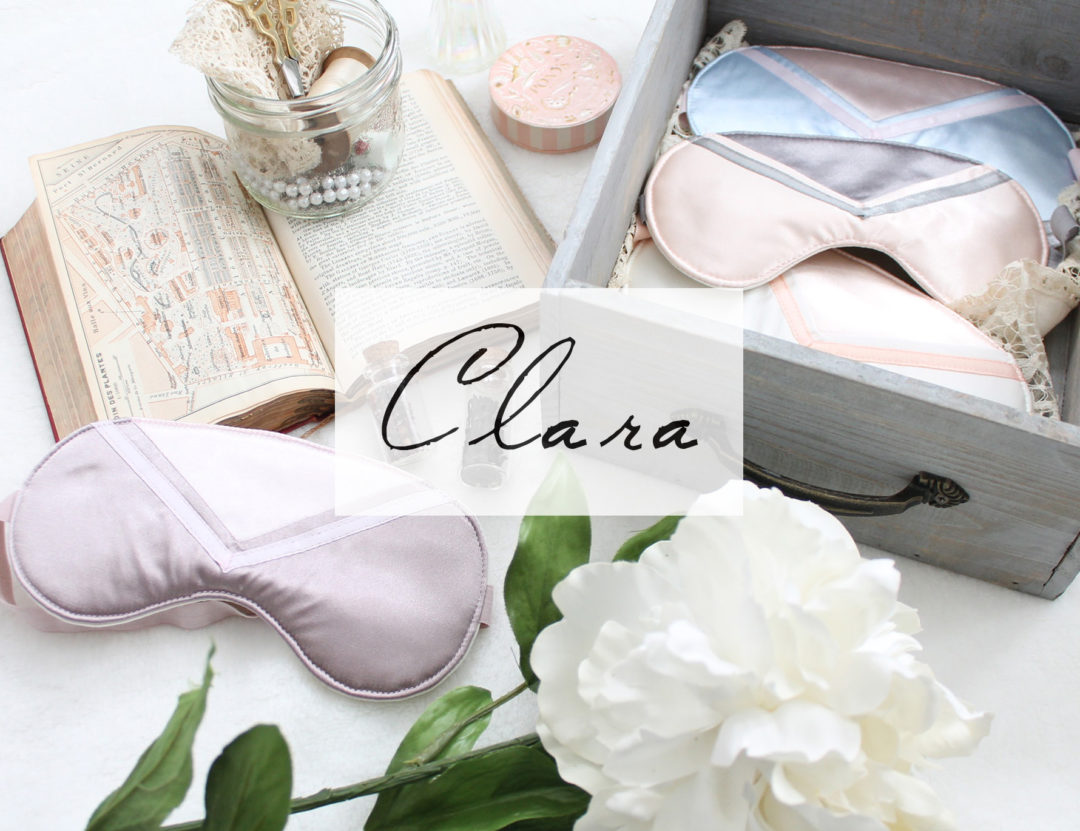
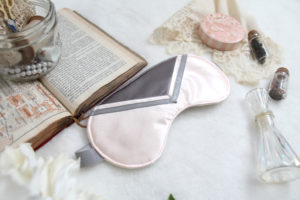
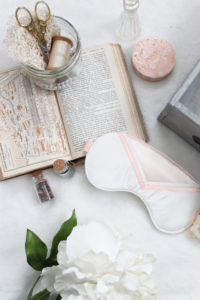
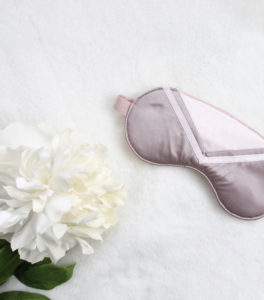
I’ve been making the “clara” style sleep mask for a couple of years new. I was inspired by 1920’s lingerie with lace insertion and pin-tucking. So often those pretty, loose-fitting slips were made of the most beautiful peach silk. I happened to have some peach satin that reminded me of it.  I loved how it paired with grey and wanted to create a geometric motif… this is what I came up with:

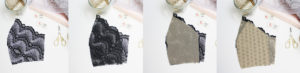
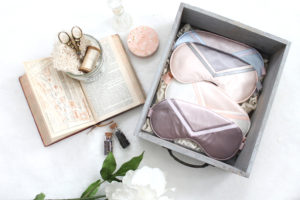
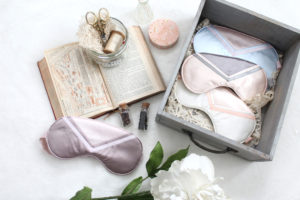
One of my most recent wholesale orders was for the Clara mask in an assortment of colours.  I love these types of orders because it allows me to be a little more creative – and creating new colour combinations is one of my all time favourite things.


I’m so happy with how these tuned out! I think I’ll be adding a few of these colour-ways to my shop soon.

Valentine’s Sew Along: Finishing the Waistline with Elastic

Tutorial, Valentine's Day Sew Along, Videos

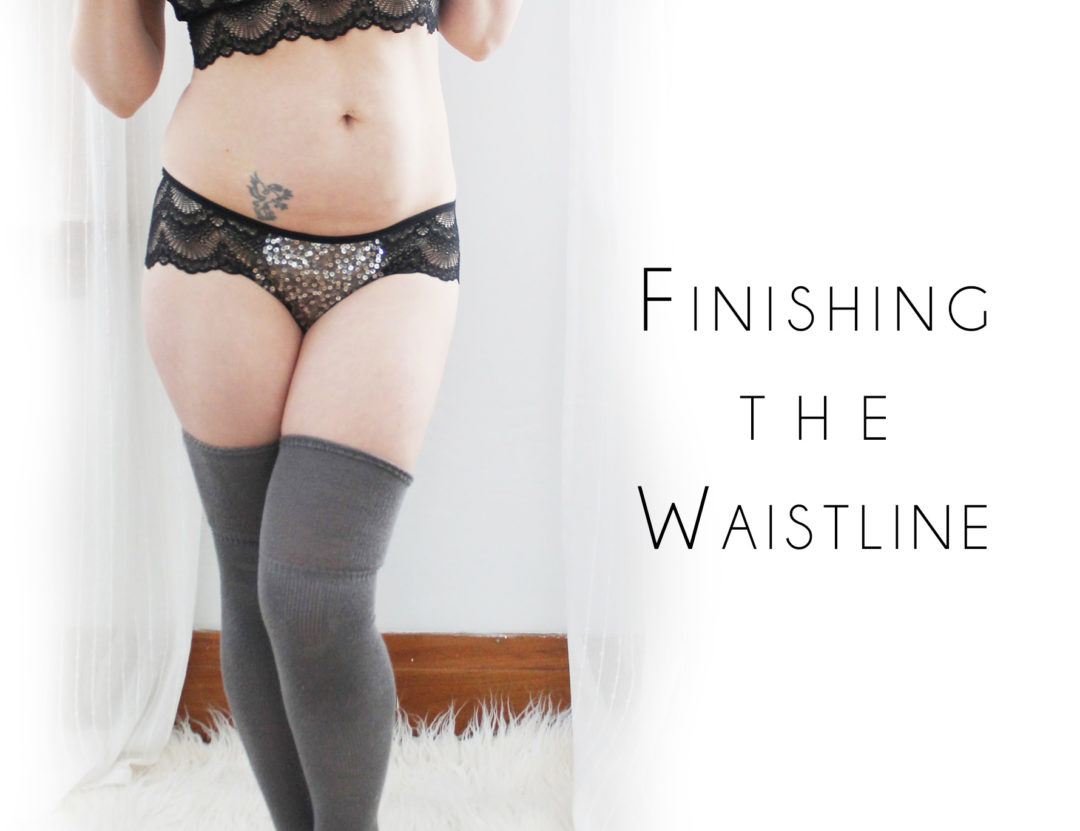
Sorry it’s taken me a bit to post this next quick and easy step. I’ve been overloaded with Valentine’s orders! But here I am with the last step of the panties. After this, we will start on the bra.

This part is easy. We’re just going to finish the waist edge with fold over elastic. I’d recommend just trying them one one last time to make sure the fit is exactly how you want them.

The elastic here should not gather or pull in the waist line too much. It should just create a nice snug edge. The panties themselves are fitted, so the elastic edging just creates that extra bit of stability around the top.

Starting from the inside of the garment, find the approximate side-point of the waistline. This is where we will start applying the elastic. Use a zig-zag stitch to “baste” it on. The foldine of the elastic should run alongside the raw edge of the waist. I have a super easy way of joining my elastic into a continuous loop, which you can read about HERE. I don’t like to sew it into a loop first, then apply – I prefer to fold the raw edge under and cover it with a tight row of zig-zag stitches. This is just a personal preference! No one way is better than the other.

Once the elastic is “basted” on, trim back any excess fabric that extends beyond the stitching line. Fold the elastic along the fold line, so that the elastic is essentially binding the waist edge, and top stitch in place using a zig-zag stitch.

For detailed step-by-step instructions, please checkout this how-to video. Otherwise, there are lots of details in the pattern instructions!

Valentine’s Sew Along: Stabilizing & Finishing the Leg Line

Tutorial, Valentine's Day Sew Along, Videos

This is a short and easy step, then we’re almost done the panties!

If you haven’t already, give the undies a try-on to make sure they don’t need to be taken in or let out at all.

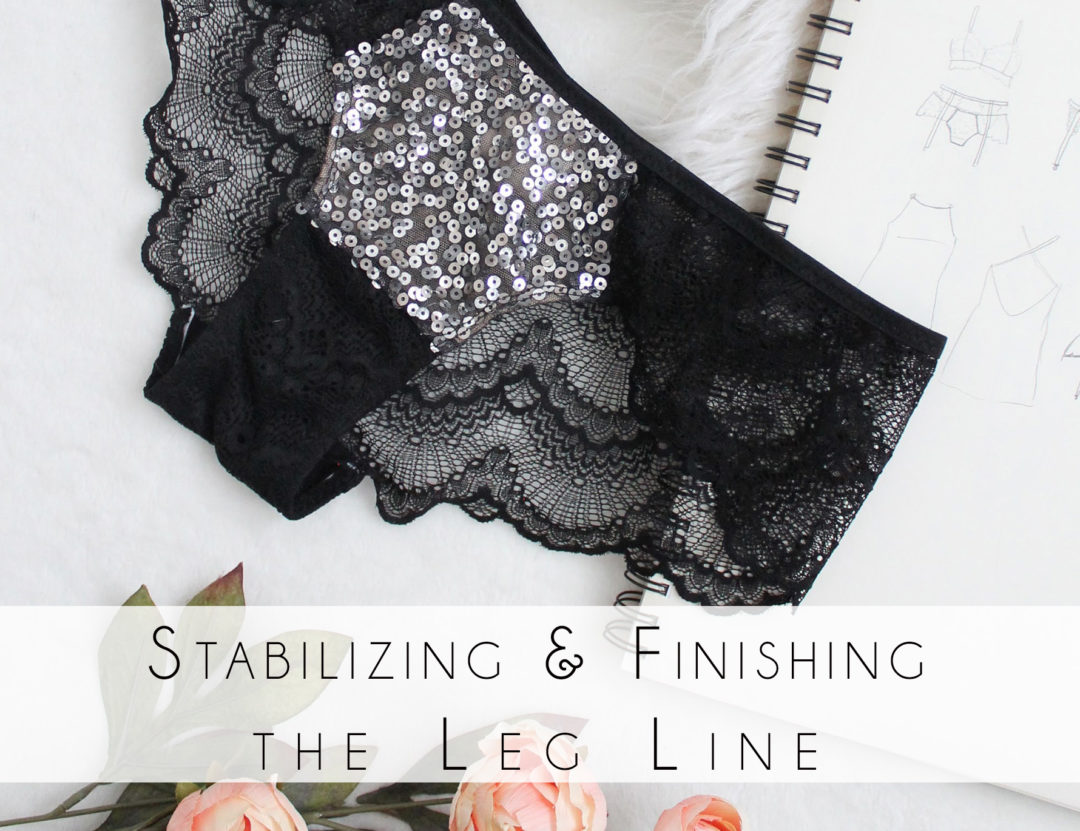
Now, we need to stabilize the leg-line of our panties with some elastic. I’ve found that this gives the most comfortable fit and best finish. However, you may opt to simply turn the edges under and use a twin needle or zig-zag stitch to finish the raw edges of the gusset and sequin front.

I use a zig-zag stitch to apply the elastic to the inside of the garment along the Panties Front & Gusset. This step is why it was important in our last step to make sure that the gusset and sequin fabric overhang the scalloped edge of the lace by about 1/4″. The elastic will now get zig-zag stitched along that edge, then turned under and top stitched in place with a twin needle.

Before you apply the elastic, you may want to snip off any sequins running along the edge of the panties, so that you end up with a 1/4″-3/8″ strip of sequin-free area along the leg line.

The elastic here acts as a stabilizer and prevents these undies from stretching out uncomfortably during wear (or bunching and scrunching, no one needs that). You should only apply the tiniest about of tension. I’m using just a plain old knitted elastic that’s relatively thin and very stretchy.

Once the elastic has been zig-zag stitched onto either side, trim any excess fabric that extends beyond the edge of the elastic.

Turn the elastic under, towards the inside of the garment, and use a twin-needle to top stitch in place. Please make sure you have switched from a zig-zag stitch to a straight stitch, and go slowly over the sequin areas.

I’ve added a video to my YouTube channel that will walk you through these steps in even more detail.

We’re almost done sewing these pretty, sparkly undies already! I’ll post tomorrow about how to finish the waistline with fold over elastic, then we’ll move onto the bra.


Tired of reading? Watch me on YouTube!

Interviews, Lingerie, Personal, Videos

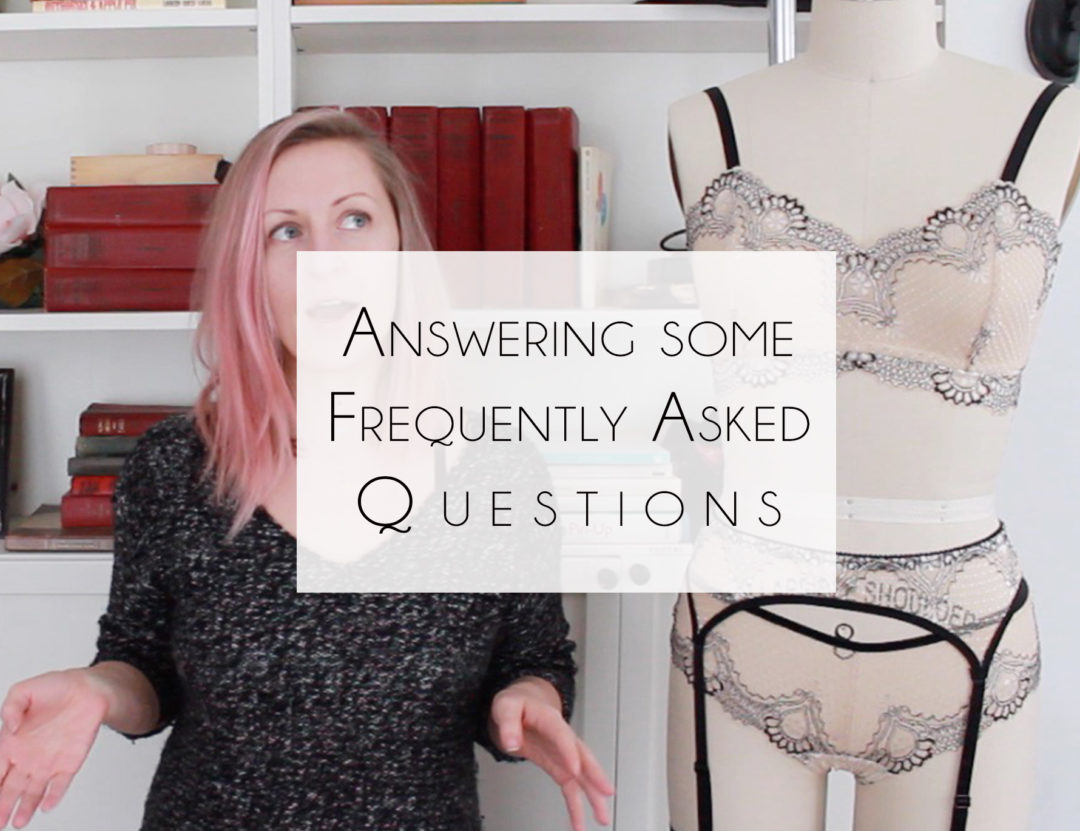
I’ve wanted to do a FAQ for a while. I always kind of thought I’d write one, but then I had the idea of doing a video! I’m slow to catch onto vlogging but I totally see the appeal. It’s a quick and easy way to share ideas.

My FAQ video goes over just a few questions I receive on a fairly regular basis. I ramble on quite a bit… I’m really good at tangents, but I’m hoping there will be some helpful info in here for lingerie-makers and lingerie-lovers alike.

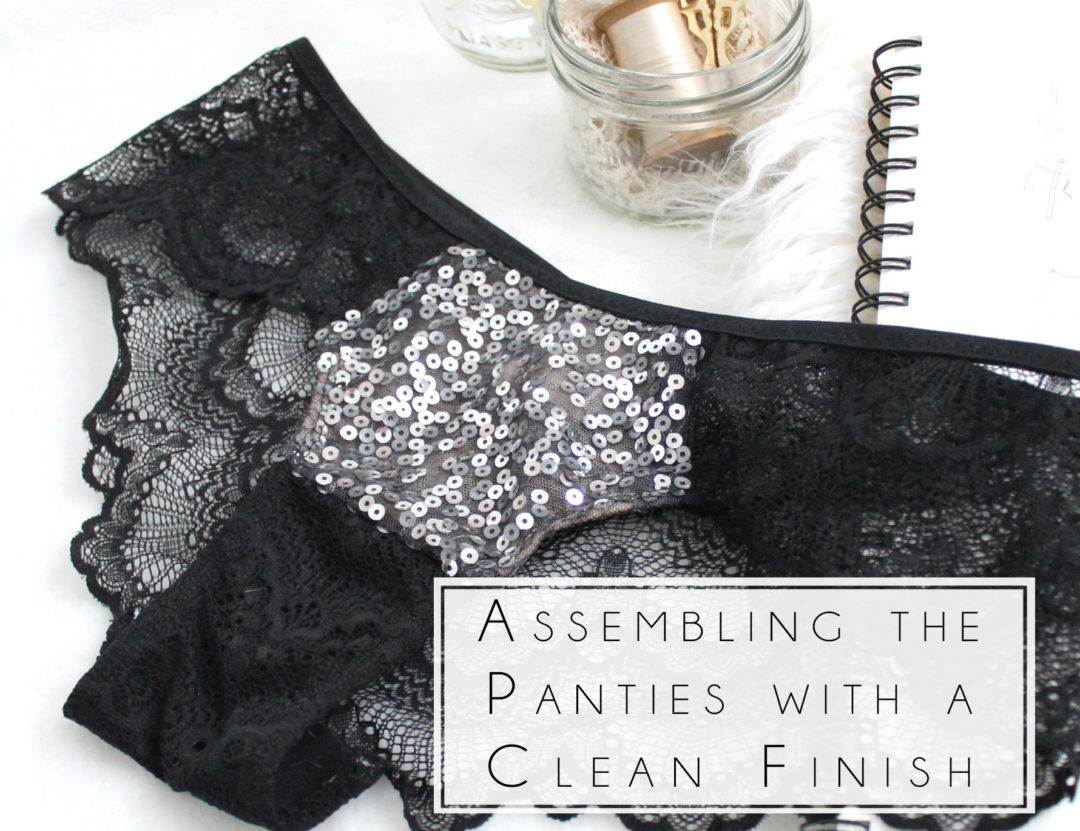
Valentine’s Sew Along: Assembling the Panties

Tutorial, Valentine's Day Sew Along

Ok, I’m going to admit, this part can get a little confusing, which is why I’m doing it first.

Sequin fabric can be really scratchy, so my goal is to sew these with as clean a finish as possible. This means hiding as much of the seam allowance between the lining and sequin fabric as possible.

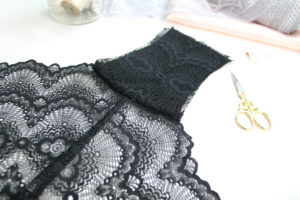
We’re going to start by sewing the gusset pretty much the same as in the pattern instructions. With the Panties Back sandwiched between the Lace Gusset Piece and Gusset Lining, stitch in place using a 1/2″ seam allowance. The Gusset should overhang the edge of the scalloped lace by about 1/4″.

Folding the gusset forward, so that the seam allowance is encased between the lining and lace layers, pin the sequin fabric along the straight edge of the gusset, going through both the lace and lining layers of the gusset. The right side of the sequin fabric should be facing the right side of your gusset. You can baste this here, or just flip it over, and pin the lining along that same seam. Stitch using your sewing machine or serger.

That part was do-able, right?

Here’s the tricky to explain part:

With the right sides together, baste the Sequin Panties Front to the Panties Back down the “side seam” (I put that in quotes because it’s not technically at the side, but this phrase will do). The mesh lining is left loose at this point! Make sure your sequin fabric overhangs the scalloped edge of the Panties Back by 1/4″. This is important for the next installment.

Now that the seam is basted together, working from the inside of the garment, take your mesh lining and twist it so that the right side of the fabric is facing the wrong side of the lace, and pin in place down that newly basted seam. Stitch using a 1/2″ seam allowance.

Are you thoroughly confused?

I made a video to walk you through the process:

I would consider this an advanced technique, but in my opinion it’s a must-do for this style of panty. The video will show you how to sew the gusset, as well as both side seams so that the seam allowance is completely hidden between the lining and sequin fabric.

If you are really struggling with this method, just sew a regular seam. Treat the sequin fabric and lining as one, and pin it down the side seams so that the sequin fabric overhangs the scalloped edge by 1/4″, and finish with a zig-zag or serger.

In my opinion, this is the hardest part of the sew along, so once we’re done this, we’re in the clear!

Next up I’m going to show you how to finish the leg line with some elastic for stability, and how to finish the waist with fold over elastic.

Valentine’s Sew Along: Cutting Your Fabric

Tutorial, Valentine's Day Sew Along

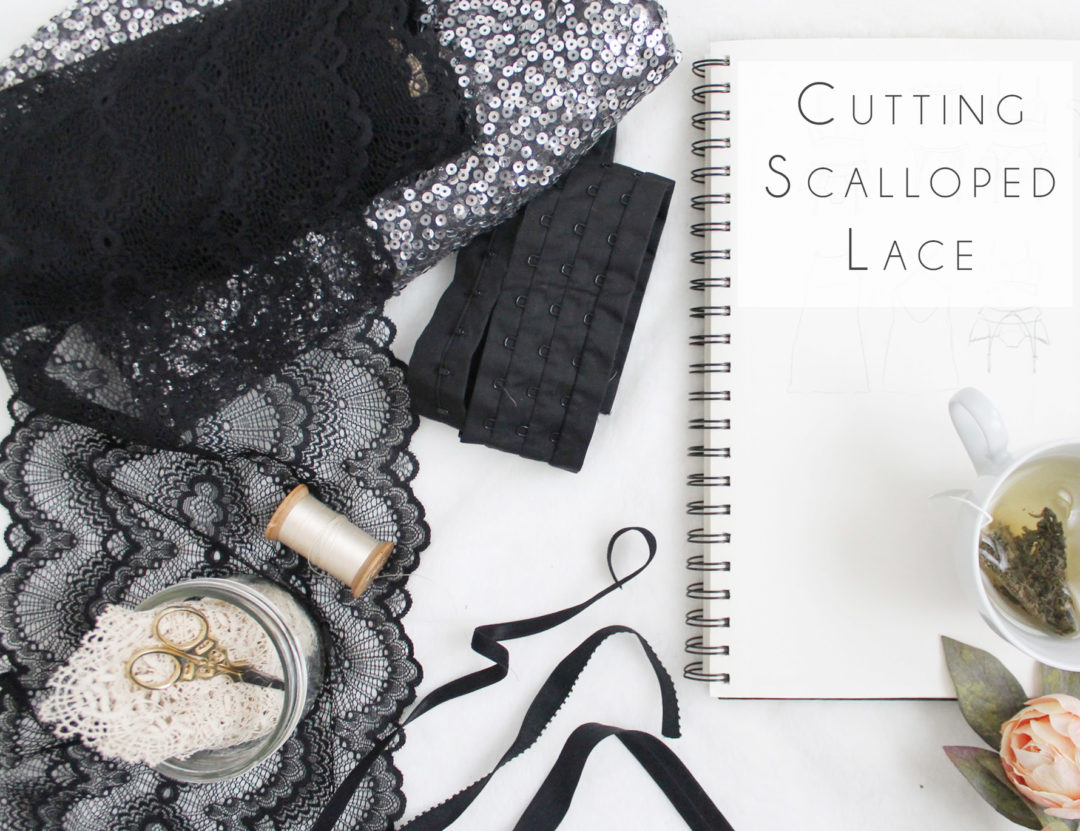
Now that we’ve gathered supplies, and prepared our patterns we can go ahead and cut into all of that pretty lace and sequin fabric.

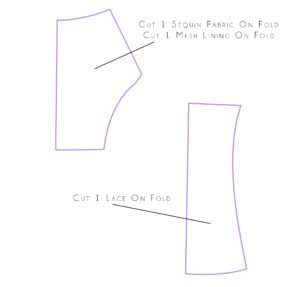
Cut the sequin fabric is exactly the same as you would cut any other fabric. Fold it in half, and place your new upper front piece on the fold and cut 1. Be sure to use sharp scissors and be prepared to have sequins everywhere. You may not want to use your best fabric scissors to cut the sequin fabric, as the sequins can dull your scissors, but you still want to use a good, sharp pair. Remember to also cut your new upper front piece out of stretch mesh.

The ‘new’ lower-front piece gets cut out of the same lace you are using on the back of the panties. I folded my lace in half lengthways and cut 1 that way. Don’t forget to also use your Gusset Lining pattern piece with the additional 1/2″ seam allowance added to the upper edge to cut your lining – any cotton jersey will do.

The Claudia Panties Back get cut out exactly as indicated in in the pattern instructions, so that the straight lower edge is running along the scalloped edge.

In total, for the panties you should have the following pieces:

  1. Upper Front – Sequins
  2. Upper Front – Mesh
  3. Lower Front – Lace
  4. Gusset Lining – Cotton Jersey
  5. Panties Back – Lace

I’ve made a video showing you exactly how I cut out my stretch lace, so if you need a little more info, this is for you!

The Jasmine Bra gets cut the same as in the pattern instructions. We’ll be adding the longline band in a later step, so don’t worry about that part quite yet.

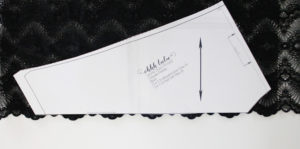
Here is a “how-to” video on how to place your Jasmine Pattern on scalloped lace.

Don’t forget to also cut the Jasmine Front and Side Front out of stretch mesh for lining.

The most important thing to remember when using scalloped lace is to make sure the motif is mirrored on either side. Take some extra time to make sure that when you fold your lace in order to cut 2 of each piece, that the scallops and motif of the lace all line up.

If you find that your lace is a little too short for the Panties Back, I’ve got some tips on how to make-do in a separate post, Tips & Tricks for Sewing Scalloped Lace.

Now it’s on to the fun stuff!

Loads of Lace

Design Diary, Lingerie

I. Love. Lace.

I went on a lace buying binge before christmas and recently received some real treasures in the mail.  When I opened the package, I literally gasped with excitement.

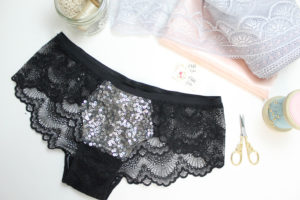
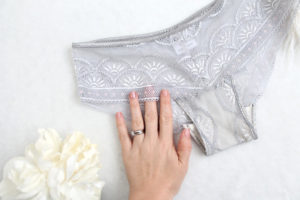
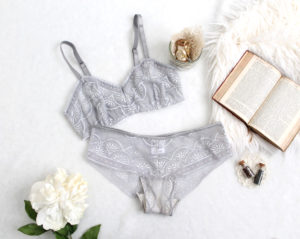
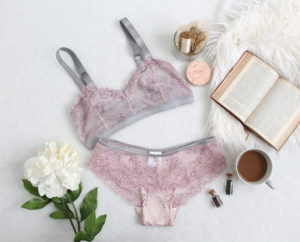
I’m really digging two-tone lace. This grey lace has the slightest bit of sparkly pink in it. Pink & grey is one of my favourite color combinations. I absolutely love this set.

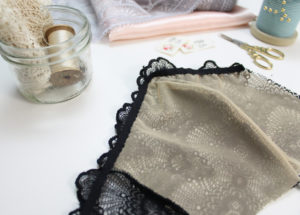
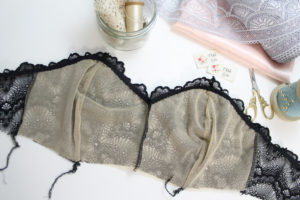
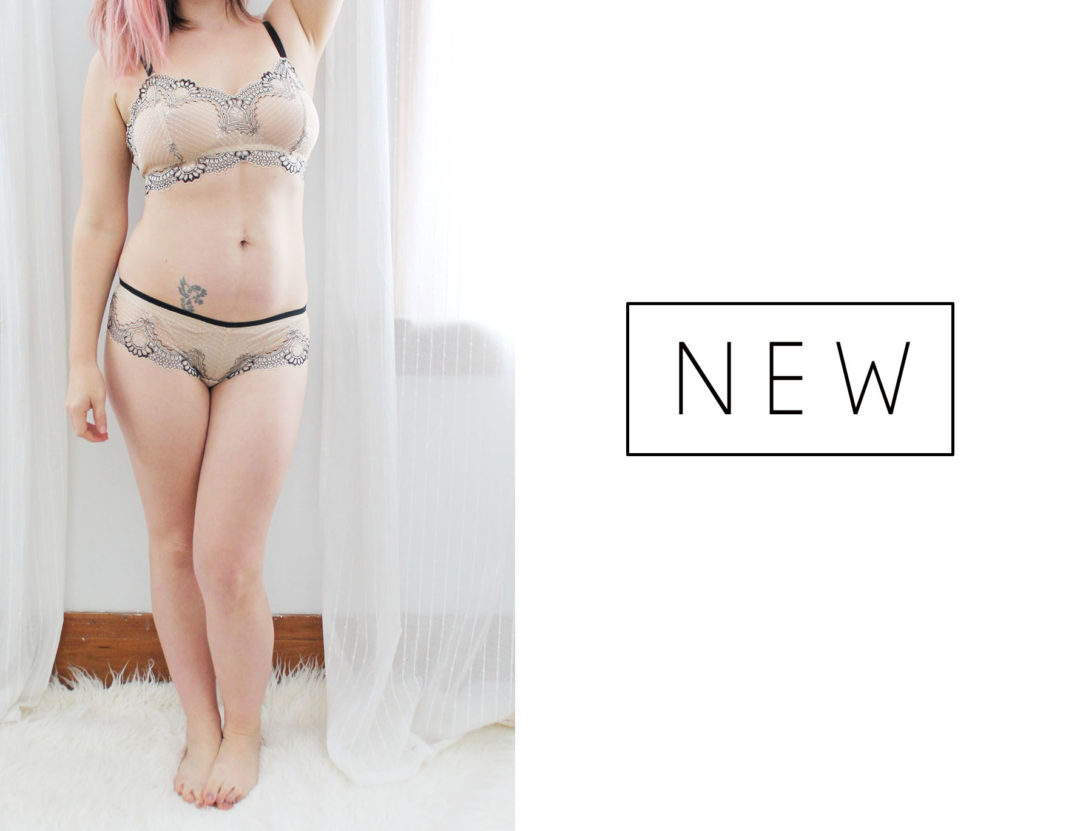
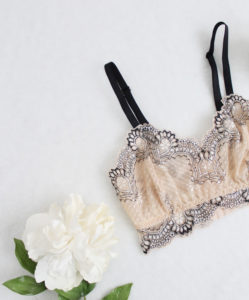
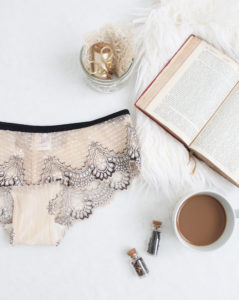
This champagne & black lace is a close second to the grey lace in my books. The delicate black motif along the scalloped edge just looks so classic.  I remember a time when I’d cringe at beige… I’m a recent beige-convert.

I’ve been challenging myself to continually add new items to my shop. Taking photos and putting fabrics together are two of the things that really fill my heart with joy – so I’m trying to always make time for that.