Browsing Tag

bra making

Ohhh Lulu Pattern Hack: Easy front closure

Tutorial, Uncategorized

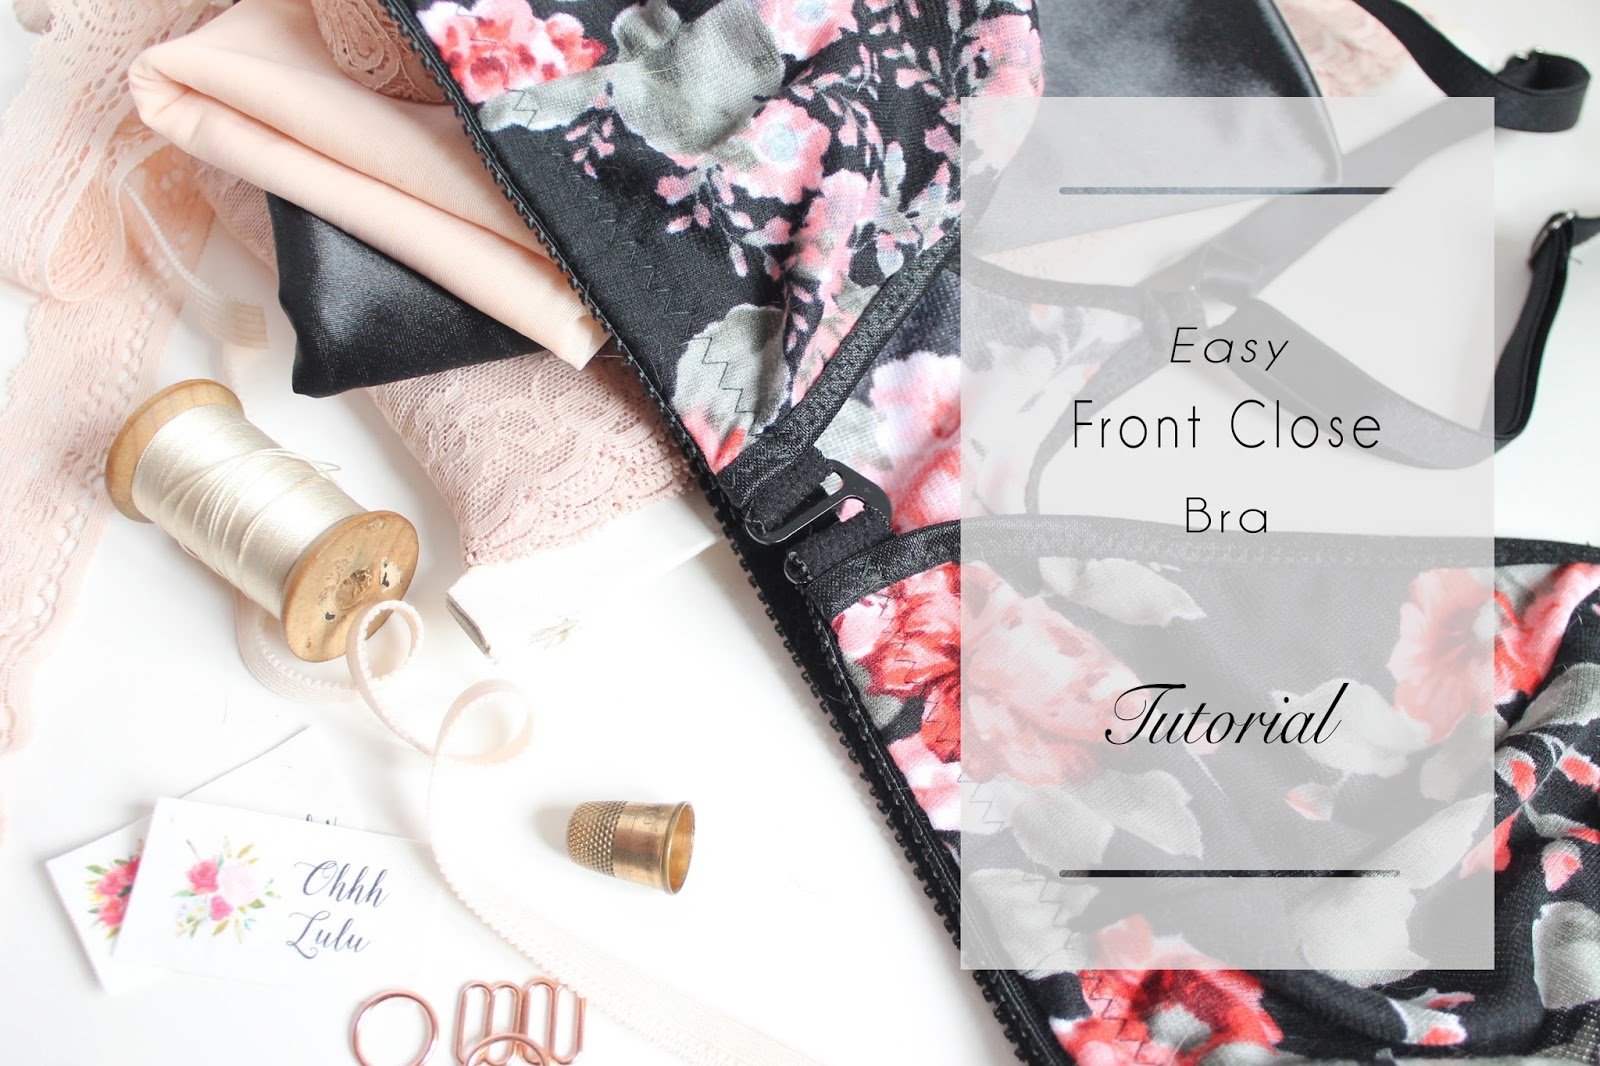
I had a customer email me a month or so ago asking for advice on how to add a front closure to one of my bras. She had some mobility issues and wasn’t able to easily get in and out of a back closing bra herself.  Last week I came down with a cold (my second cold of the month, unfair!) and my whole body was aching. Strangely enough, my right hand really ached and I could barely do anything with it! I really felt for this customer who had to deal with aching hands on a daily basis. 
I like this method because it uses a simple G-hook, but you can also use this method with a front clip. I sometimes also like to add a metal ring to the center front of my pull on bras, which uses basically the same steps. 
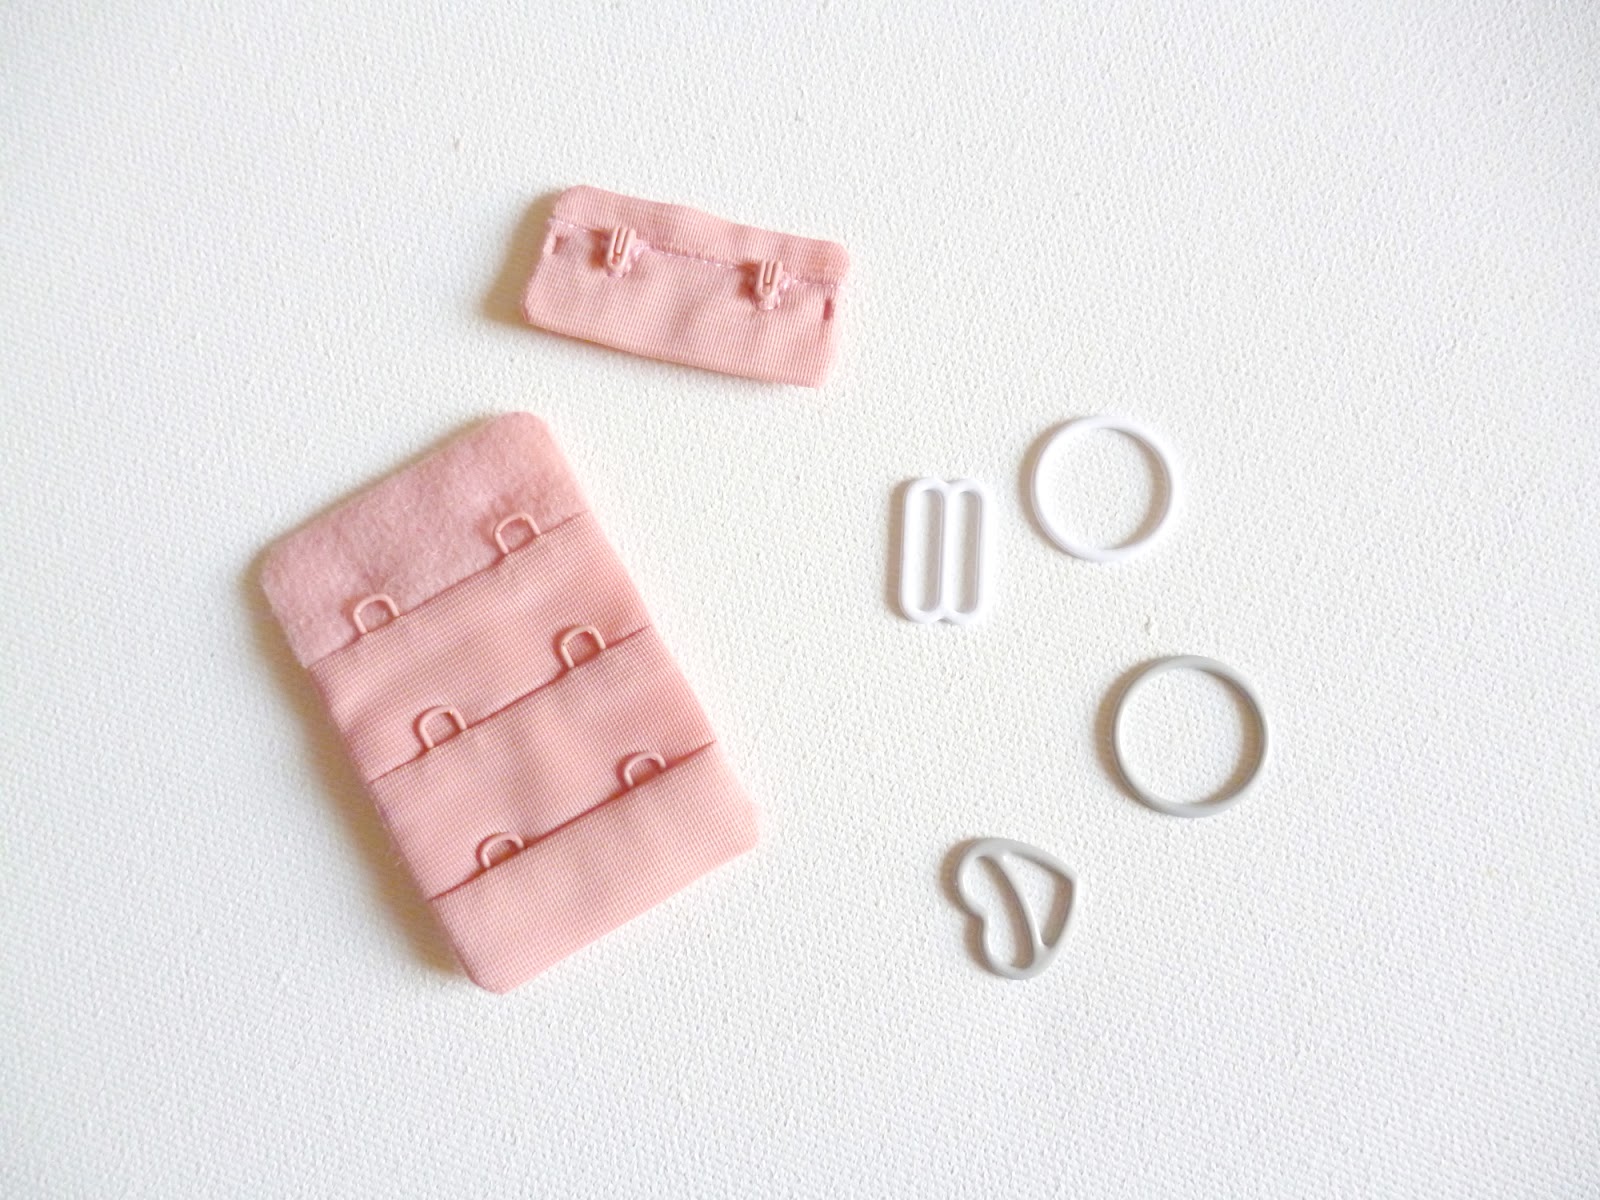
What you need:
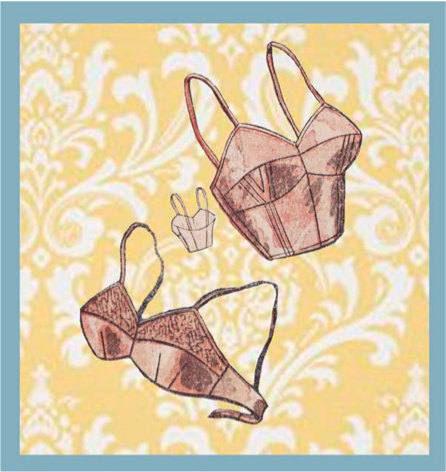
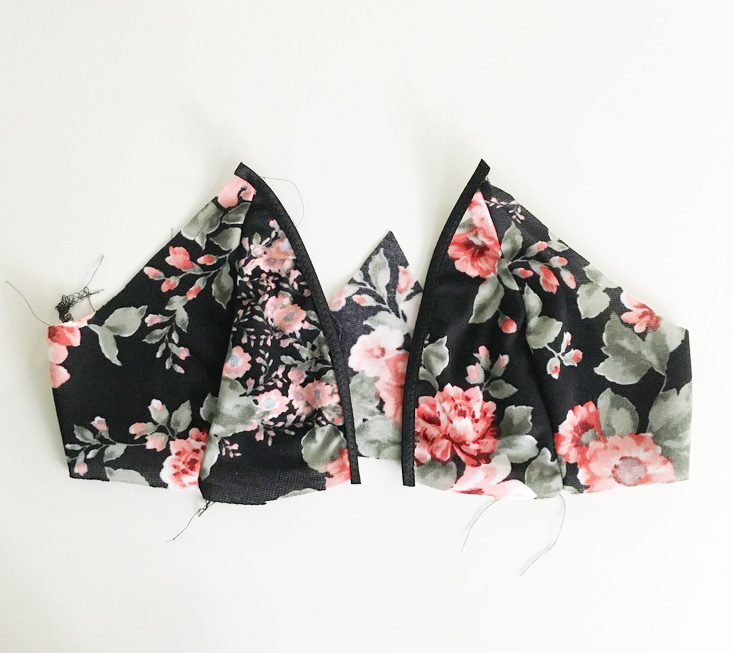
1. Any triangle front bra pattern, like my Josephine, Scarlett (which I have used here), or Brigitte Pattern.
2. Supplies as outlined in the pattern.
3. G-hook or Front Clip

Instructions:

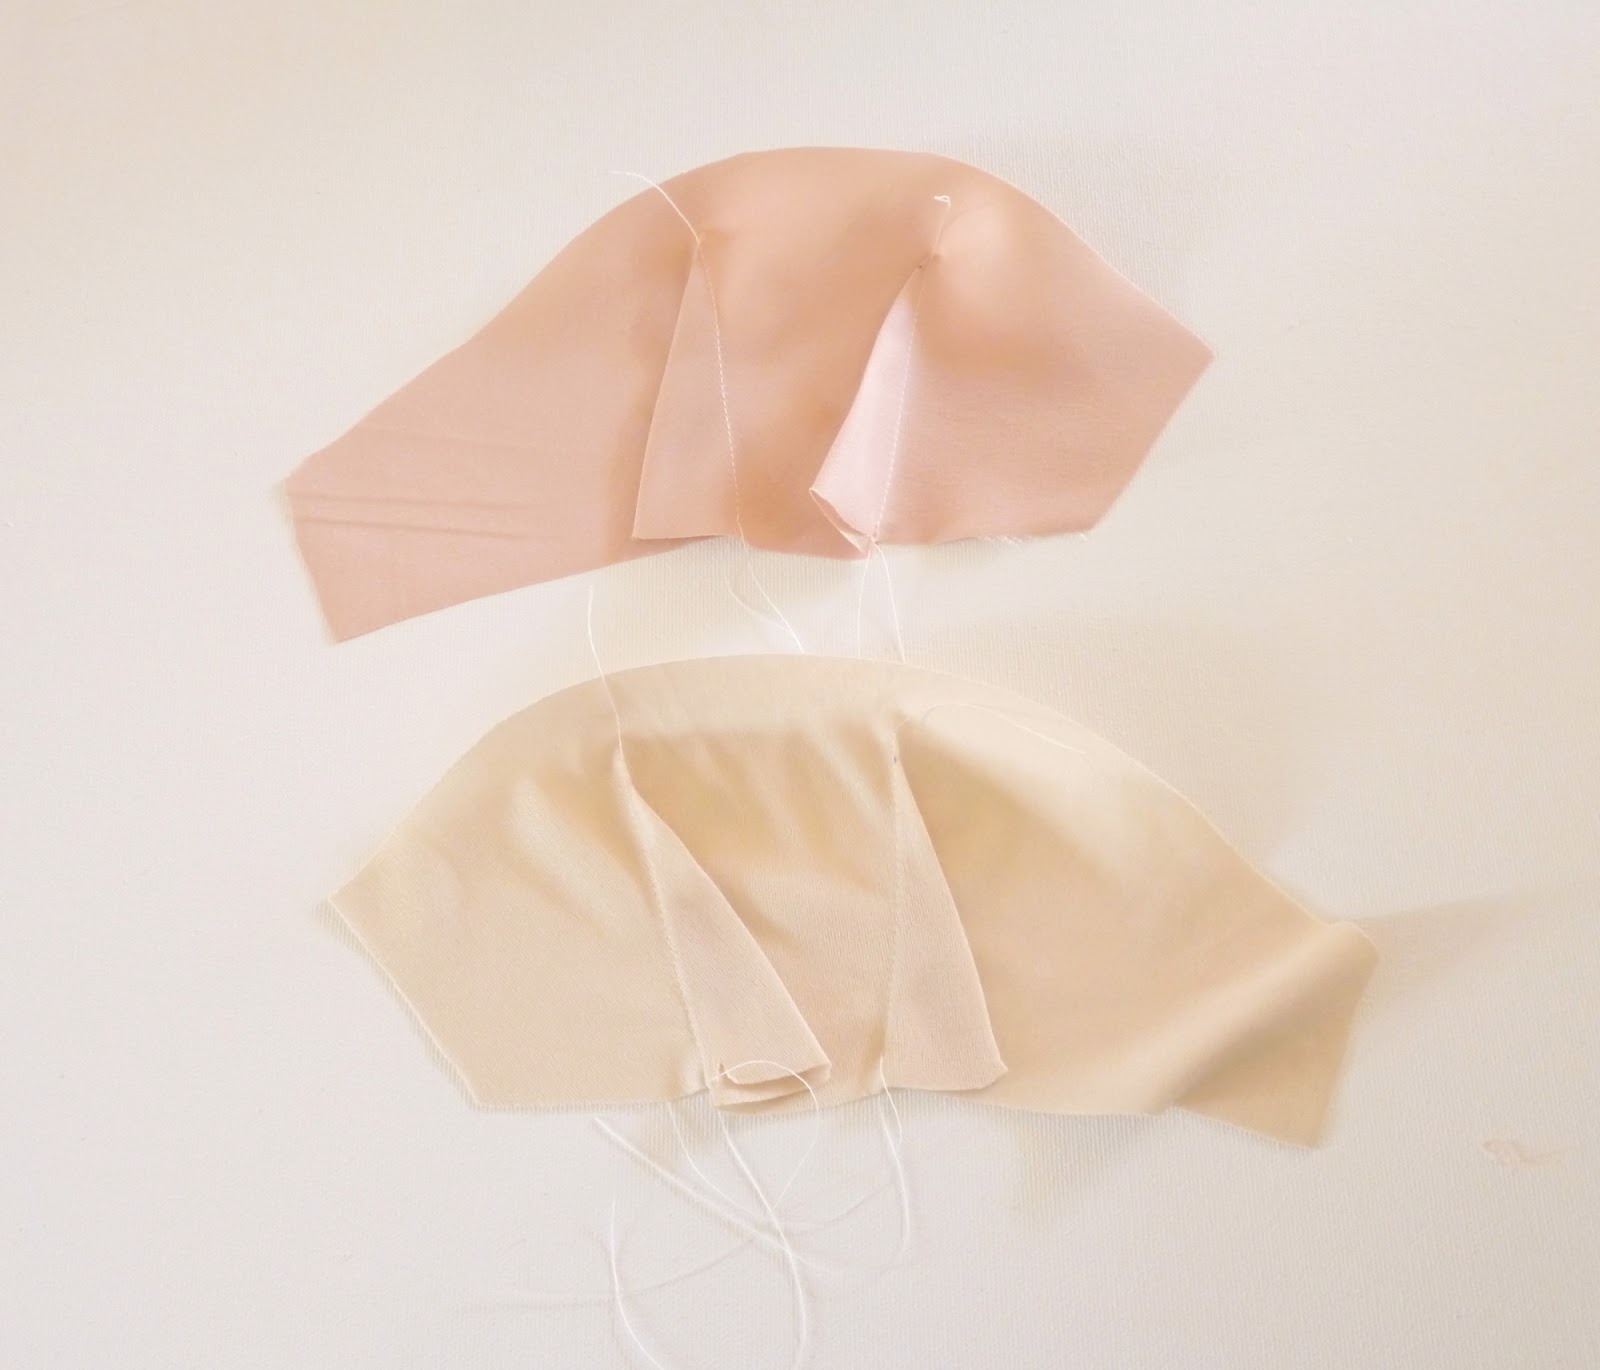
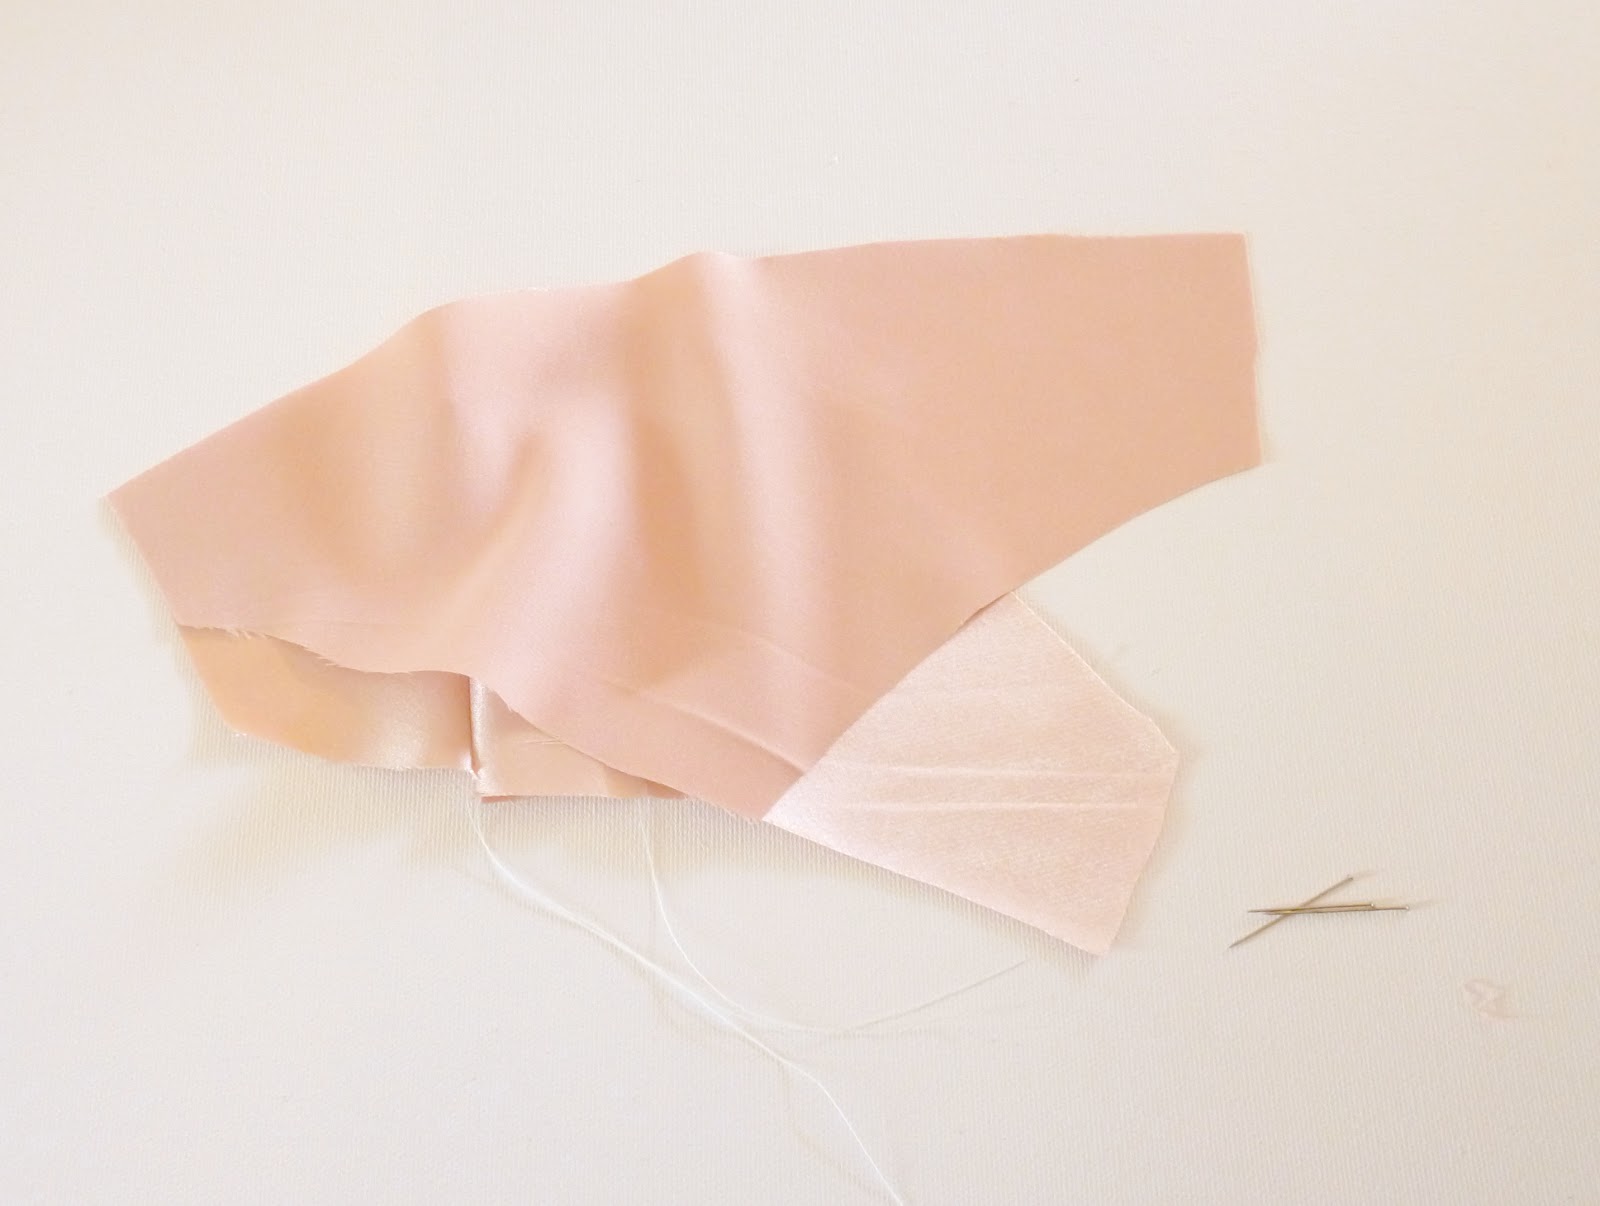
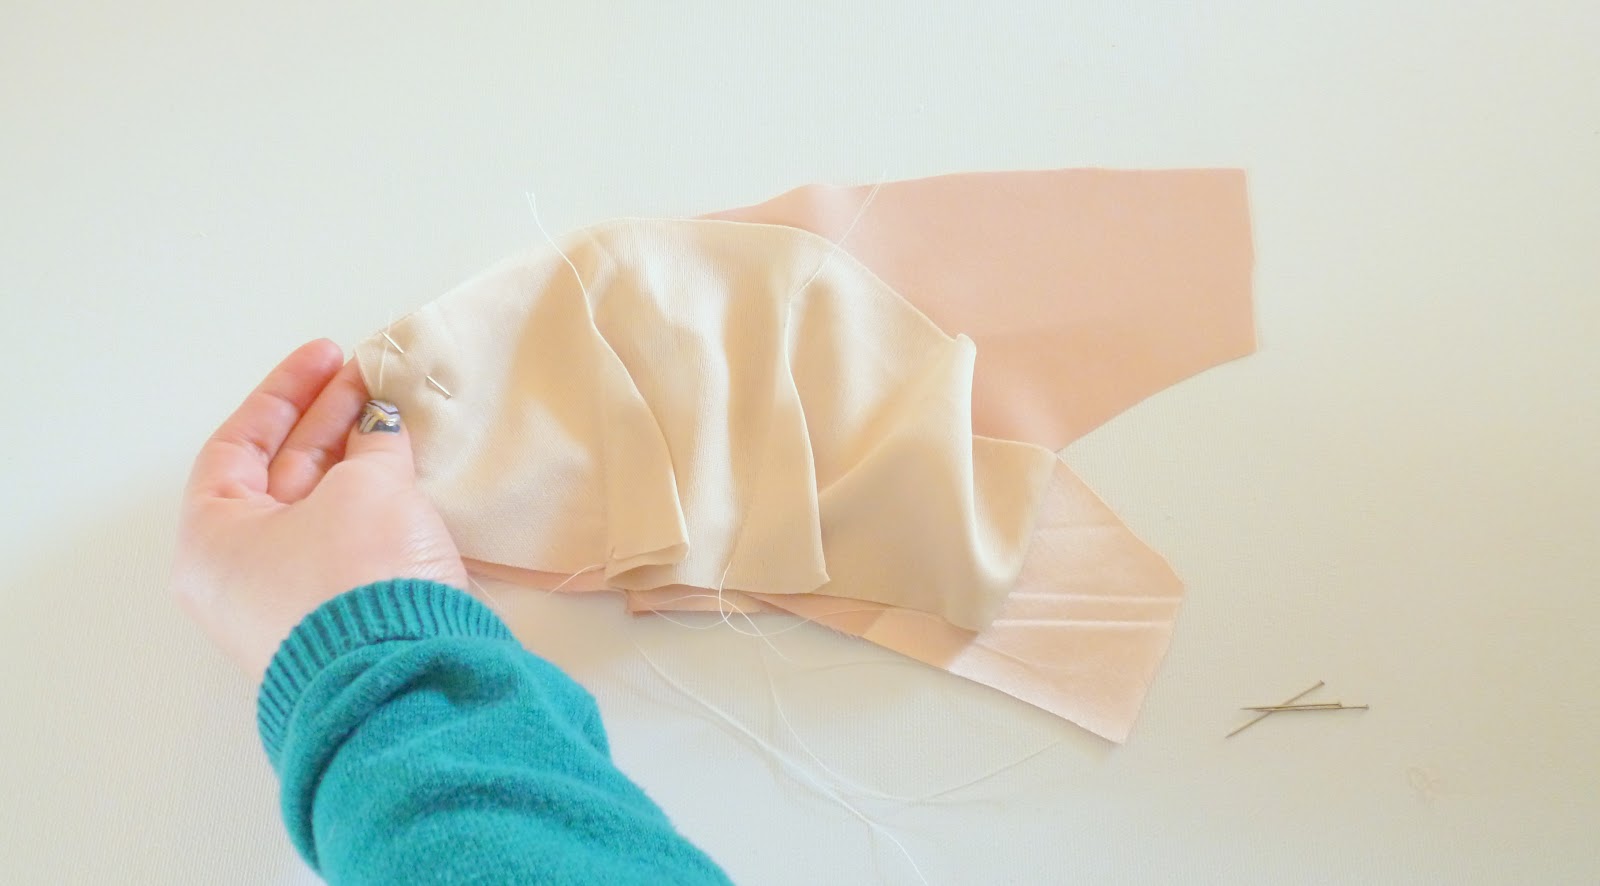
1. Following the pattern instructions, assemble cups and apply elastic around front edge.

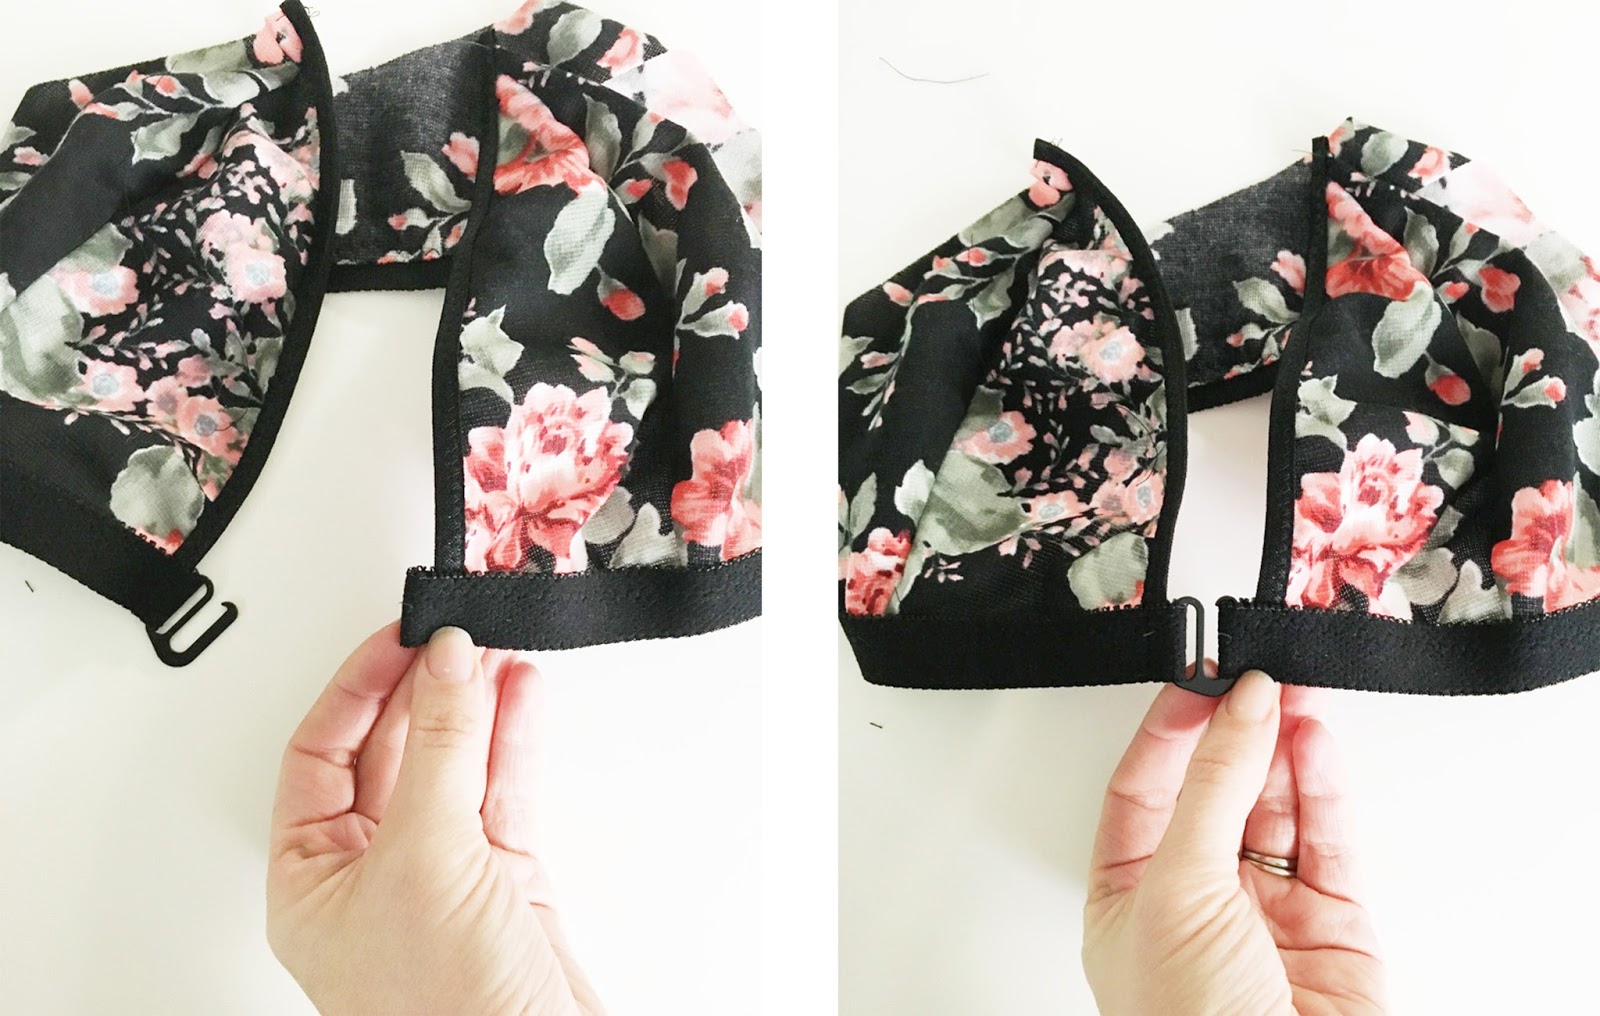
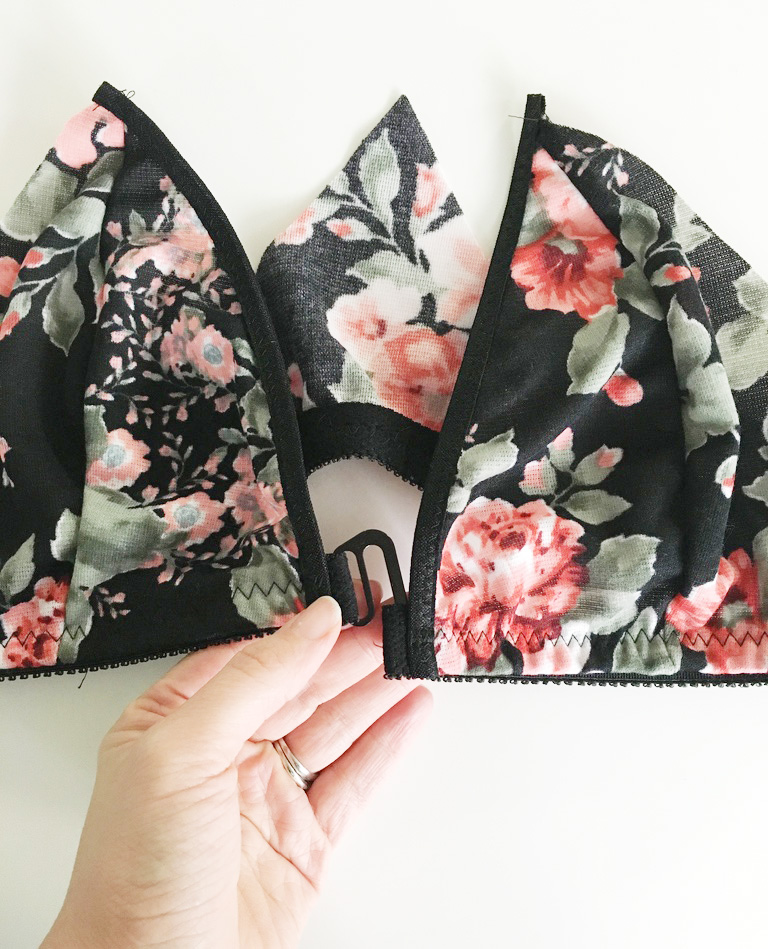
2. Beginning at the center front and leaving a 1″ tail, apply the band elastic along the lower edge of the bra. Leave a 1″ tail and the end.

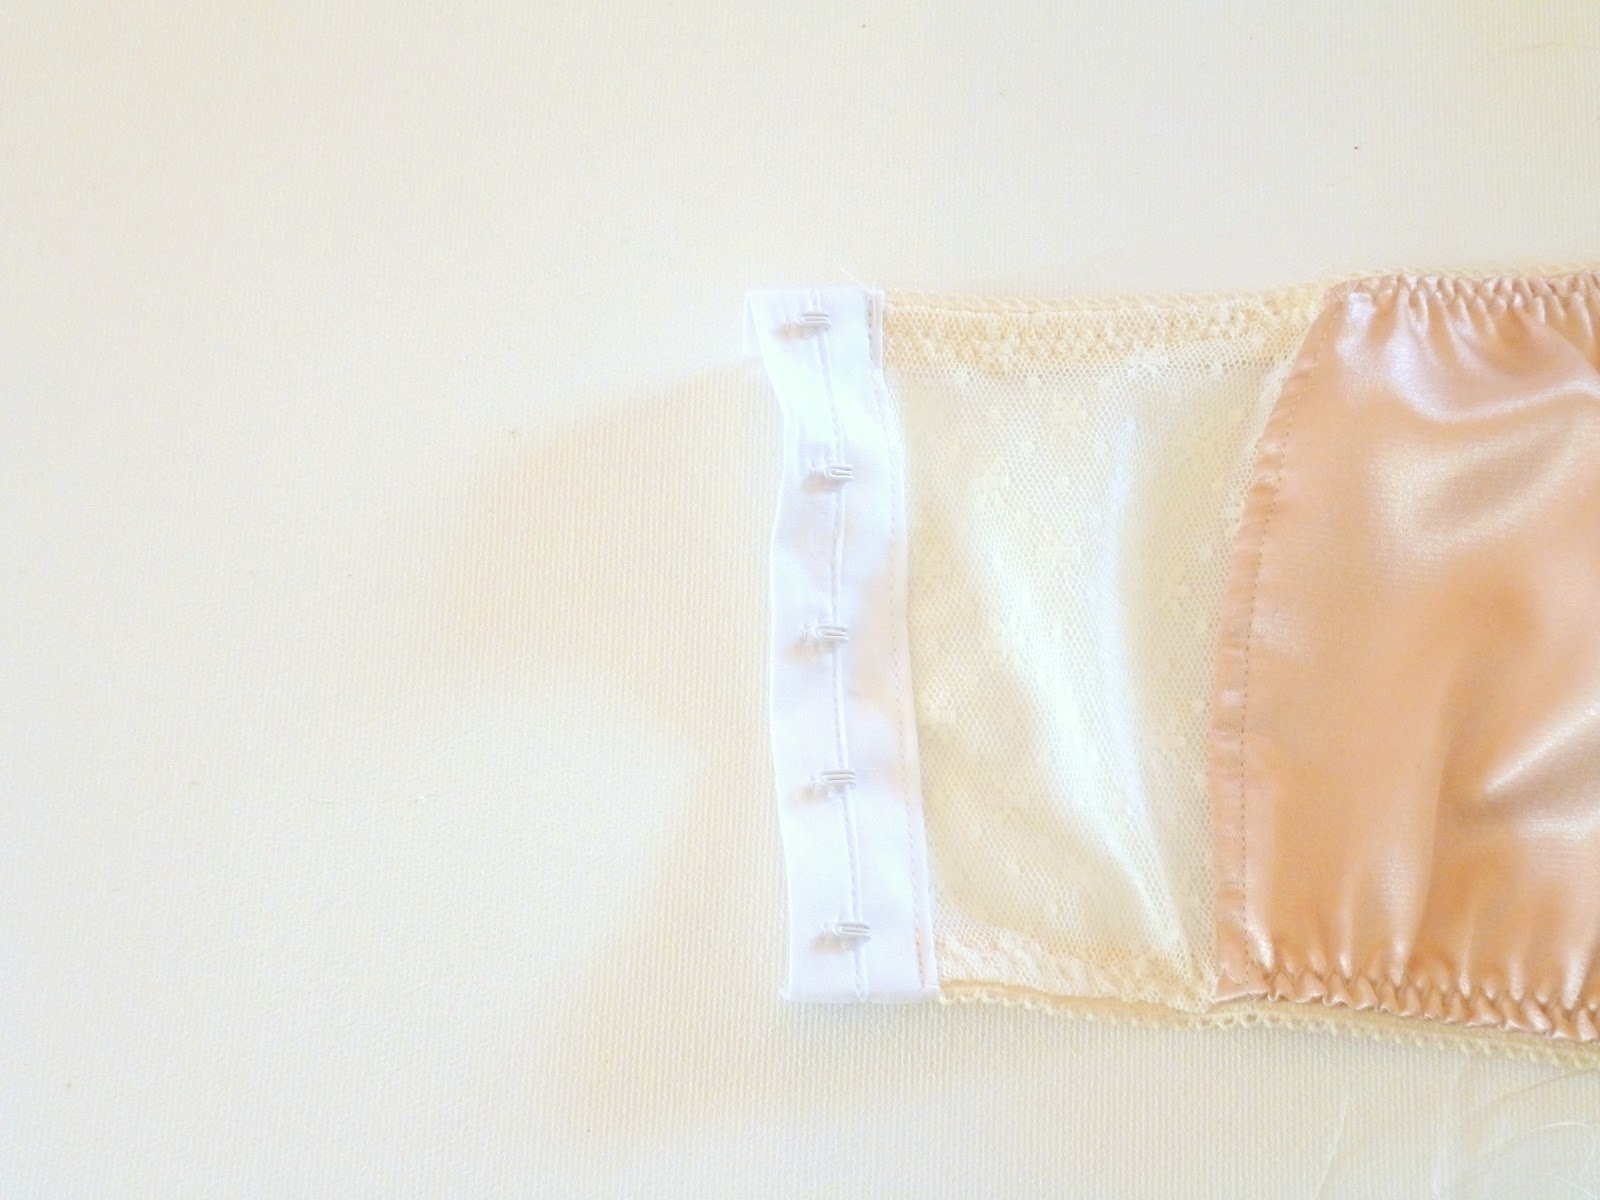
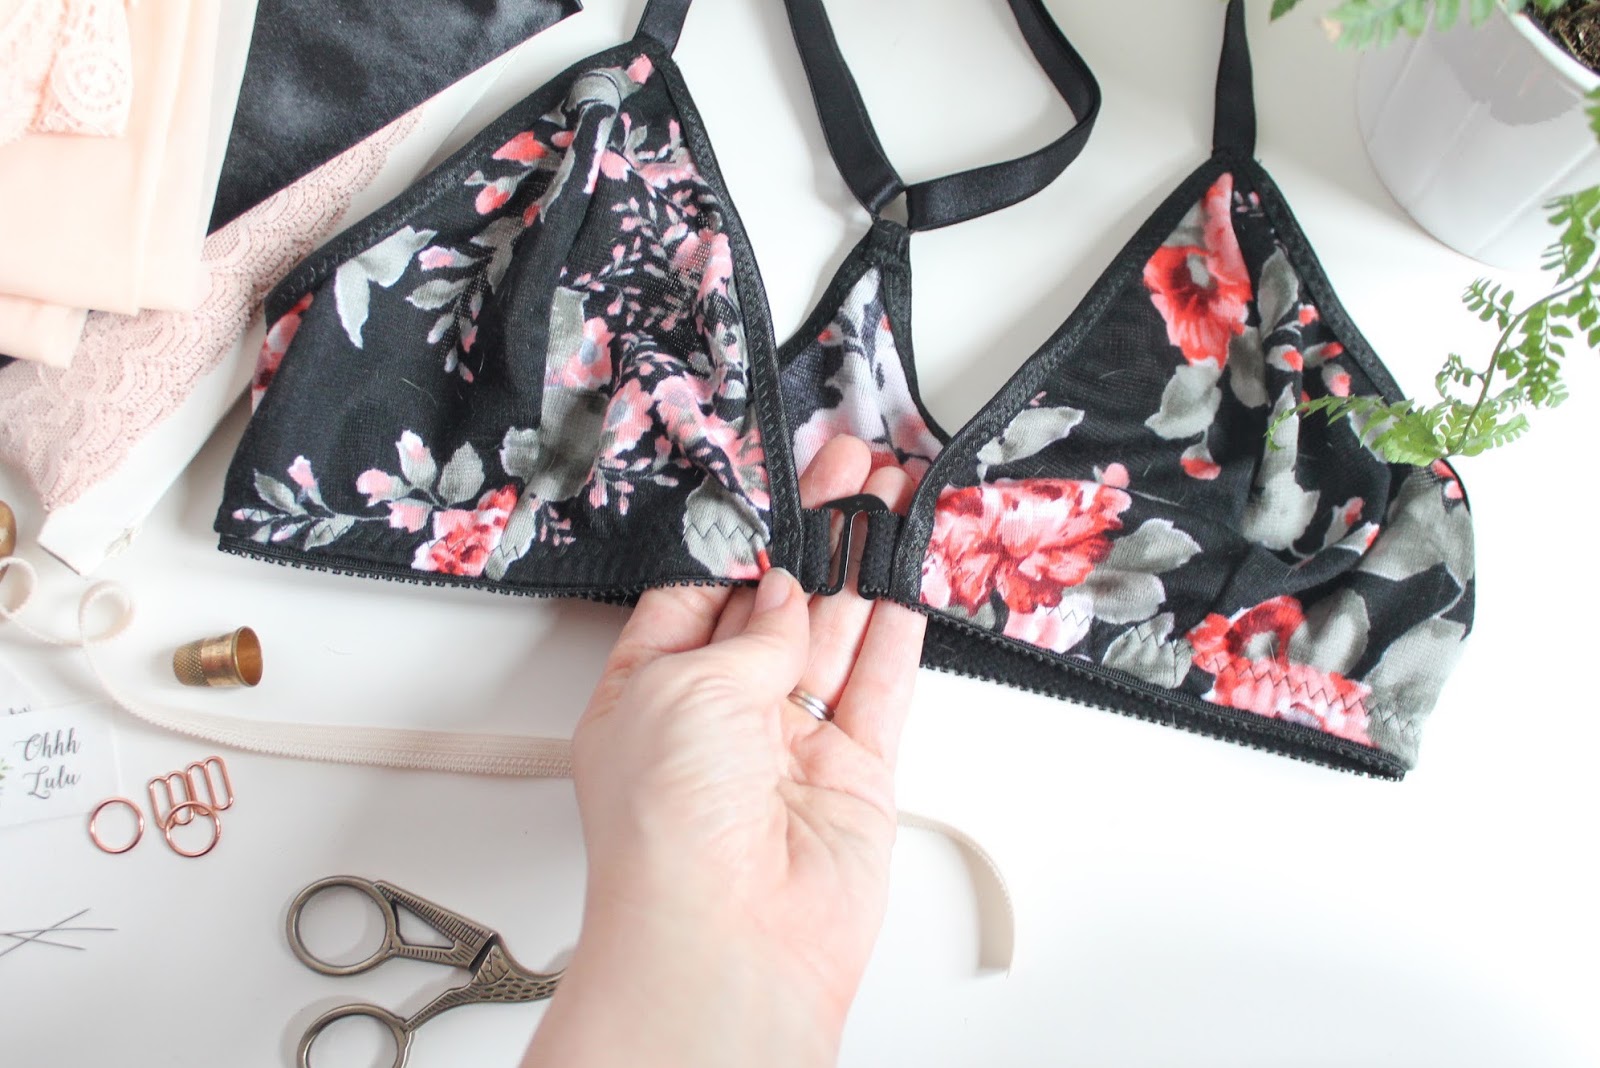
3. Feed one end of the elastic “tail” through the closed end of the G-Hook. Turn elastic towards garment and stitch in place.

4. Wrap the tail on the other side of the bra around the open end of the hook and stitch in place. This creates a small loop to catch the hook into.
Your hook should be upside down at this stage! It will get flipped around soon.
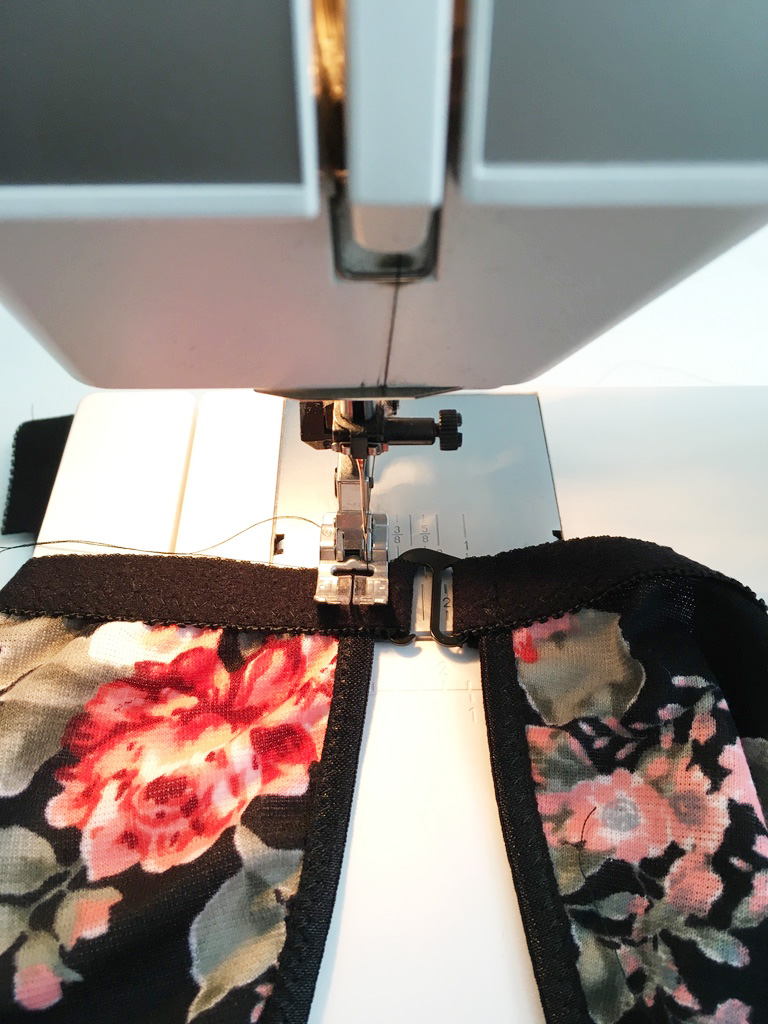
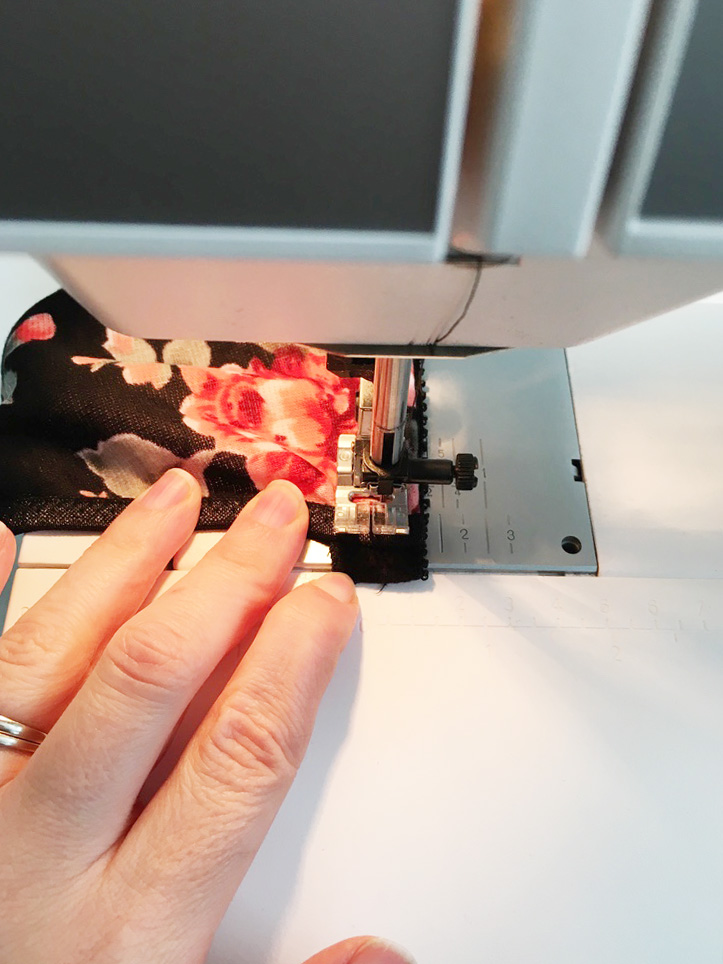
5. Turn the band elastic under and topstitch in place with a wide zig-zag stitch. Make sure to securely backtack at the beginning and end of your stitching line.

6. Finish the garment following the instructions in your pattern.


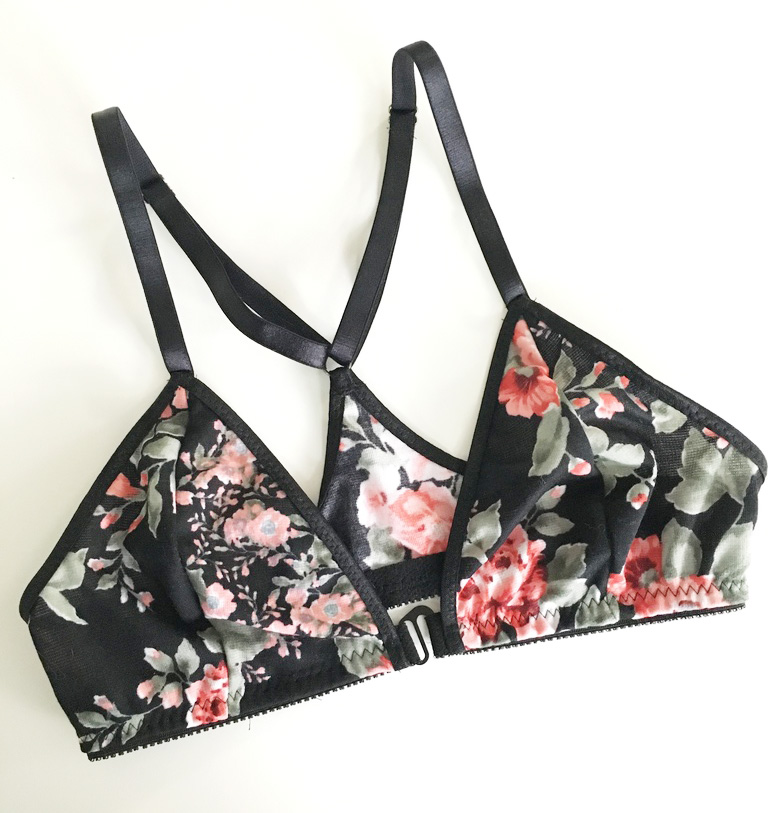
That’s it! now you have a neatly applied front hook closure! Enjoy!

Ohh La La Pin Up Sew Along Pt 2… Adding hook and eye tape

Uncategorized
Can you believe we are almost done sewing our long-line bras? All we have left are the closure and straps.  Anna showed us how to use a very cool vintage-repro closure on her blog.  I am using hook and eye tape – the kind you can buy by the meter at your local fabric store.
I started by cutting a length slightly longer than the back of my bra, so I had extra to turn under.   I basted my hook side onto the right side of my corset, folding the ends under.  

 The eye side, I basted right sides facing, to my bra.

 I folded it back, and stitched it down with two rows of stitching.  I did this to leave a small “flap” to cover the gap between the hooks and eyes.

 Next, I hand stitched my hook side down, just like you would with bias tape. (look – I changed nail polish!)

Voila! It’s that easy!

And it looks neat and tidy on the inside.

Ohh La La Pin Up Sew Along Pt 2… Assembling the corselet and attaching the cups

Uncategorized

We have assembled our lined, half lined, or unlined bra cups and can now star working on the lower half of our long line corset.

Start by stitching the centre front panels together, with a 1/2″ seam allowance.  After I have done that, I have folded my raw edges under, and stitched about 1/4″ in from my seam line.  This creates a clean finish inside, and gives me decorative top-stitching outside.

I attached my side front panels to my centre front panels with a flat felled seam (stitched down french seams).  If you are not sure how to do this, I added a tutorial HERE for our corset section of the sew along. 

 Sew your two bra cups together down the centre line.  I folded under the seam allowance, just like I did for the center front of the lower half, making sure my stitching lines would match when I sewed the two pieces together.

Now you can stitch the front bra and front corselet together.  To keep a sharp corner at the centre where the corselet comes to a point, as you are stitching, leave your needle in the down position at the point, carefully snip the stitches of the centre front seam of the bra, so you can pivot around the corner and get a sharp edge.

 Now is a great time to hold it up to your body or your dress form to make sure nothing weird is going on with the fit!

It’s really starting to look like a long line bra! How is yours coming? Next I am going to show you an optional finish for your bra cups, to add a little support under the bust.

Ohh La La Pin Up Sew Along Pt 2… Assembling your Cups

Uncategorized

Anna wrote a great post yesterday on sewing your darts.  She is also adding a pretty lace overlay to coordinate with the amazing vintage-look corset that she made in Part 1 of our sew along.  Anna is essentially making 2 bras, then sewing them together, to end up with a beautifully lined bra.

I am lining only the lower cup of my bra to reduce bulk in the upper cup, add support underneath the bust, and reduce bulk around the long-line band.  There is no right or wrong way to sew a garment, so do what you think looks best and works best for you!

I started with 2 lower cups cut in Self Fabric, and 2 lower cups cut in Knit lining.  I transferred my dart markings, and sewed my darts.  Anna is using a sheer-ish fabric, so she cut her darts.  I pressed mine towards the side seam.

Now that we’ve sewn the darts, we can start assembling our cups.

 We are essentially making a bra cup “sandwich.” First layer is the lower cup, second layer is the upper cup (right sides together), third layer is the lining (wrong side out).

Pin your delicious “Bra cup sandwich” together, and stitch 1/2″ in from the raw edge.

 Now clip your curved edge to prevent bulk when we turn it inside out.  Always clip seams that curve out, and slash seams that curve in.

 Now that we’ve stitched our cup together (easy!), we turn our cup right side out and give it a good press.

 Here’s what the inside looks like, cleanly finished!

 I understitched the seam allowance to the lower cup lining to help the lining lay flat in place.  To under stitch, stitch 1/16″ to 1/8″ in from the seam line, sewing the seam allowance only to the lining fabric.

 After I understitched my bra cup, I added some decorative stitching to create a quilted effect.  Following the line of the darts, I sewed 4 stitching lines, parallel to each dart line.

Now, do it again to your second bra cup!

You can also line your entire bra cup by simply sewing 2 cups, and sandwiching them together.  You will either bias bind or add elastic around the upper edges, so the top edge can remain raw.

How is the assembly going? Are you having any problems with your bra? This is definitely the trickier part of the sew along!

Ooh La La Pin-Up Sew-Along Pt. 2… What you will need for your NEW vintage bra.

Uncategorized
We are on to part 2, and the more challenging part of our sew along: sewing our Pin Up Bra! 
Anna’s pattern comes in two styles, a short bra, and long line bra.  Of the two, the longline bra is the more challenging sew and will require some pattern manipulation which I will walk you through.
But now for the fun stuff, gathering your supplies.  There are so many ways you can finish this garment, so be creative and don’t be afraid to try something new.
I am using the same satin I used as an accent on my corset.  I’ve also gathered up some white stretch lace, which I will use as a contrast, and to give my bra  a little more give, and some nude coloured stretch lining (I chose a knit because I am cutting my cups on the bias).  I am going to edge my bra in cream coloured picot edged lingerie elastic, and I am creating a false band with plush back bra elastic, which I will also use for part of my straps.  I have hook and eye tape for my closure.

If you are sewing the short bra, you will need some kind of bra back closure.  You can use an S-hook, Hook and Eye closure, or a Vintage closure like Anna.  I will be adding adjustable straps to mine, so I’ve set a side some small o-rings and sliders.  I got these adorable heart slides on Etsy .

If you are for more of a reproduction look, skip the elastic and use some bias binding to finish your edges, and ribbon for straps.  You can also add boning to the side of the cups if you feel you need some extra support.

Are you excited? Nervous? Scared? Already finished?  Do you plan on sewing the short version or the long line version? I like this pattern so much, I think I will sew both!