Browsing Tag

bra

Ohh La La Pin Up Sew Along Pt 2… Sewing adjustable straps

Uncategorized
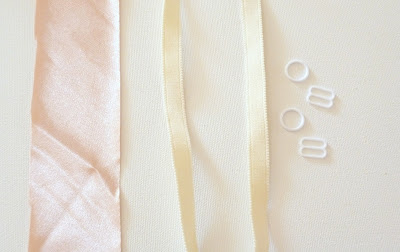
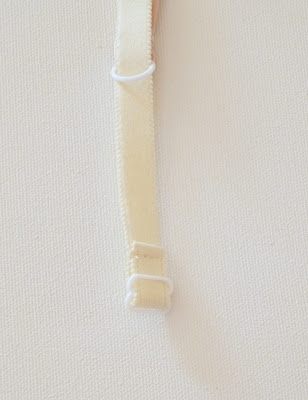
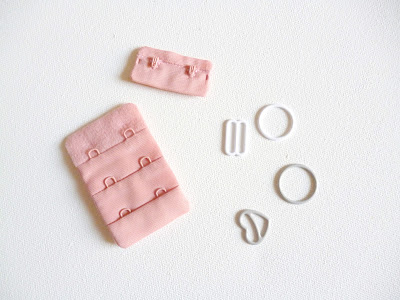
I wanted to add straps that are adjustable, but not too utilitarian looking, so I have cut a strip of bias tape approximately 1 1/2″ wide, as well as two lengths of strap elastic.  I also have 2 plastic o-rings and 2 plastic sliders.

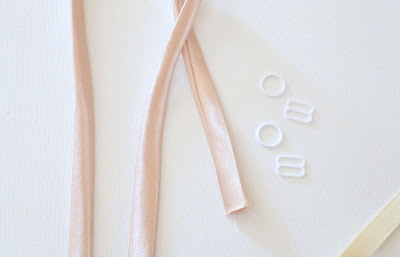
I sewed my bias tape into a long tube (1/4″ seam allowance), turned it right side out, and pressed it flat. I then cut it into to strips about 11″ long.

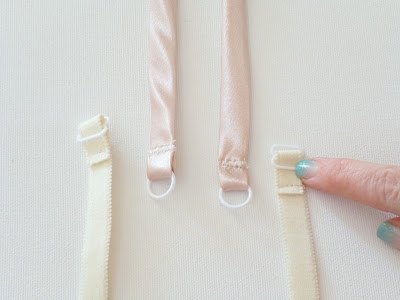
I looped my bias straps around my o-rings, and did the same with my strap elastic and sliders (looping around the middle bar). I tacked them down with a narrow zig-zag stitch.

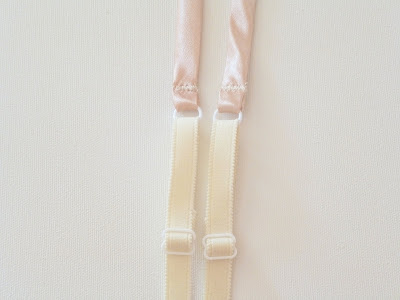
Next, I fed my strap elastic through my o-ring, and back down, weaving it into my slider.

… making an adjustable strap! Don’t have sliders? Do you have an old beat-up bra laying around? Why not harvest it for parts?  When I was first learning how to make lingerie, I tore apart all my old, unwearable bras,  and used the parts to practice.

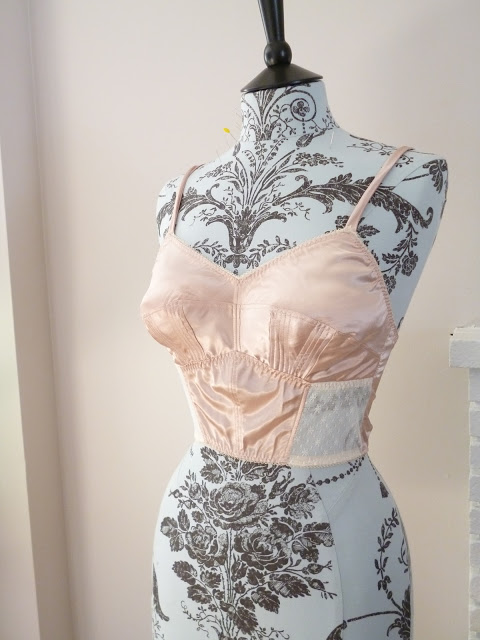
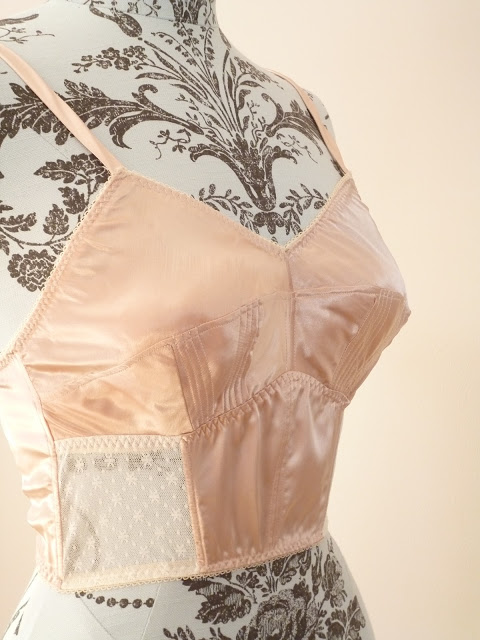
I then tacked it into place onto my bra…. And That is it!

To complete the our ensemble, I am working ever-so-hard on a digital pattern of my NEW “Betty” High-Waist Panties… Stay tuned for more info! I am hoping to have it ready to go within the week.

Ohh La La Pin Up Sew Along Pt 2… Adding a little extra support

Uncategorized

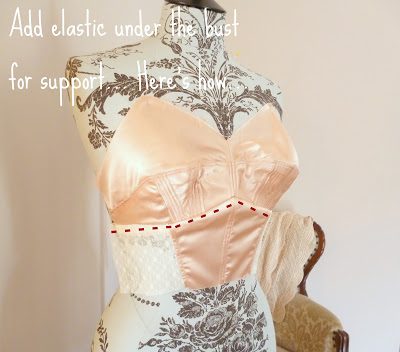
 I am a curvy petite girl, and I always find that I need a little extra support under the bust, so I am adding some plush-back bra band elastic to the seam allowance between the bra and the corselet.  This will create a shelf bra effect and will prevent… ahem… slippage.

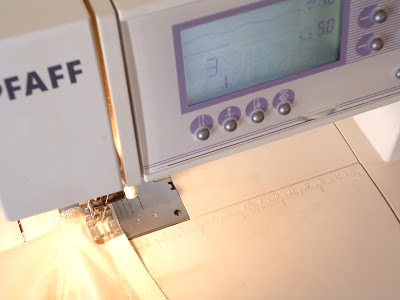
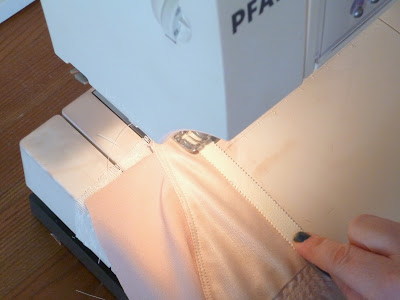
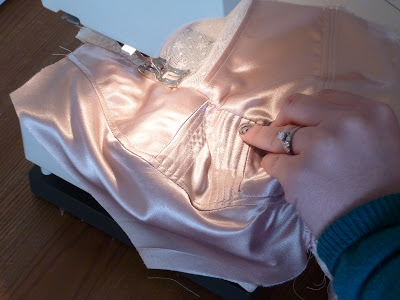
I took a length of 1/2″ wide bra elastic, no specific length… Using a long zig-zag stitch, I basted the elastic onto my seam allowance, carefully stitching about 1/16″ in from my seam line so as to not disrupt the exterior of my bra.  In a nutshell, stitch as close to your original stitching line as possible, without going over.   Gently pull the elastic, creating some tension as you go…

Select a long zig-zag stitch that is short in height.
Gently pull the elastic as you baste it onto the seam allowance.

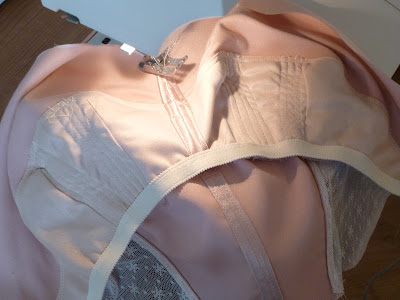
 When you have finished basting your elastic on, your bra should now “scrunch” in a little bit under the tension of the elastic.  You have created a gently gathered effect by pulling the elastic as you baste it down.  You don’t want to pull too much.  At the end, the elastic should pull the bra only 3/4″ to 1″ shorter in width than it had been previously.

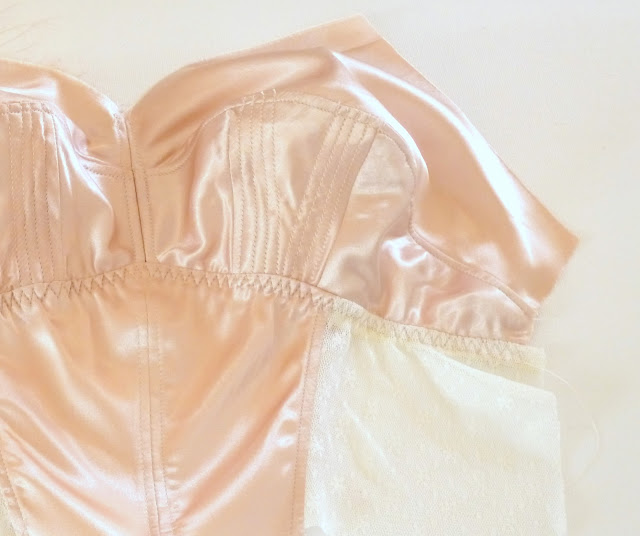
Elastic basted onto the seam allowance of the bra and corselet.

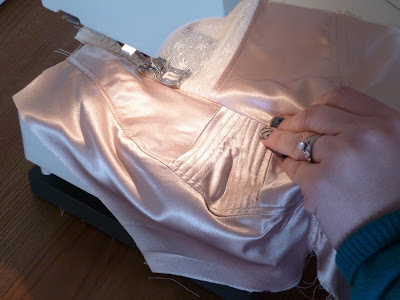
 Now we are going to top stitch the bra elastic down, onto the corselet, using a zig-zag stitch again.  This time, use a wide zig zag stitch. It is very important that you pull your bra flat as you stitch the elastic down.

Elastic pulled Tight – fabric is flat

Elastic not pulled tight – fabric bunches

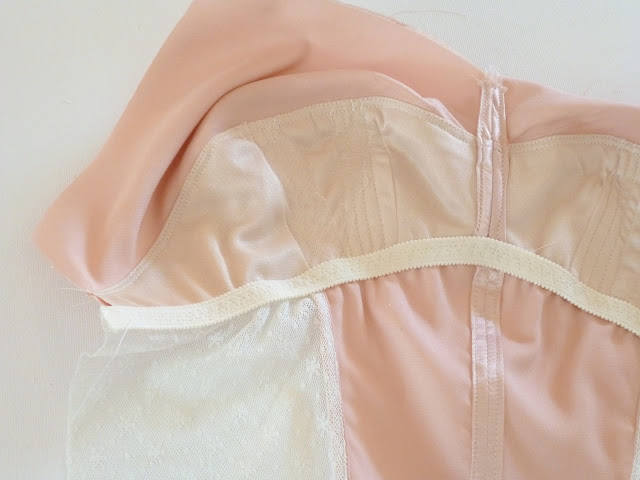
 Now we have a bra with a band under the bust to prevent a heavier bust from slipping.    Your fabric will gently “wrinkle” or gather under the tension of the elastic when laying flat, but when pulled around the body, will give some support under the bust.

 The elastic also helps us finish off the inside of the front of our bra so there are no ugly seams showing.

I should really trim my threads more carefully!

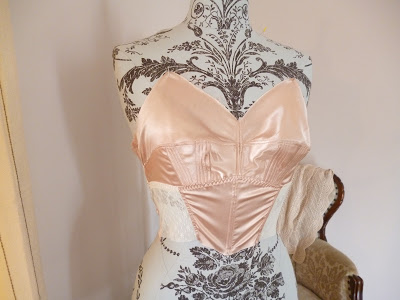
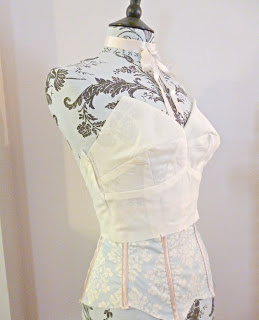
Here it is pulled tight on my mannequin.  Is this something you will incorporate into your bra?

If you do not wish to do this, you can finish this seam off with binding, by zig zag stitching, serging, or folding under.

Ohh La La Pin Up Sew Along Pt 2… Assembling your Cups

Uncategorized

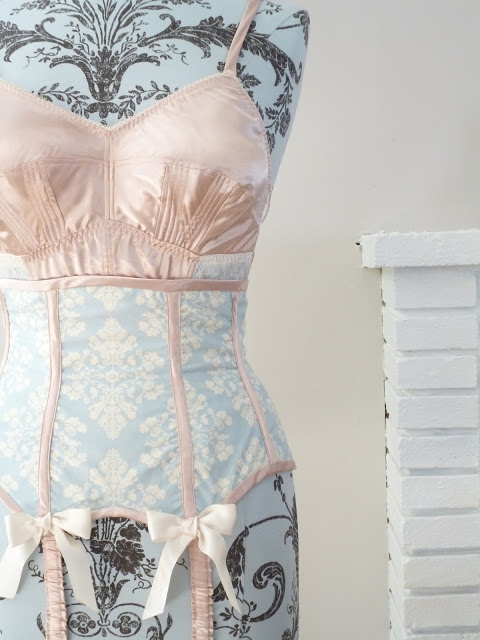
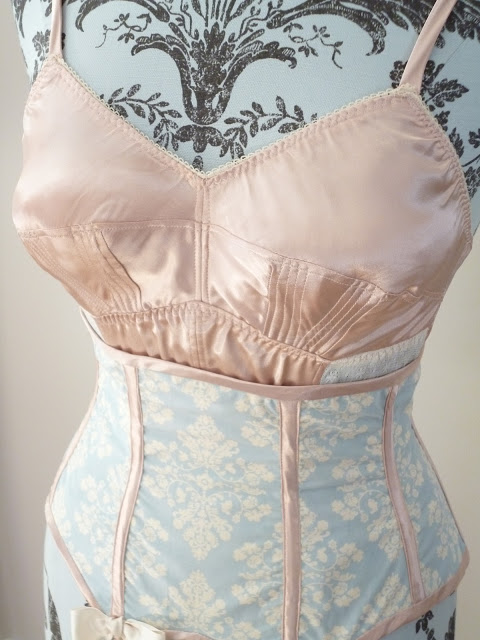
Anna wrote a great post yesterday on sewing your darts.  She is also adding a pretty lace overlay to coordinate with the amazing vintage-look corset that she made in Part 1 of our sew along.  Anna is essentially making 2 bras, then sewing them together, to end up with a beautifully lined bra.

I am lining only the lower cup of my bra to reduce bulk in the upper cup, add support underneath the bust, and reduce bulk around the long-line band.  There is no right or wrong way to sew a garment, so do what you think looks best and works best for you!

I started with 2 lower cups cut in Self Fabric, and 2 lower cups cut in Knit lining.  I transferred my dart markings, and sewed my darts.  Anna is using a sheer-ish fabric, so she cut her darts.  I pressed mine towards the side seam.

Now that we’ve sewn the darts, we can start assembling our cups.

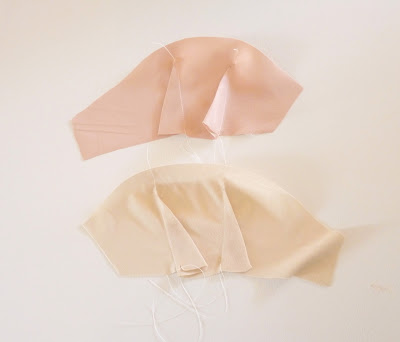
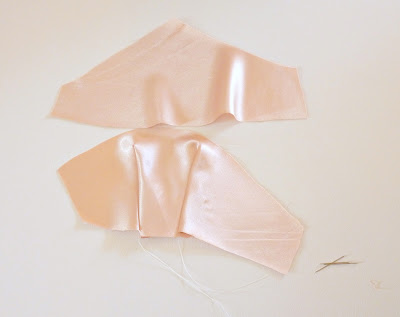
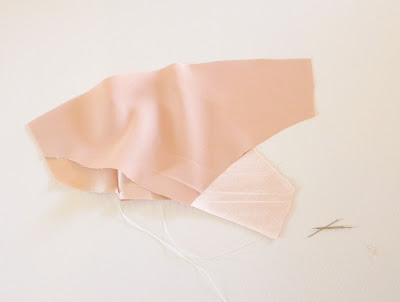
 We are essentially making a bra cup “sandwich.” First layer is the lower cup, second layer is the upper cup (right sides together), third layer is the lining (wrong side out).

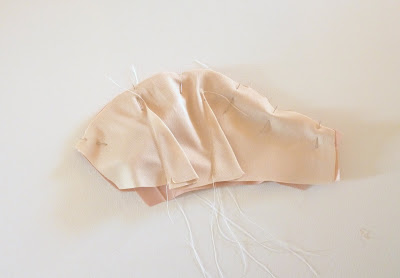
Pin your delicious “Bra cup sandwich” together, and stitch 1/2″ in from the raw edge.

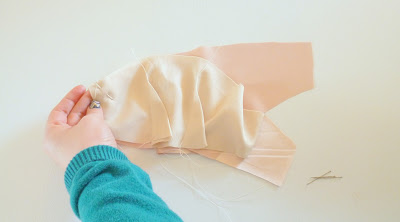
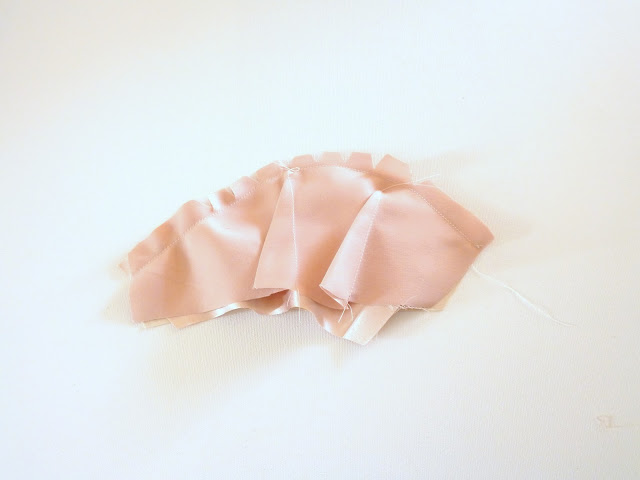
 Now clip your curved edge to prevent bulk when we turn it inside out.  Always clip seams that curve out, and slash seams that curve in.

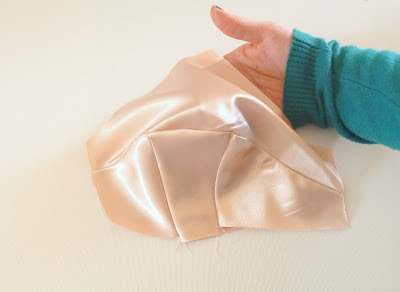
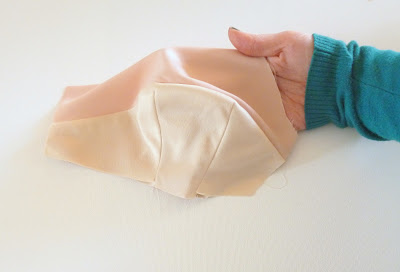
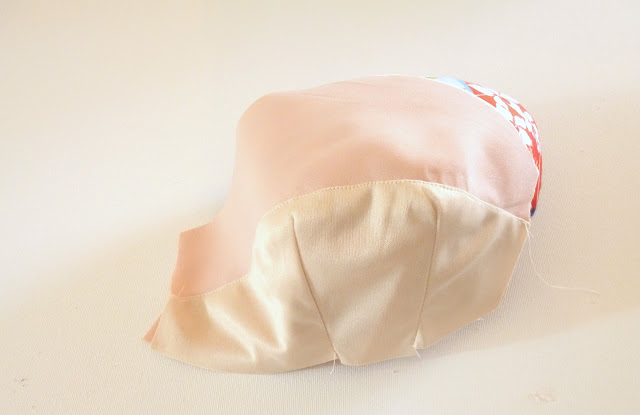
 Now that we’ve stitched our cup together (easy!), we turn our cup right side out and give it a good press.

 Here’s what the inside looks like, cleanly finished!

 I understitched the seam allowance to the lower cup lining to help the lining lay flat in place.  To under stitch, stitch 1/16″ to 1/8″ in from the seam line, sewing the seam allowance only to the lining fabric.

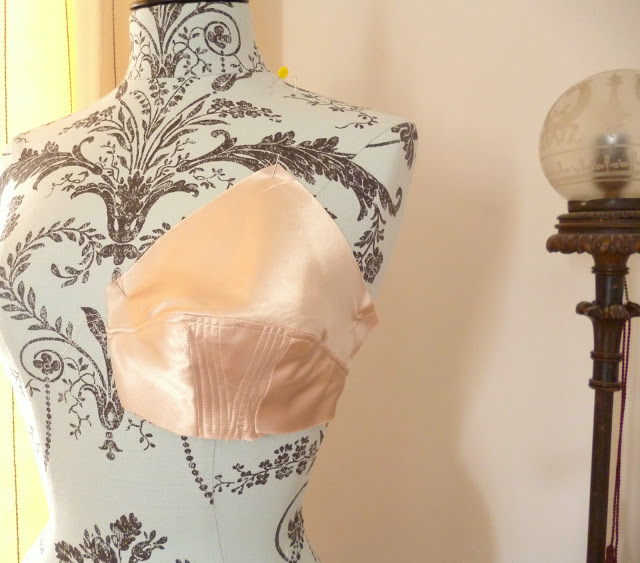
 After I understitched my bra cup, I added some decorative stitching to create a quilted effect.  Following the line of the darts, I sewed 4 stitching lines, parallel to each dart line.

Now, do it again to your second bra cup!

You can also line your entire bra cup by simply sewing 2 cups, and sandwiching them together.  You will either bias bind or add elastic around the upper edges, so the top edge can remain raw.

How is the assembly going? Are you having any problems with your bra? This is definitely the trickier part of the sew along!

Ohh La La Pin Up Sew Along Pt 2… Sewing Your Muslin

Uncategorized

In order to get the right fit, which is very tricky and specific with bras, it’s really important we sew a muslin.  You can use any scrap fabric of your choosing, so long as it is a similar weight as what your final garment will be sewn in.  If you plan on using any stretch fabric in your finished bra, do the same with your muslin, or you won’t get the same fit. I am using a stretch fabric for the centre back panel.

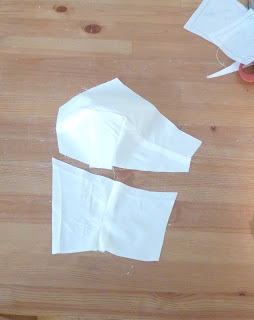
Cut out your pieces, and assemble as called for in the pattern.  Remember to mark your darts! I always forget to do this…
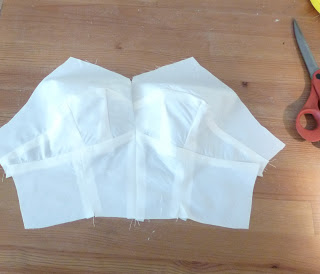
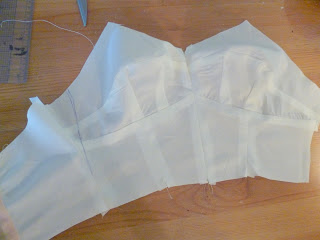
Sew your bra together, leaving one side open (or open at the back if you plan on using a back closure).  Try it on over a fitted shirt and no bra, or an unpadded bra.  Pin it in place and see how it fits!  I use a pen to mark any alterations that need to be made, directly onto my muslin.

Pin and mark any alterations.  Mine fit pretty good, but needed to be taken in along the upper side seam.  I suspect I added a little too much during my original pattern alteration!

Transfer your markings onto your pattern.  You are now ready to start cutting your fabric! Are you having any trouble with the fit?

If you are finding that the cups are too small, increase the curve of the upper and lower cup.  If you are finding the cups are too large, decrease the curve of the upper and lower cups.  Anna has demonstrated how to size down the cups Here. If you need to size up, do the opposite of what she does.  It’s really that easy.  You can also play with the darts to alter the depth of the cup.

After sewing my muslin I decided to change mine from a side close bra to a back close bra.  I did this by simply removing the “cut on fold” indication and adding 1/2″ seam allowance along the center back seam.  I also decided I would add a panel of stretch to the side front, under the cups.  What changes are you making after sewing your muslin?

Ooh La La Pin-Up Sew-Along Pt. 2… What you will need for your NEW vintage bra.

Uncategorized
We are on to part 2, and the more challenging part of our sew along: sewing our Pin Up Bra! 
Anna’s pattern comes in two styles, a short bra, and long line bra.  Of the two, the longline bra is the more challenging sew and will require some pattern manipulation which I will walk you through.
But now for the fun stuff, gathering your supplies.  There are so many ways you can finish this garment, so be creative and don’t be afraid to try something new.
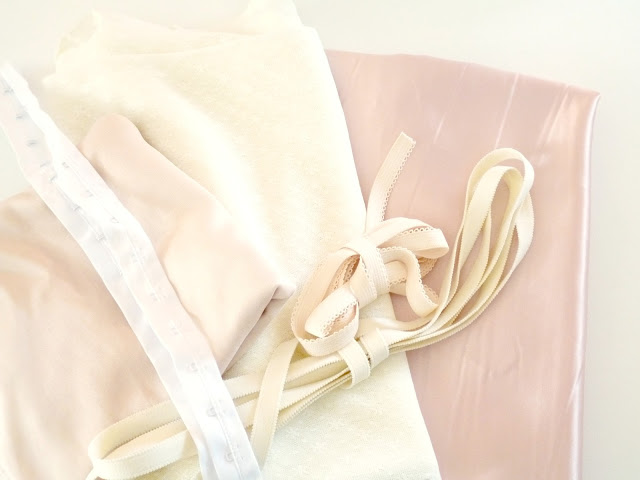
I am using the same satin I used as an accent on my corset.  I’ve also gathered up some white stretch lace, which I will use as a contrast, and to give my bra  a little more give, and some nude coloured stretch lining (I chose a knit because I am cutting my cups on the bias).  I am going to edge my bra in cream coloured picot edged lingerie elastic, and I am creating a false band with plush back bra elastic, which I will also use for part of my straps.  I have hook and eye tape for my closure.

If you are sewing the short bra, you will need some kind of bra back closure.  You can use an S-hook, Hook and Eye closure, or a Vintage closure like Anna.  I will be adding adjustable straps to mine, so I’ve set a side some small o-rings and sliders.  I got these adorable heart slides on Etsy .

If you are for more of a reproduction look, skip the elastic and use some bias binding to finish your edges, and ribbon for straps.  You can also add boning to the side of the cups if you feel you need some extra support.

Are you excited? Nervous? Scared? Already finished?  Do you plan on sewing the short version or the long line version? I like this pattern so much, I think I will sew both!

Happy Thanksgiving

Uncategorized
This weekend was Thanksgiving weekend, one of my favourite holidays of the year. Despite my annoying (and at times, painful) cold, we fit a lot into our weekend. I finished this custom order for a customer…

On Saturday evening we went to an outdoor art show, and met up with a few friends we don’t get to see very often. We didn’t stay long, I was sick and delirious on cold medicine, but it was pretty fun. On Sunday we had dinner at my parents house. It was so nice, we ate outside and enjoyed a bon fire later in the evening (the second bon fire of the weekend!). Today we had Thanksgiving lunch with Dan’s family. We had a great time, chatting and eating too much pumpkin pie…
In between family visits, I tried to get some sewing in. I have 2 stores I am trying to get stock prepared for, as well as Christmas stock for Etsy, and finishing up the few orders I have. I am also preparing for a give away very soon, and will post more information on Wednesday!
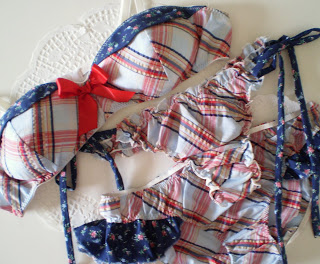
In the mean time, here is a sneak peak of a few new ruffle bloomers and bustle panties. I also have been trying to come up with ways to use all my bits and pieces of fabric… I contemplated a quilt, but I just don’t have the patience for that kind of undertaking, so… I decided to sew together strips of fabric, log-cabin quilt style, and use that to make undies. I think they turned out pretty cute… They remind me of the sensibility of the ’30’s.
I hate throwing out fabric. What do you do with your left over scraps?


Busy Bee Back to the Day Job

Uncategorized

I’m not sure how much I would have to accomplish to make myself feel like I had been productive enough…
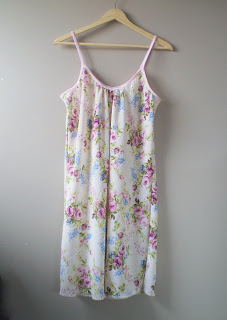
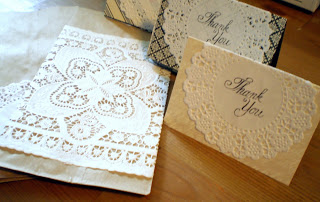
I sewed, in three days, 3 rompers, 3 bras, 4 panties, 1 chemise, made 10 handmade thank you cards. And I still wish I had done more!
I met our caterer this morning; he is nice and gave me a lot of helpful pointers. I need all the help I can get! I’ve only ever been to 3 or 4 weddings in my life; I feel pretty clueless.

At what point do you decide to take your business full time?

Uncategorized

On Saturday, I hardly sewed a thing… I replaced a zipper in a garment for my cousin and finished a few odds and ends, but mostly I spent my time at a birthday party, walking Oliver through a Side Walk Sale down town, at the movies with Dan, then sleeping 12 hours straight. I have been so exhausted and busy lately!

This morning we met with our officiant for the first time and decided on our vows. Our ceremony will only be about 20 minutes long, which is just perfect. Not too long, not too short.
After wards, we did some running around, and I finished some orders. I have been working on 2 sets for a customer, with two pairs of panties each. I really love the jersey and lace set, I think it is one of my favourites, and has been a pretty popular set. I love it with the matching thong.
I am so happy to have so many orders on the go. I haven’t relisted a single thing since I ran my heartsy deal and business is still good.
I keep asking myself, “At what point do you consider your business successful enough to go at it full time?” I would love to hear your input.
Lastly, I finally made the switch to smartphones and will be BlackBerry accessible on Monday… Dan and I have a few road trips scheduled, so now I can be connected wherever I go. I am also itching to move… I love our apartment but Ohhh Lulu needs its own room, desperately.

Bras, Bras, Bras…

Uncategorized
Dan and I went to register, unsuccessfully, on Sunday. We have to go back today to finish up. I’ve had a terribly unproductive couple of days of (for Ohhh Lulu), but managed to get some sewing done for myself, as well as a really yummy French Onion Soup and two loaves of bread.
I actually think I am going to use these as samples and list them on Etsy… These samples, however, are for me, me me!

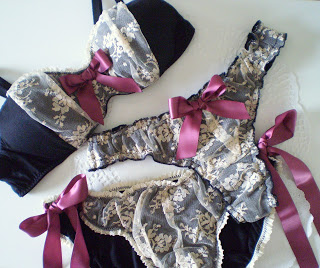
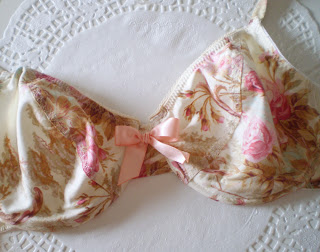
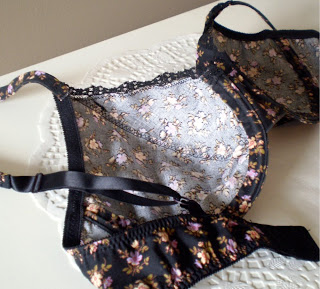
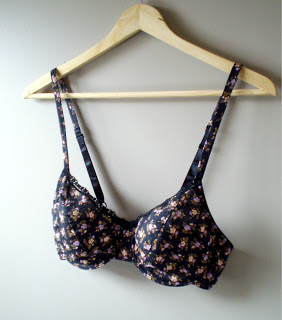
I’m really happy with how they turned out… they are simple under-wired, unpadded bras. I had been making these out of jersey, but I like them even better out of woven cotton, they are more supportive. They make really cute every day lingerie, paired with the lace panties I made last week.

This whole wedding registry has been way less fun than I thought it would be. We went to the Bay, spent two hours there, and registered for maybe 7 items. We couldn’t agree on anything, and the selection just was not so great… So we are going to Home Outfitters today, hopefully with more success! I am not really a big shopper so this part is not so fun. I am also struggling trying to think of things I need. I am a practical girl and am used to putting need before want… the whole registry seems kind of frivolous and consumer-driven…
I think I am thinking too much about this whole thing!