Browsing Tag

corsets

Ooh la la Pin Up Sew-Along… Adding Bows.

Uncategorized
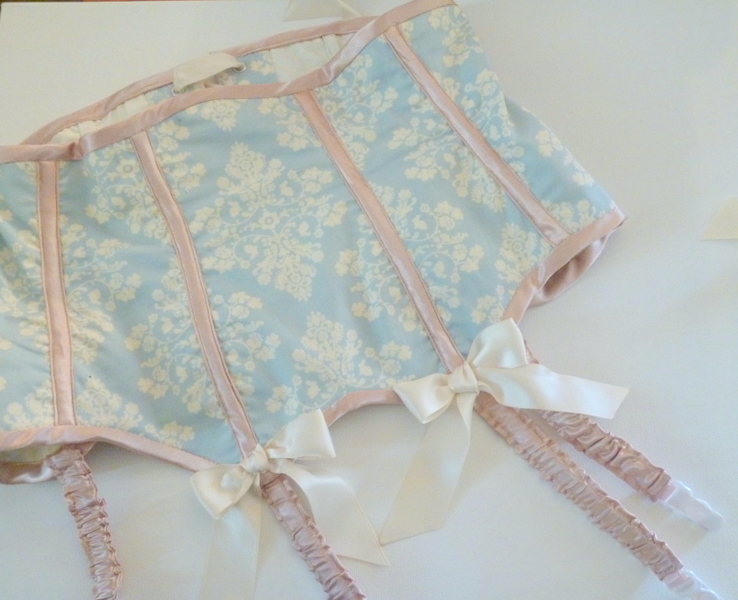
We have a saying around my house… “Bows make everything better.” Whenever I finish something that I’m not 100% thrilled with, my husband suggests I “slap some bows on it,” and you know what? It usually works!
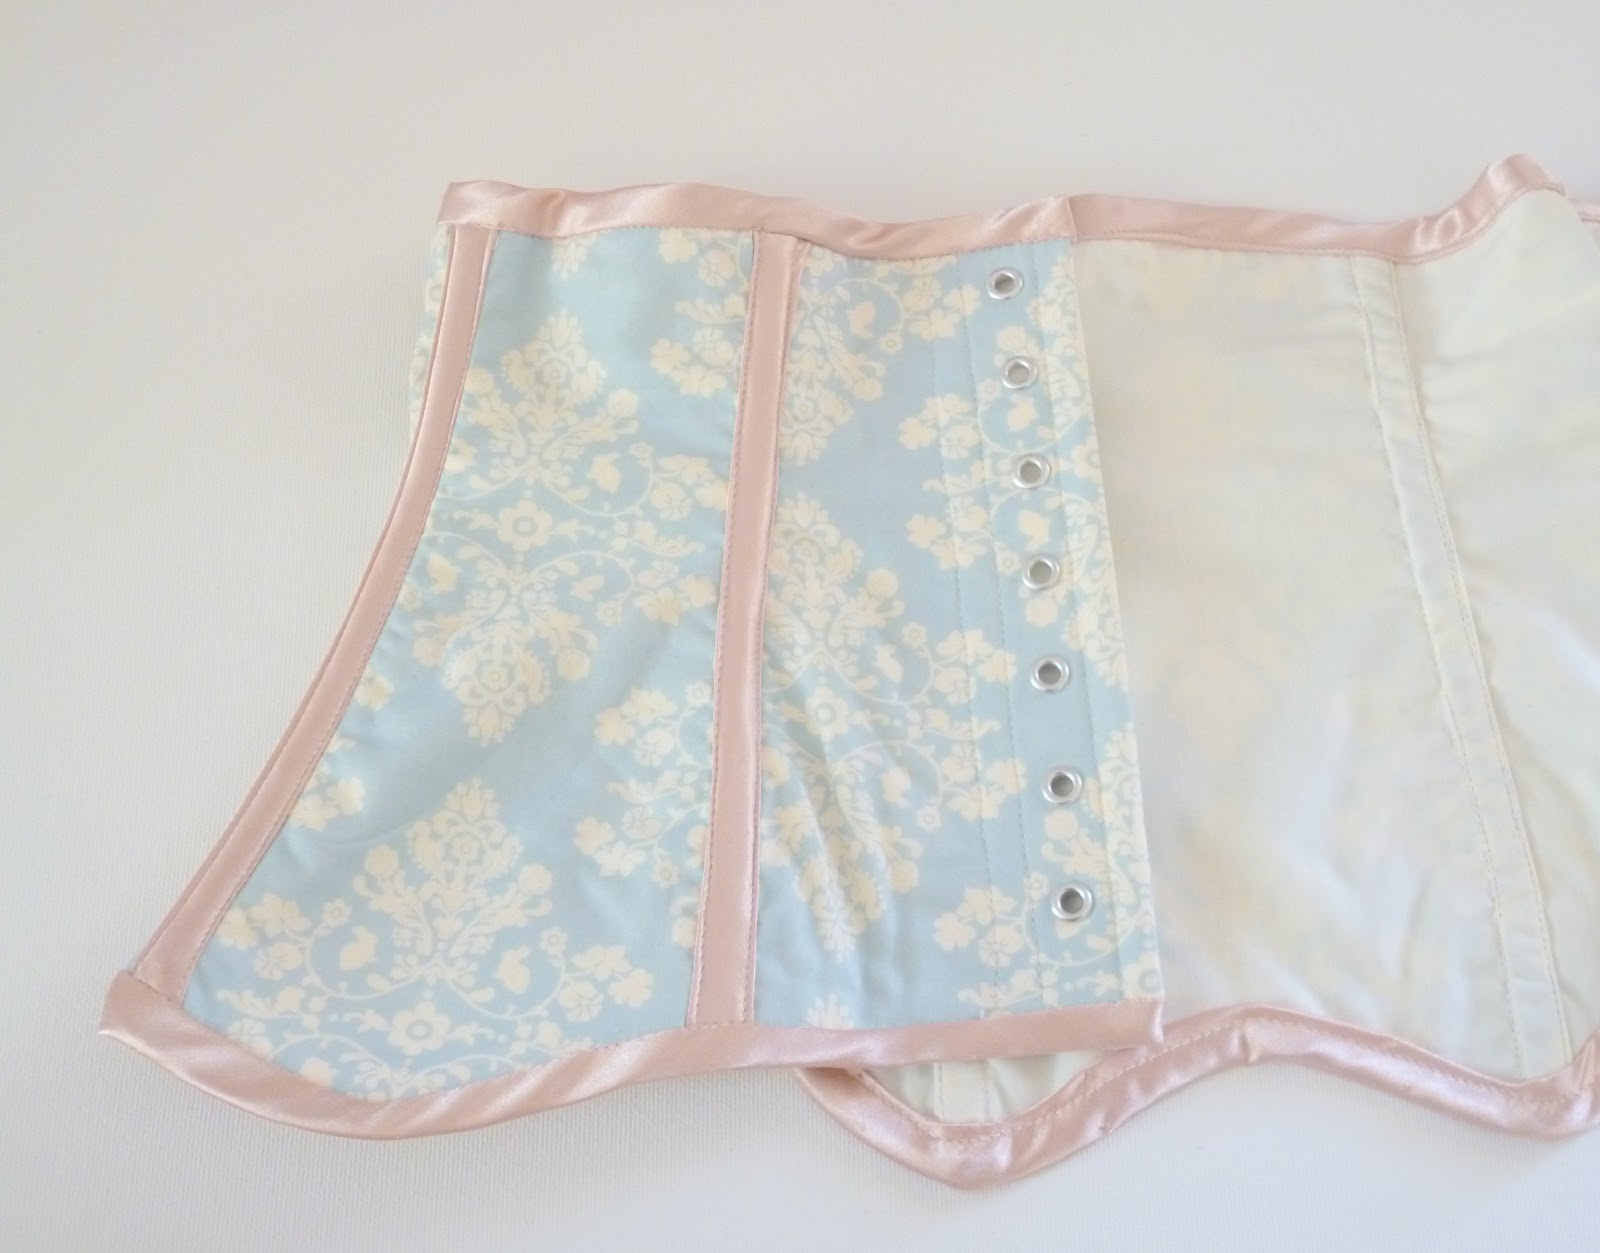
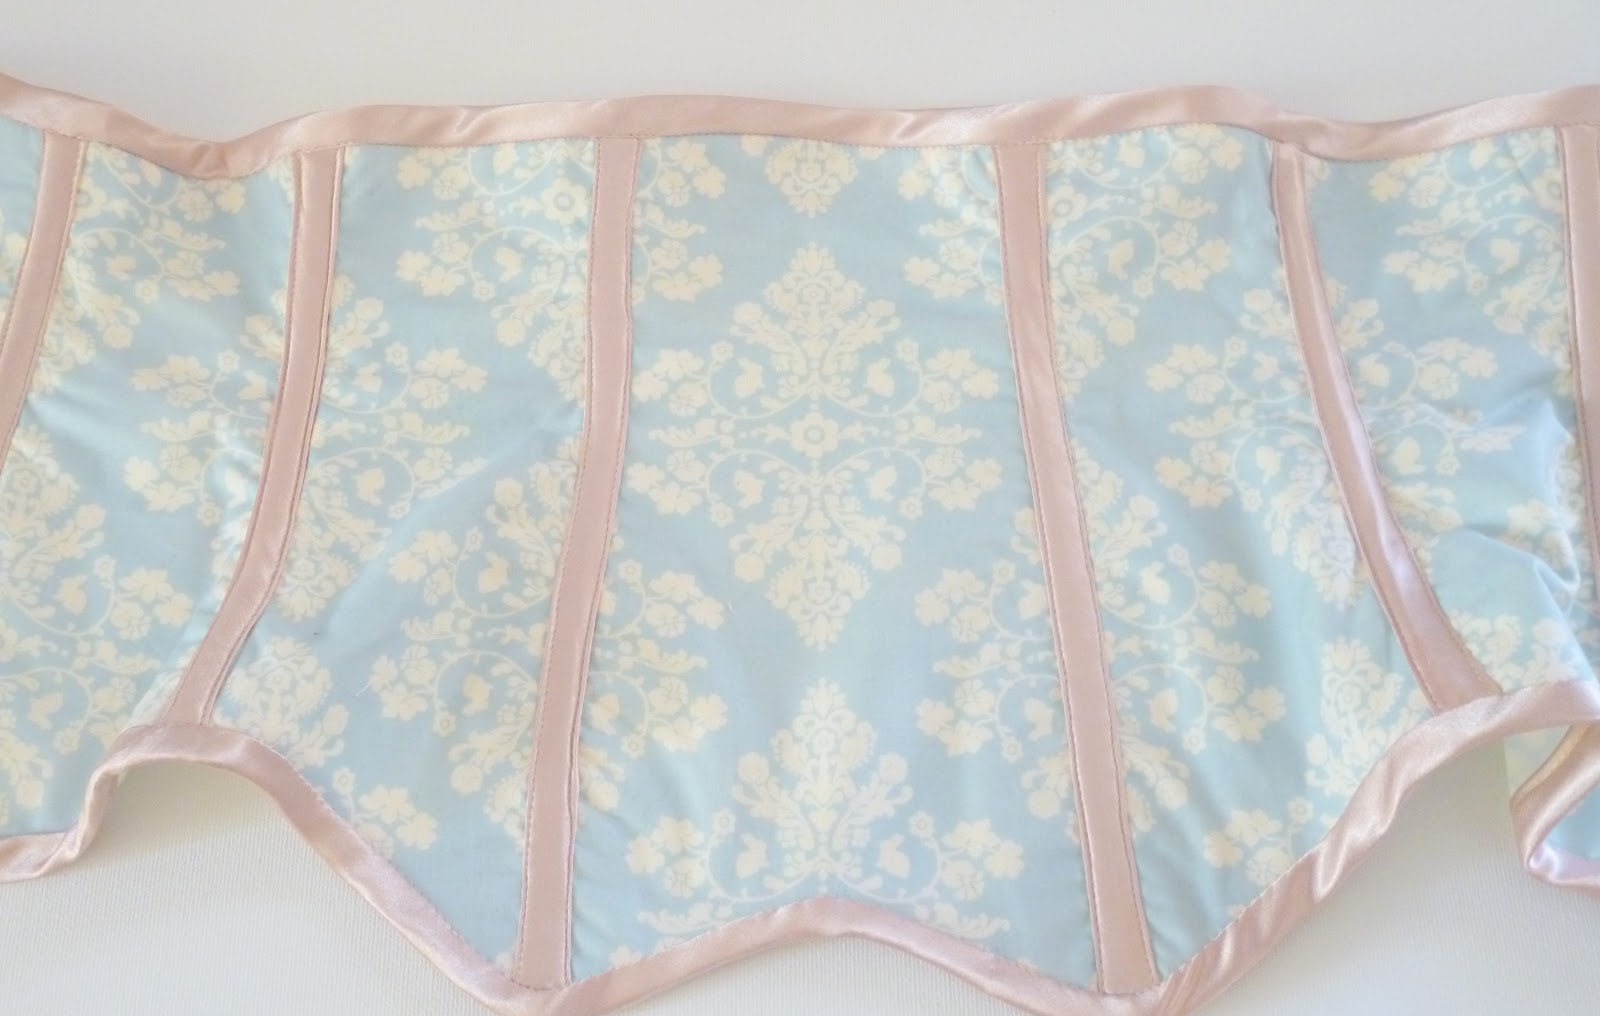
I am adding bows to the “points” on my corset above my garter straps.  I’ll show you how to make 2 kinds of bows.
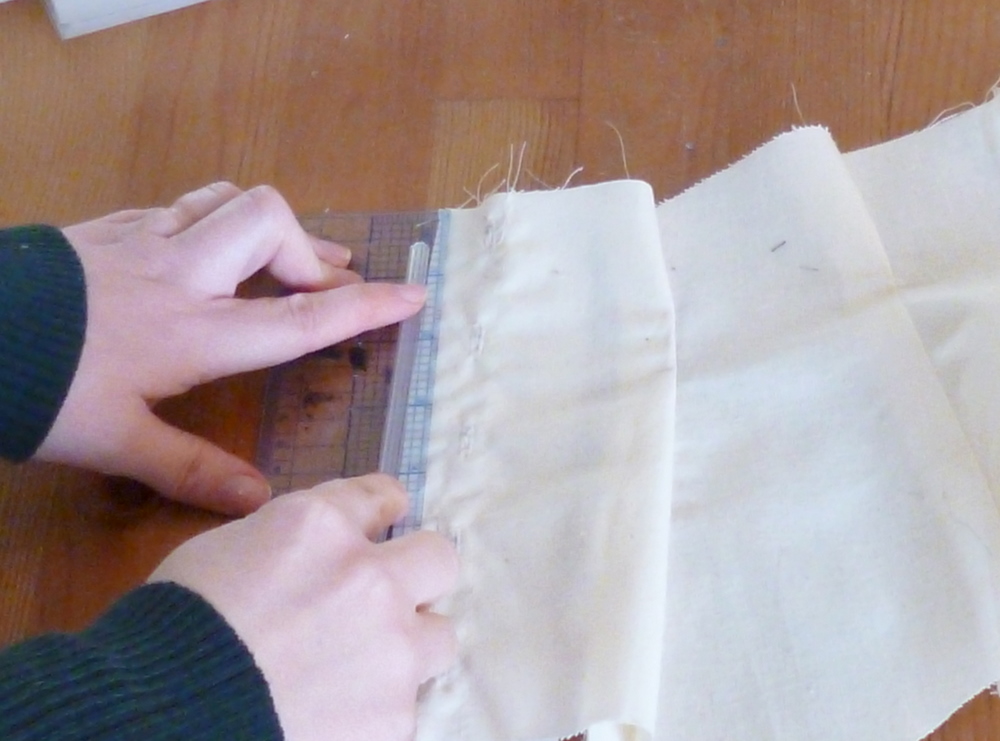
The first kind of bow is a sewn bow.  Cut a large rectangular piece – I cut mine on the bias.
Fold in half length-wise and stitch around the edges, about 1/4″ Seam allowance, leaving a small gap where you will turn the rectangle inside out.  Clip your corners, flip right side out, and pull your corners out with a pin.

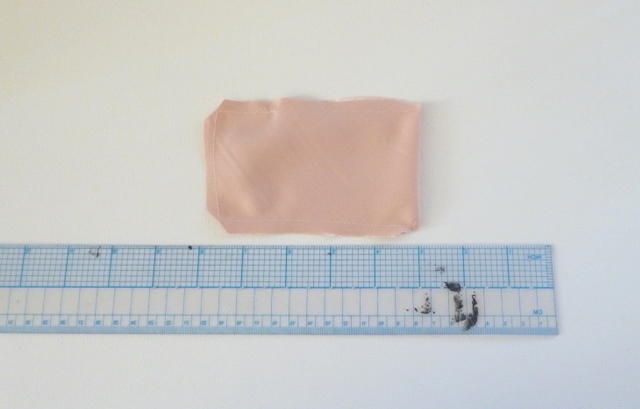
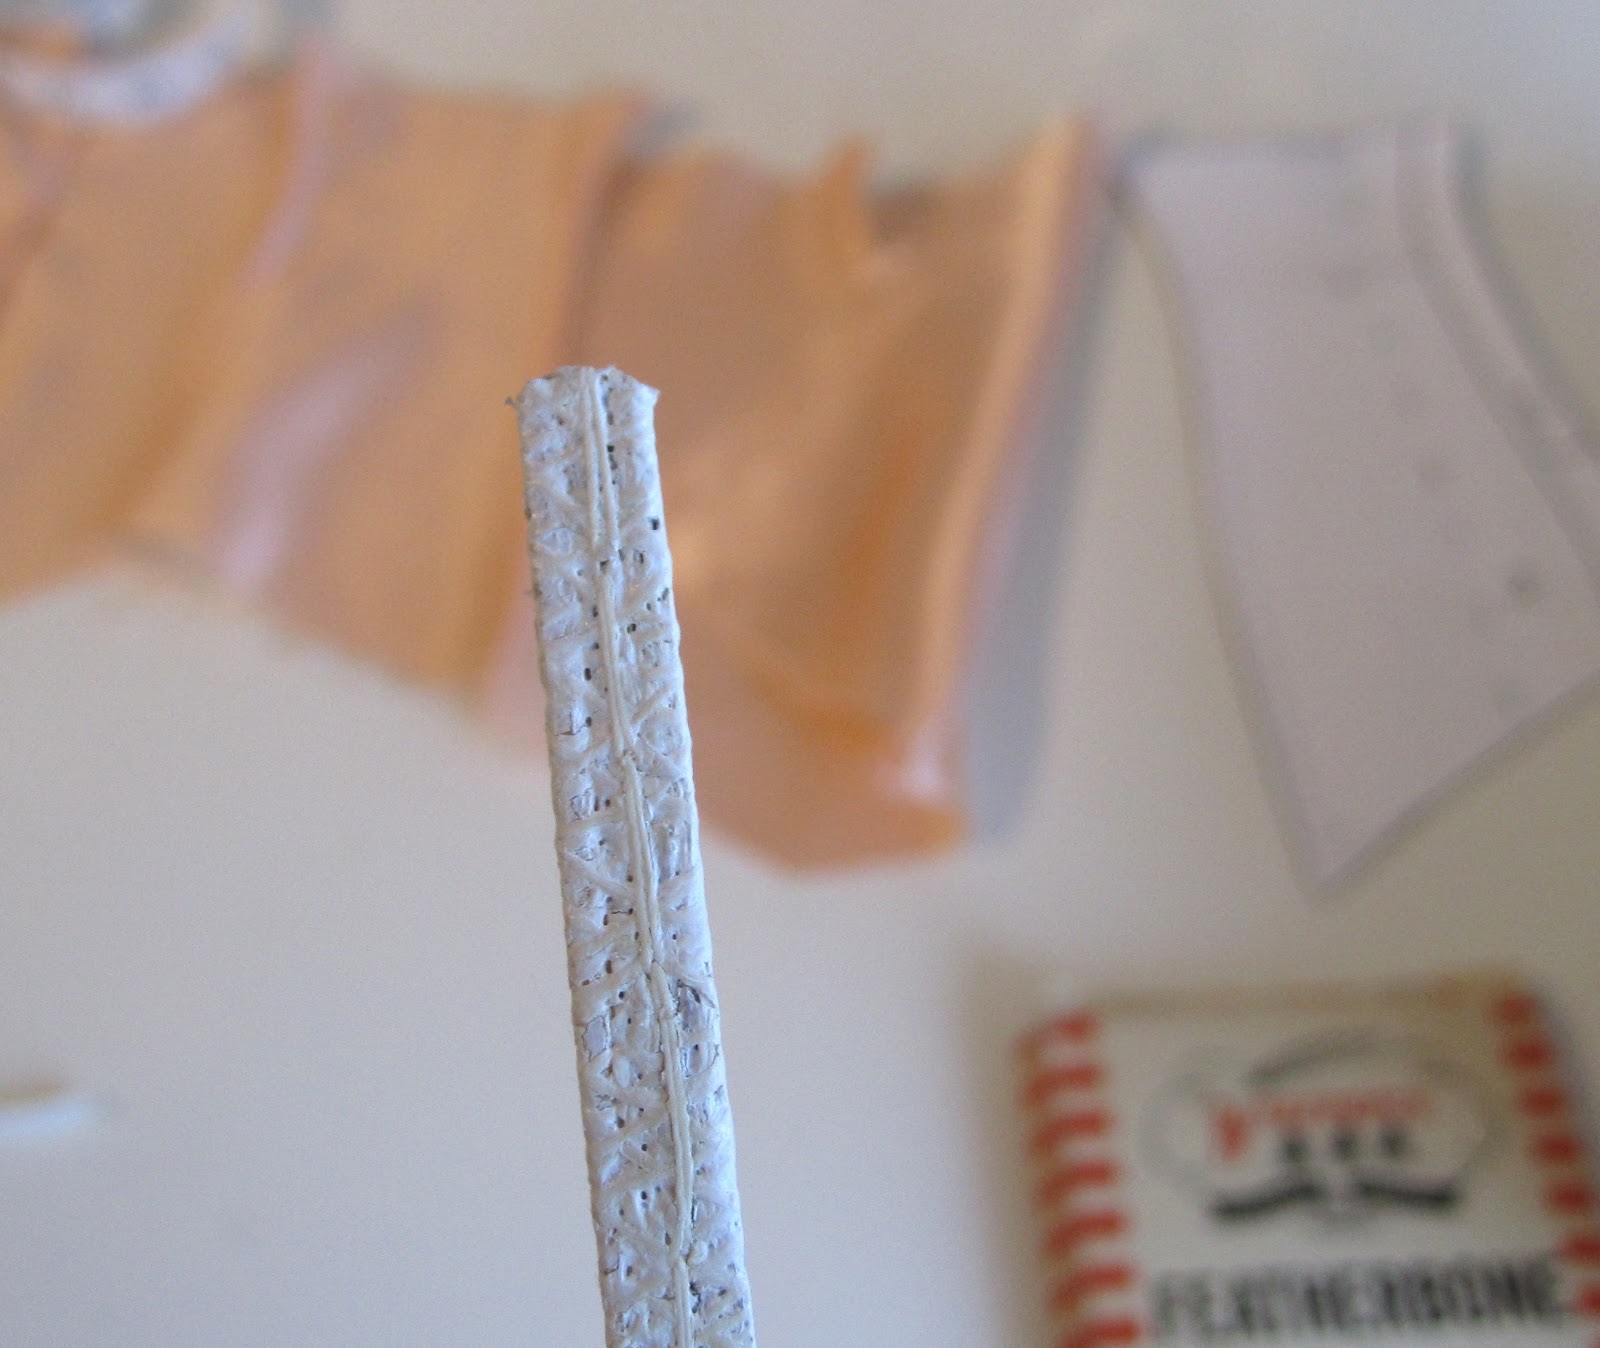
Grab a piece of left over bias trim, or make a small strop of fold over bias tape.

Add a row of basting stitches down the center of your rectangle and gather, tying off both ends.

Sew your bias strip around it, forming a loop.  I left a raw edge on the back of mine.  This can then be hand sewn onto your corset.

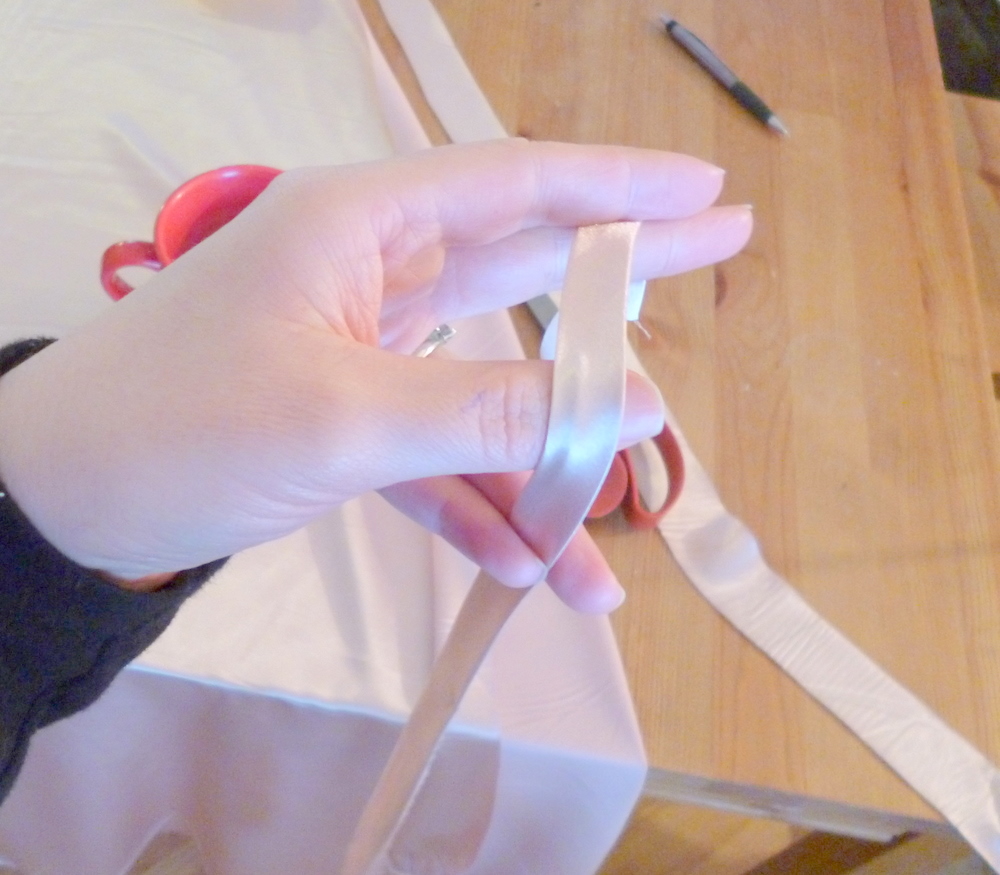
My favourite bow, the the bow I am using on my corset, is a hand tied ribbon bow.  I took a piece of 1 1/2″ satin ribbon.

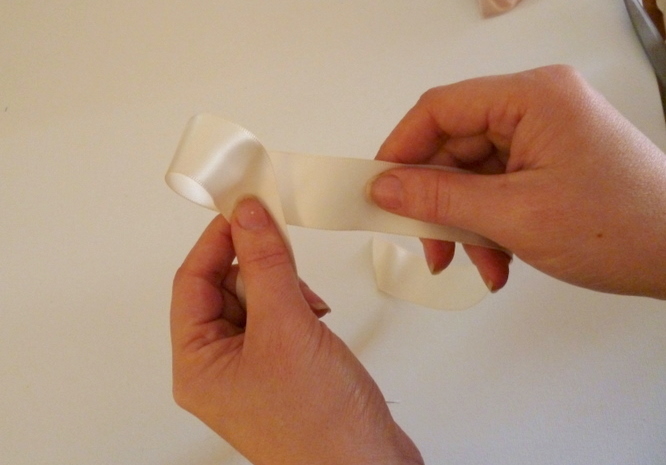
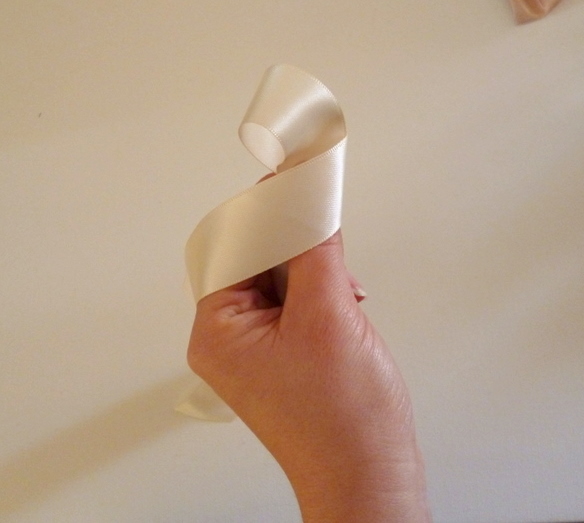
And tied a bow.  Cut the ends on an angle, at equal length, and singe with a lighter.  Give your bow a press with a hot iron (but not so hot as to melt the ribbon – always test on a scrap first).

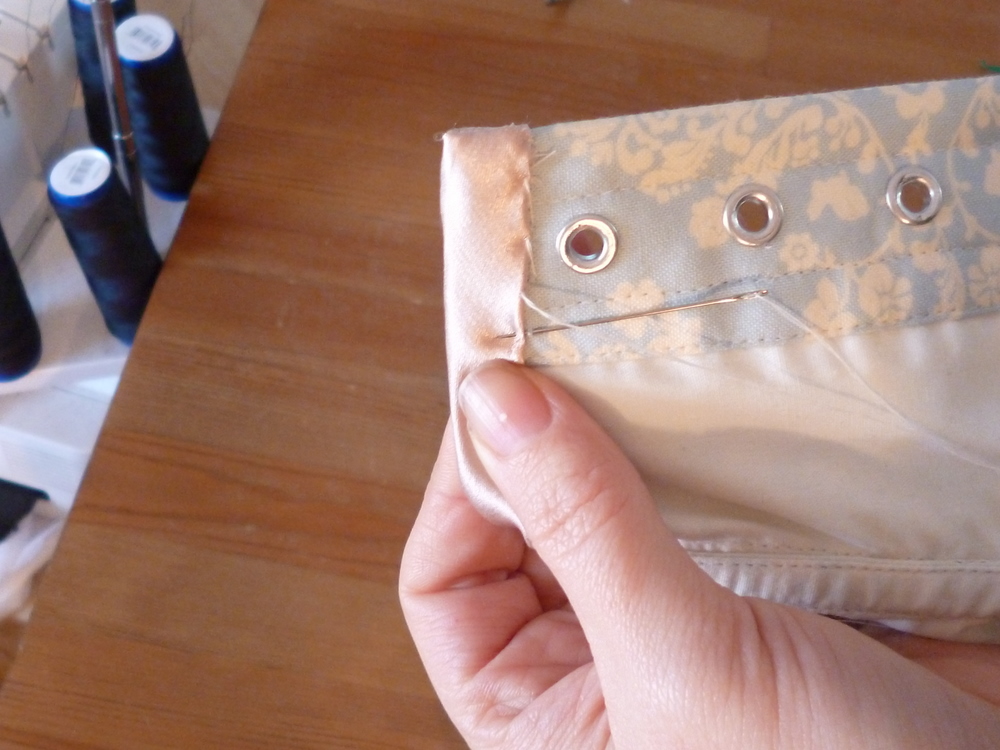
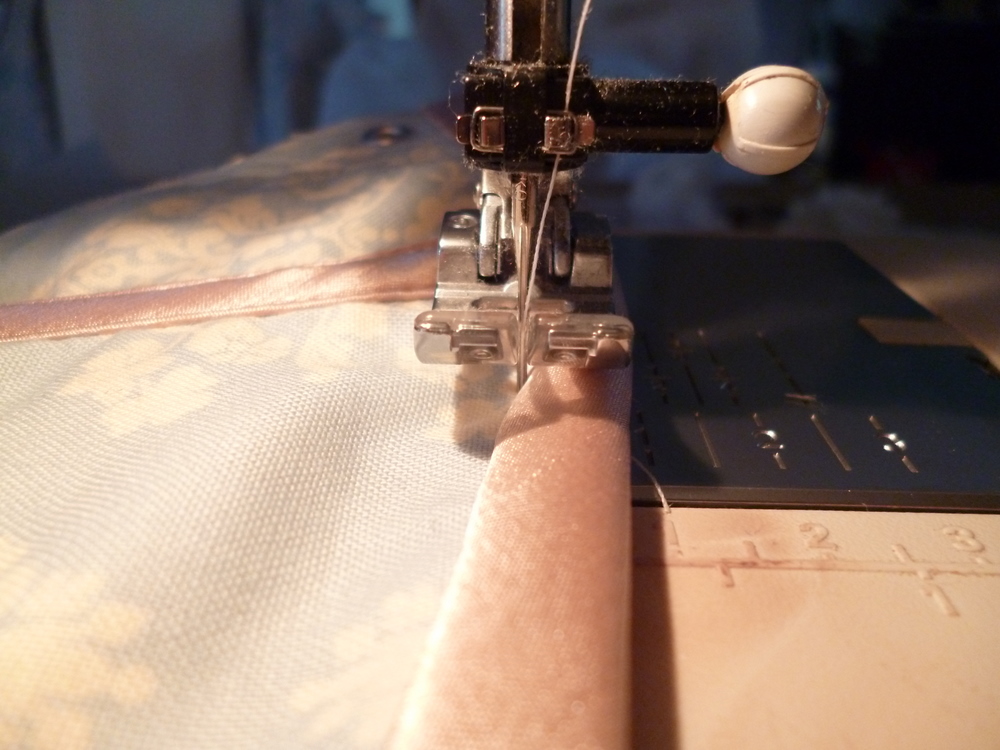
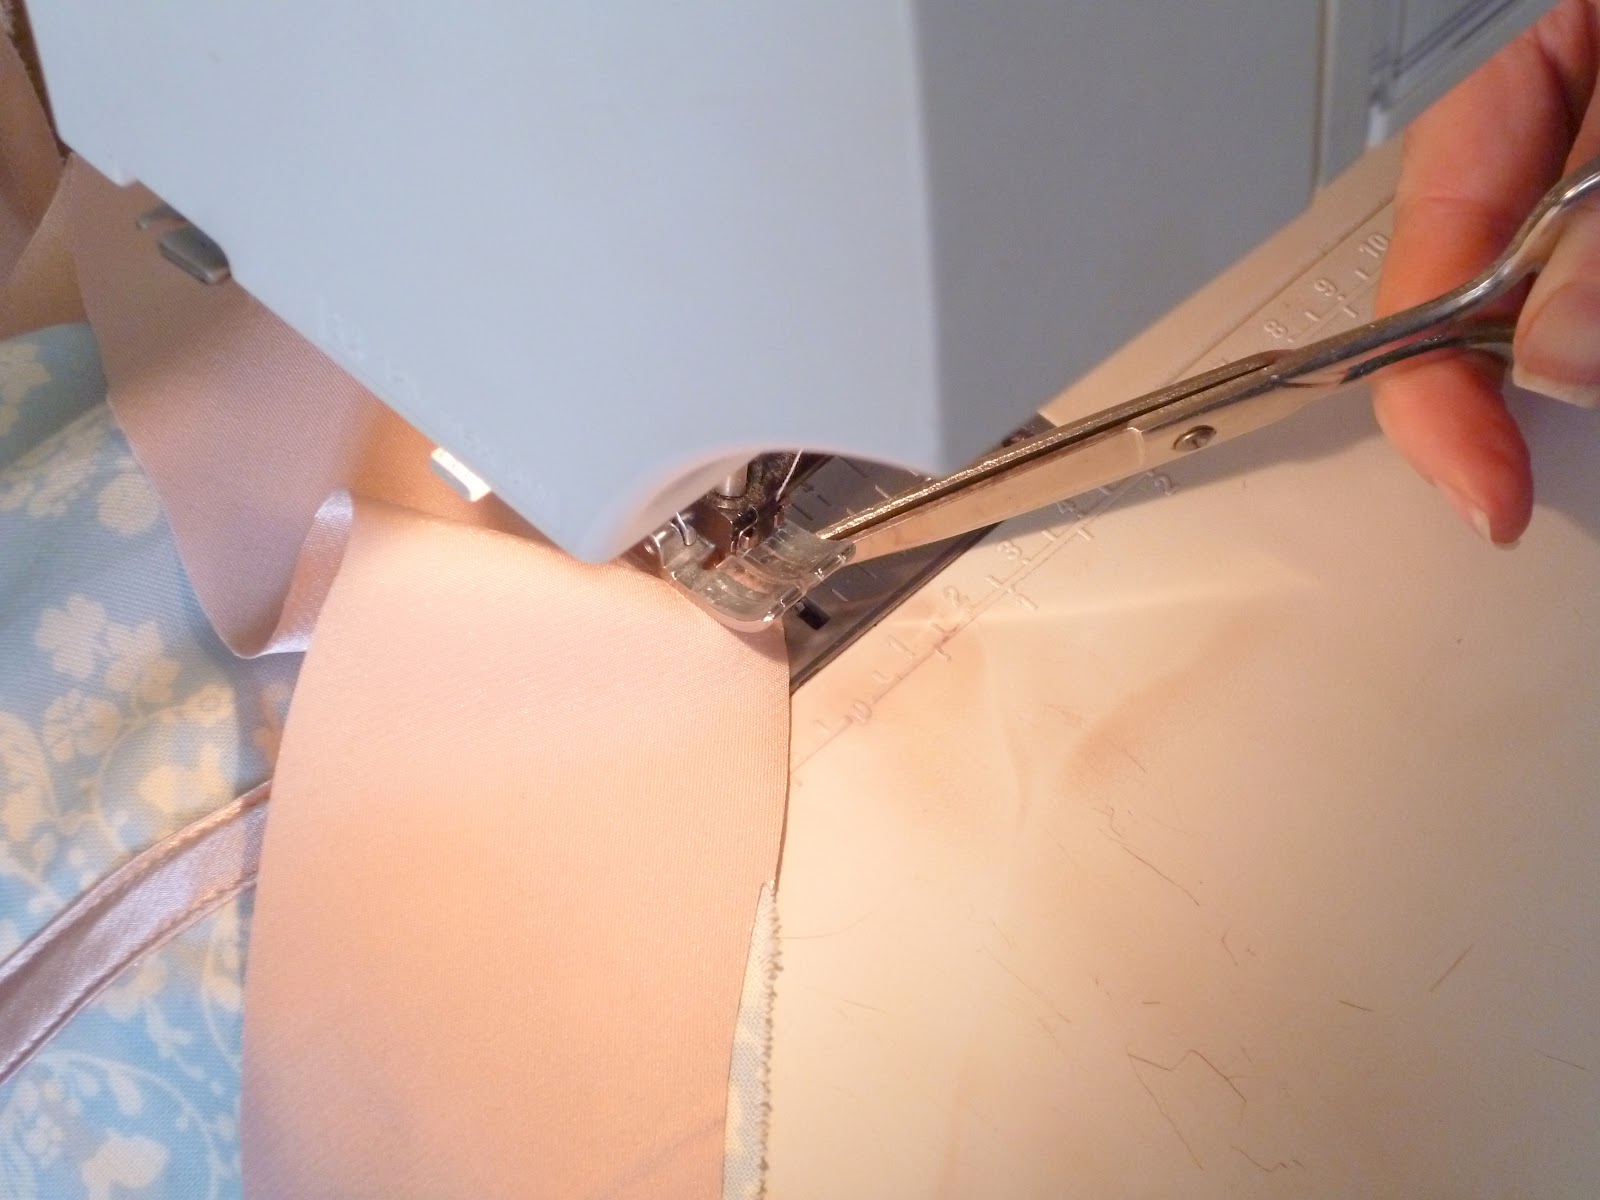
I machine stitched my bows on, but you can also hand stitch.

Here’s my best pin up pose!

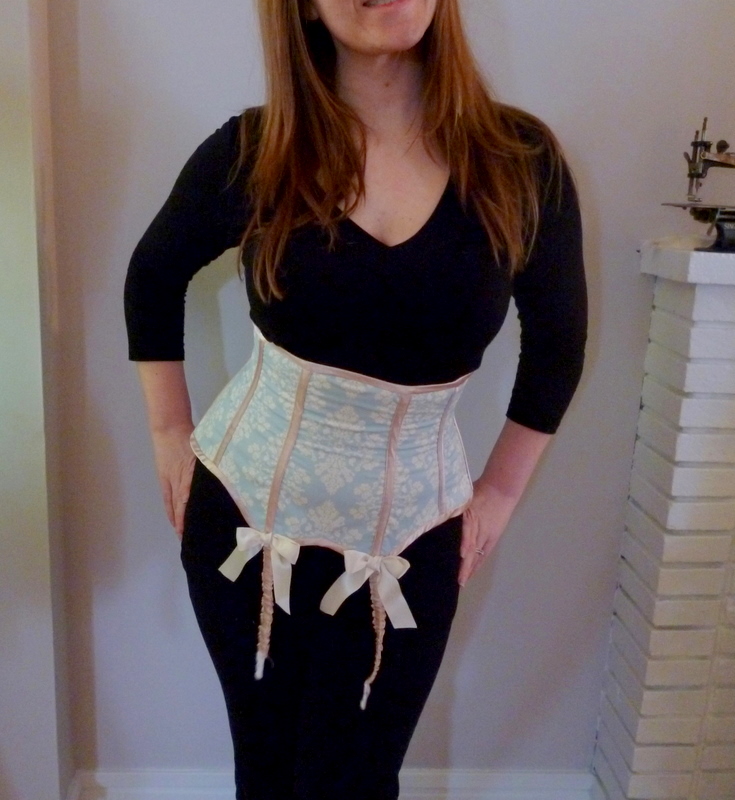
Voila! What kind of embellishments will you use on your corset?

Ooh la la Pin Up Sew-Along… Binding Your Edges

Uncategorized
Now that you’ve finished off your back with either eyelets or hook and eye tape (with optional decorative edging!), we are ready to bind off the top and bottom edges of our corsets. Make sure you have inserted all of the bones you plan on using, and have tested the fit.
For your binding, you can use purchased bias trim or bias trim made of self or contrasting fabric.  I’m using the same pink satin as I used to cover my bone casings.  I am cutting bias strips 1 1/8″ wide, and pressing my folds prior to stitching.

Baste your bias tape in place, leaving a little overhang on each end as pictured above.

With right sides of the bias tape facing and raw edges on the outside but folded up, stitch the bias tape together, as close to the back edge of your corset as possible.  When we flip this right side out, we will have a nice, clean edge with a sharp corner.  Below is what your stitched bias binding should look like.

Flip your bias binding around to how it will be stitched down, and you’ll see how nice this finishes off the ends of your bias binding.  Do this to both ends before stitching your bias tape down.  You may need to “pull” your corner out with a pin (gently), to get a perfect 90 degree angle!

There are a few options for finishing the back of your binding.  You can stitch by hand – I prefer the look of a slip stitch, but can use a cross stitch, straight stitch, or any stitch you like!

If you want to stitch my machine, like me, you can “stitch in the ditch.” Stitching in the Ditch is when you top stitch over a seam.  Can you see where my needle is going in the picture below? Right back into where I basted my bias trim on.

Stitching in the ditch makes for invisible stitching on the front, and a neat back. Do go slowly and stay within your original stitching line!
On the bottom edge of the corset there are lots of corners and points.  When you come to a point, with your needle down, lift your presser foot and carefully “snip” into the bias binding, so it will easily curve around sharp corners.
There! all of your edges are finished, neat and tidy! Now we are ready for our garter clips and embellishments! 

Ohh La La Pin Up Sew Along… Applying Your Eyelets

Uncategorized
Now that we have sewn our seams, added decorative bone casings, inserted the bones, and finished our centre back panel with self facing and fusing, we are able to apply our eyelets and lace up our corset for the very first time!
If you are using hook and eye tape, head on over to A Few Threads Loose for instructions on how to apply it.

Start by either transferring the lacing markings on the pattern onto your centre back seam OR make small markings, starting 3/4″ of an inch down from the top edge, every 1″ apart.  Eyelets should sit about 5/8″ away from the centre back edge.

Using your markings as a guide, punch small holes where your eyelets will go.  You can use an awl, or grommet pliers to make your hole.

Eyelets can be applied a number of ways – there are two common tools pictured above.
1. Grommet Pliers – these can be found at most hardware store, and will set 2 piece grommets.  Grommets come in many different sizes, so make sure the pliers you buy fit the eyelets you want to set.
2. Tool & Die – These often come with eyelet packages you purchase at the fabric store, and are set with a hammer.

I used grommet pliers to apply my grommets, and used a 2 piece grommet.  Two piece grommets are preferable for a corset that is going to be worn for an extended period of time, or if you plan on wearing it a lot.  Eyelets without washers tend to have rough edges and will work their way through your fabric, if you are applying much strain to the fabric around it.

Remember to insert a bone on either side of your eyelets to keep your lacing laying flat. This is the only spot in your corset where I really, really advise that you use boning.  The rest is up to you!

Now, lace it up and see how it fits! Do you feel like you need to add more boning? Does everything lay flat?

Next we are onto our binding.

Ohh La La Pin Up Sew Along… Adding your boning.

Uncategorized

Yesterday, Anna put together a great post on how to bone the seams of your corset. Like Anna, I am only boning the Side Front, Side Back, and on either side of my eyelets – giving me a total of 8 bones in total. You can add more if you like!
This corset sits fairly low over the hips. Because of this, I am not boning the entire length of my seams. Prior to adding my contrasting bone channels, I made small “tacks” where I want the bone to stop. You can choose to bone the entire length.
Anna and I are both using plastic boning – Anna is using this amazing vintage Featherbone and I am using modern plastic boning. Both come in a casing, that will be removed.
Round off the end of your boning with scissors. Smooth off any rough edges with a file.
Insert your bone into your french seam “Casing”. It’s pretty tight, but you should have just enough room to squeeze the bone through the case.
Next we’re onto binding and eyelets! How is everyone progressing? Have you hit any road blocks?

Ohh La La Pin Up Sew Along… Add Contrasting Bone Casings

Uncategorized
If you want to add some contrast to your corset, adding contrasting boning channels is an easy way to do it. You will need a yard of contrasting fabric – any type will do, but avoid knits. I’m working with a pale pink charmeuse.

Before adding these contrasting bands, make small tacks where the boning is to end on your bone channels. I am not boning the entire length of my seams in this corset. The pattern is marked where the bones are to stop.

Because I am working with a flimsy fabric, I am cutting my bias strips quite wide, at 1 ½” – bias strips are made by cutting the fabric on a 45 degree angle. If you are using an easier to manage fabric, you may want to cut your strips narrower, by about 1/4″. We’re going to end up with a strip that is 1/2″ wide.

Fold your raw edges in and press with a hot iron, so you end up with a ½” wide strip of bias – I trimmed off excess as I folded. Wider strips of flimsy fabric like charmeuse are easier to work with, and cut down as you go.

If it is easier for you, pin your bias strip over your seam, or simply hold as you go. Your bias strip should be just a “smidge” wider than your top stitched seam. Stitch it down, as close to the edges as you can! You should be just about stitching over your to stitching.


So, Why can’t you just stitch on a bone casing line this to put your bone under? Well, you can – if you are using something like a twill tape casing, or a sturdier fabric. With a single layer of charmeuse, your bone will quickly, and I mean quickly work its way through these bias strips. Your bone needs a couple of layers to sit in between, in order to have a garment that will last.

And there you are – contrasting bone channels!
What kind of embellishments have you added so far? 

Ohh La La Pin Up Sew Along… Sewing your French seams.

Uncategorized
There is no one “Right” way to sew a garment. This corset can be finished any number of ways – lined, flat lined, sewn in bone casings, flat felled seams… What ever works for you.

My Cotton, flat lined corset is sewn with stitched down french seams, which form the bone casings. I stitched decorative strips of bias cut satin over my casings for some contrast.

The width of seam you use will depend on the amount of seam allowance you added to your pattern and the width of your boning. I am using ¼” boning, and have drafted ⅝” seam allowances. Here is how I am sewing my seams:

If you are flat lining your corset, Treat your lining and your self piece as 1 piece of fabric.

Wrong sides together, pin your seams in place, stitch ¼” in from raw edge.

If you are flat lining your corset, to prevent too much bulk in your seams, trim back the excess, staggering the layers.

Press, and fold right sides together so your first seam is encased. Stitch ⅜” in, and press to one side. Stitching as close to the edge of your seam as you can, top stitch the seam down.

There are lots of layers in there! The boning will get inserted right into these channels. Be precise with your stitching, or it will get tight to put your boning in!

Ohh La La Pin Up Sew Along… Sewing your Muslin.

Uncategorized

I have to admit… I can be a lazy sewist, when I am sewing for myself, but lingerie muslins take no time to sew, because they are so small! No need to worry about interfacings or linings for your mock-up -You just need something to test your fit!

For my muslin, I did not worry about sewing flat felled seams, like I will be sewing in my finished garment. I stitched regular seams, 5/8″ in from the raw edge and pressed flat. The pieces fit together perfectly – great work on Anna’s part!

For the laced corset – On the centre back pannel, fold your 2″ extension flap over (towards the inside), press, and stitch 3/8″ in from the centre back edge to form a bone casing, and again 1 1/2″ in from the center back. We will add 2 bones to the mock up corset to test the fit. Insert a bone along the centre back, beside where the corset will lace. Always round off the edges of your boning, to prevent the bone from wearing through your fabric.

Instead of using eyelets on your mock-up, make a mark every 1 1/2″ down where your lacing will go and make a small button hole – this will allow you to lace up your corset to test the fit, without any waste of precious eyelets!

You now have a corset that laces up the back! Try it on and see how it fits.

Mine looked good from the front, but didn’t quite do up all the way in the back. I added 1/8″ of an inch to the side front and side back seam, which corrected the fit.
Oooo… Curvy! Va va va voom!

For those of you making a hook and eye corset, if you have extra hook and eye tape, you can add some to your muslin to test your fit.

Remember to transfer any changes you made to your muslin, over to your pattern.

So, how did your muslins fit? Did you need to make a lot of adjustment?

18th Century style corset…

Uncategorized

Yesterday I chipped away at my to-do list and got quite a bit accomplished. I made yummy “from scratch” baked beans with bacon and two loafs of white bread. I “borrowed” a cookbook from my mom that was produced by the Ministry of Agriculture, probably in the mid-1970’s about money-wise foods. It has great recipes – the kind that Dan loves, homey, meaty, and traditional. I’m really enjoying pouring through it!

I made my post office run, gave Dan an early birthday present (’32 Hot Rod scale model), cut out new orders, and started on the stays pictured above.
I used a stiff, natural muslin for the base and lining and did an overlay in a poly cotton blend satin stripe fabric which has a slight “pucker” effect to it, that I think gives it a real antiqued look. For the bone casings, I cut 2″ stripes of floral cotton on the bias and put them in a traditional 18th century layout. I am so in love with this little garment, reminds me of an antique quilt. When it is complete it will lace up the front and back and have straps that tie on. It is very lightly boned (for this style) and will have only a total of 14 plastic bones. I plan on making some panties with ruffles that mimic panniers.

I went for a few weeks without any really good, wonderful, mind altering ideas (besides my accessory panties, I still like those!), and now that it is a day before going back to work my mind is full, full to the brim with frilly ideas!