One of the reasons I started making wire-free bras is because underwires, no matter what size I wear, end up giving me terrible chest and back pain by the end of the day. I just love the relaxed comfort of a soft bra.
That being said, sometimes you want to find ways to give your wire-free bras a little more structure. There are lots of different ways you can do this, from sewing them with wider band and strap elastic, to adding some light sew-in foam. Over the summer, I finally got around to experimenting with something I’ve been wanting to do for a while: adding boning to the sides of my Jasmine Bras. Personally, I’m not a big fan of foam bras for myself. For me, a lightweight lace bra is my go-to, but I wanted to add a little more vertical structure.
What is boning?
Boning is best known for it’s use in corsetry, but it’s used in everything from longline bras to wedding dresses to swimwear! Basically, any garment where you need some vertical structure to prevent a garment from folding in on itself, OR when you want to create a garment that shapes the body, you’ll want to use boning.
There are a few different types of boning:
Rigelene / Sew-in boning – very lightweight plastic boning that can be sewn through and does not have a casing.
Plastic Boning – heavier than rigilene boning and often comes with a casing. Easy to cut and sew, but can form permanent bends when used in corsets or shaping garments.
Flat Spring Steel Boning – this boning is very rigid and great for use where a lot of vertical structure is needed, like on either side of corset laces.
Steel Spiral Boning – very flexible but strong steel boning made out of flattened coiled steel. This boning is great for use down side seams of corsets or structured evening dresses as it will bend around the curves of the waist and hips.
Although there are many ways to “install” boning, I usually like to use a casing. You can buy a tightly woven casing meant specifically for boning which I highly recommend using as it will prevent the bones from working their way through, but if you’re experimenting and are not ready to commit to purchasing supplies, bias or twill tape are good alternatives.
Most fabric stores will stock plastic and/or rigilene boning. You can find metal boning at larger bra and corset making supply shops, like Bra-Maker’s Supply.
For this particular bra, I used small pieces of Flat Spring Steel Boning and cotton bone casing, however I’ve made myself a couple of other bras using Plastic Boning that I like just as well. Truthfully, the bones are so small in this variation that either works well.
Installing the bones.
I assembled my Jasmine Bra in lace according to the pattern instructions.
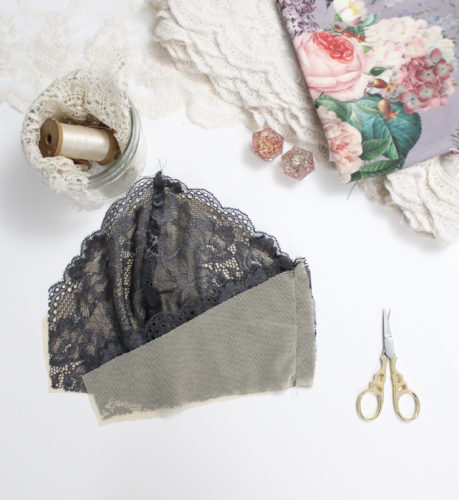
Before finishing the seam allowance on the side seam and applying the upper elastic, stitch a length of bone casing to the seam allowance, along the side seam stitching line.
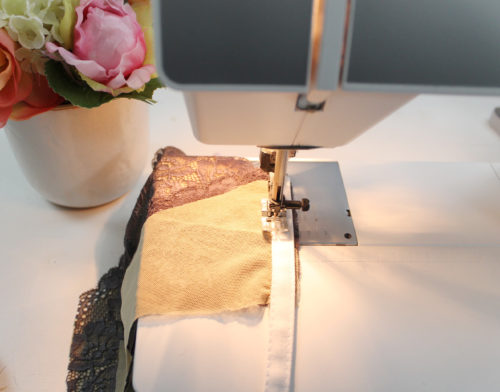
Trim back the seam allowance to approximately 1/4″.
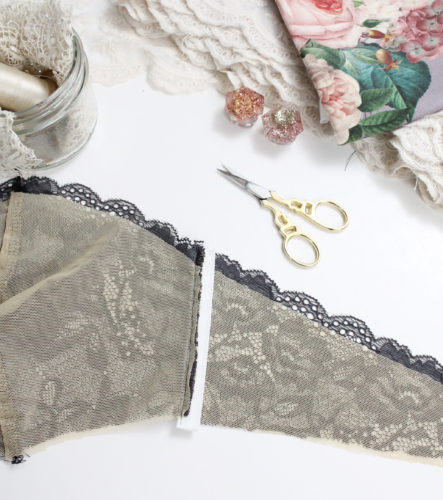
Fold the casing down and top stitch in place along the opposite edge.
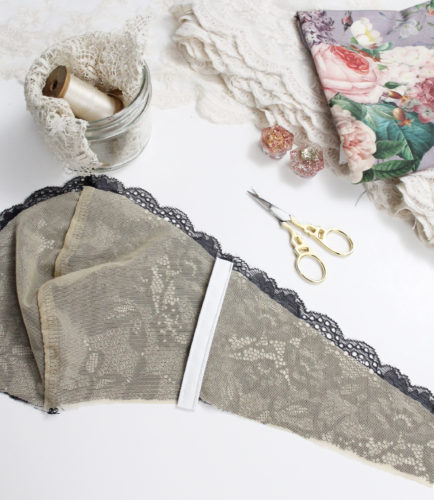
You now have a casing stitched to the bra side seam that will soon house your boning!
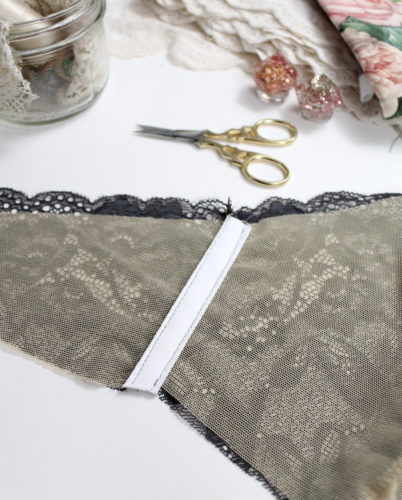
I decided to sew a second length of casing beside the side seam, running slightly on the diagonal. My goal was to have it slightly follow the side of my breast.
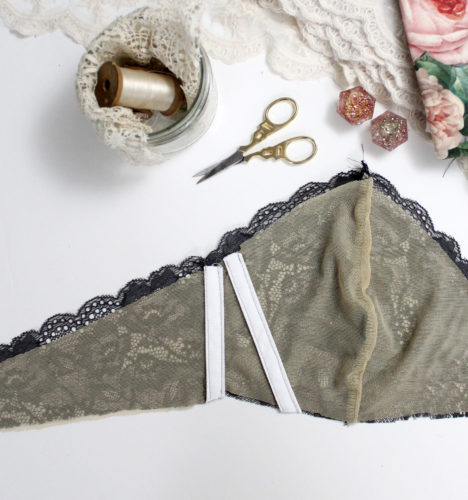
Finish your upper edge according to the pattern instructions.
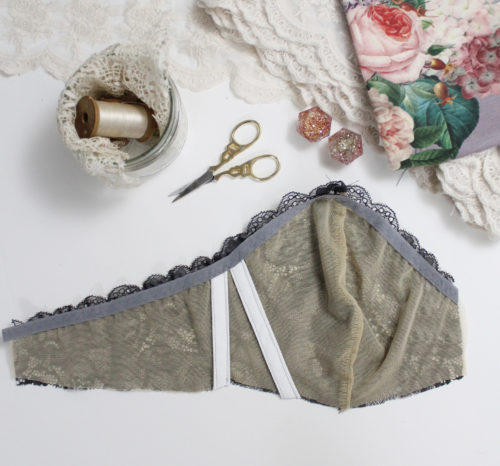
Measure out your boning so that it is at least 1″ shorter than the length of the casing. Remember, you need to leave enough room to stitch on the band elastic.
If you are using plastic boning, round off the ends of the boning and file down any rough or sharp bits. If you are using metal boning, finish the ends with metal boning tips. This will smooth out the ends of the boning so they won’t poke through.
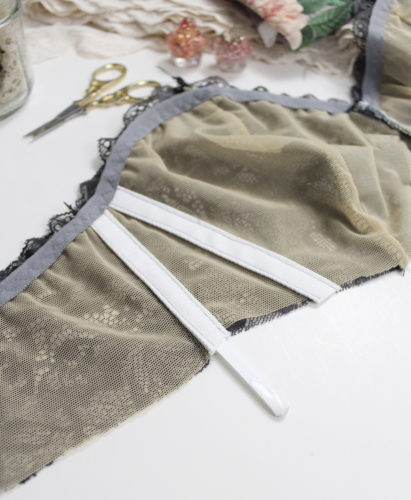
Insert the bones into the casing, making sure you have left at least a 1″ gap at the bottom. From here, you can complete the assembly of the bra.
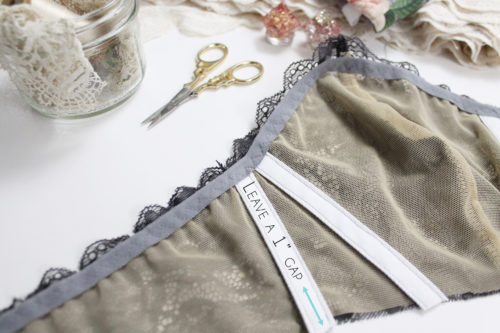
A very important note.
When you are ready to sew on your band elastic, please stitch very carefully past where your boning is. If you are using plastic boning, you may find that your sewing machine will just stitch through the boning, but if you have chosen metal, your sewing machine will spit needle shards at you.
Finishing Up.
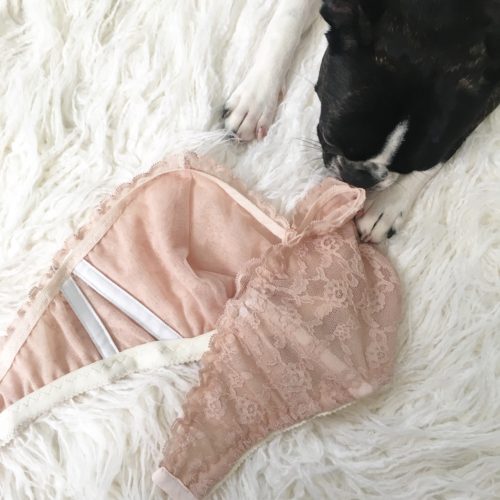
Adding boning this way doesn’t change the overall look of the bra, but it does add some vertical structure which can help your bra stay more up-right while still being comfortable. Here’s another one I made, this time in a neutral beige lace (which had yet to have it’s straps sewn on). Leah thought it looked great! And honestly, it’s my current favourite bra.
