Browsing Tag

Vintage Sewing

Free Pattern Alert!

Lingerie, New Items, Sewing Patterns

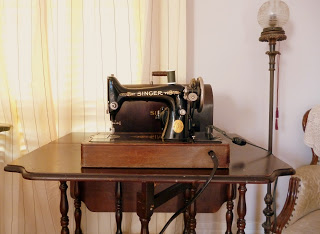
I shared my ultimate cottagecore lingerie set on my YouTube channel back in August and really enjoyed getting back to sewing lingerie with woven fabric. That’s kind of where I got my start!

I love historical clothing. I used to make all kinds of Victorian costumes and corsets in fashion school. All of the details and the drama are just so fun… and I’ve always been particularly drawn to what people used to wear under their clothes. I’m not sure it’s something most people think about!

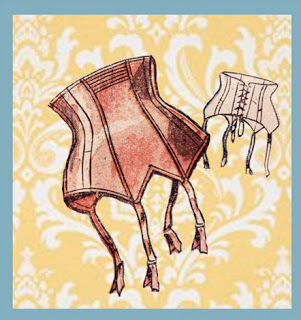
When we think of underwear and lingerie we usually think of light, stretchy fabrics. But elastic is a pretty new technology! At one time, not that long ago, most lingerie and even a lot of swimwear was made out of woven fabrics. If you’re a collector of vintage or antique clothes or sewing patterns, you’ll be well aware of this!

A lovely lady in 1940s beach wear courtesy of Vintage Everyday

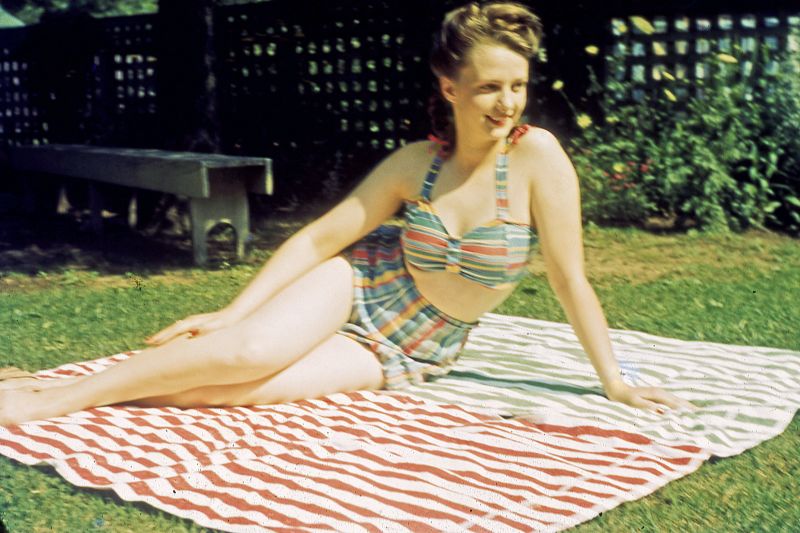
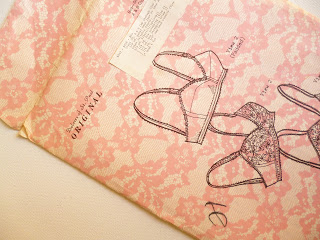
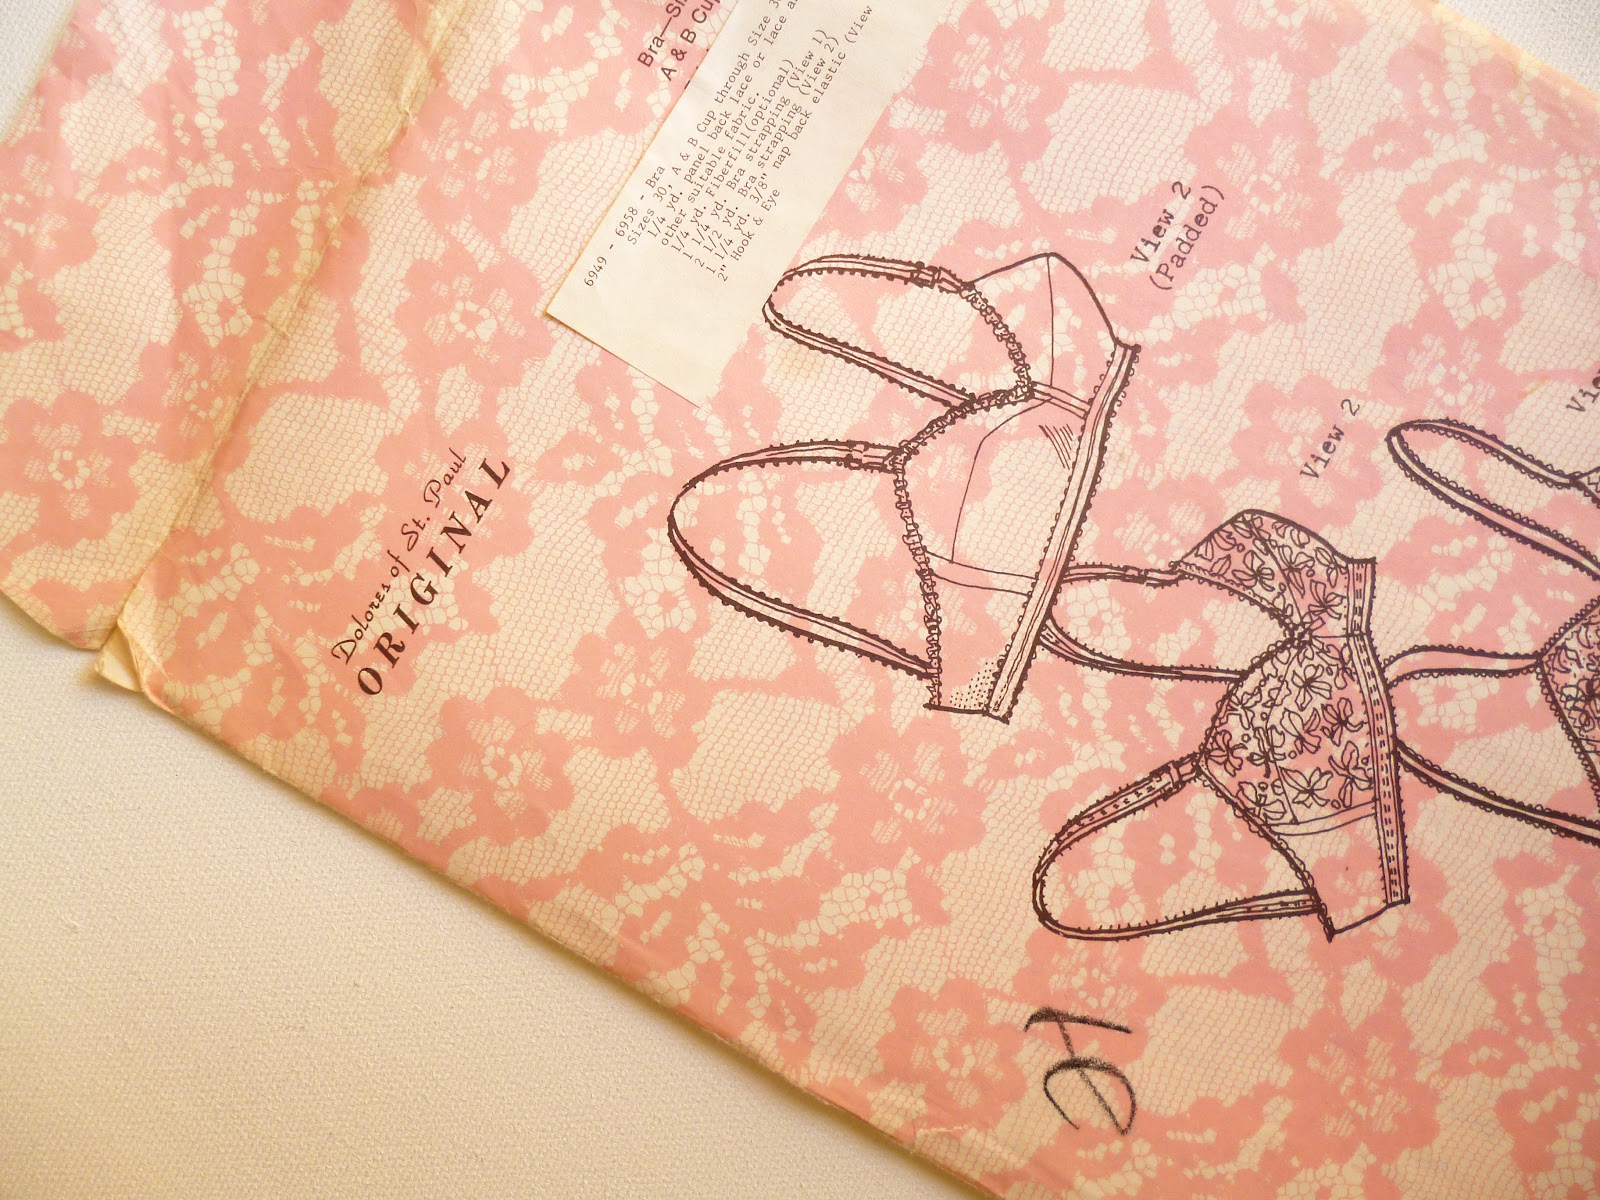
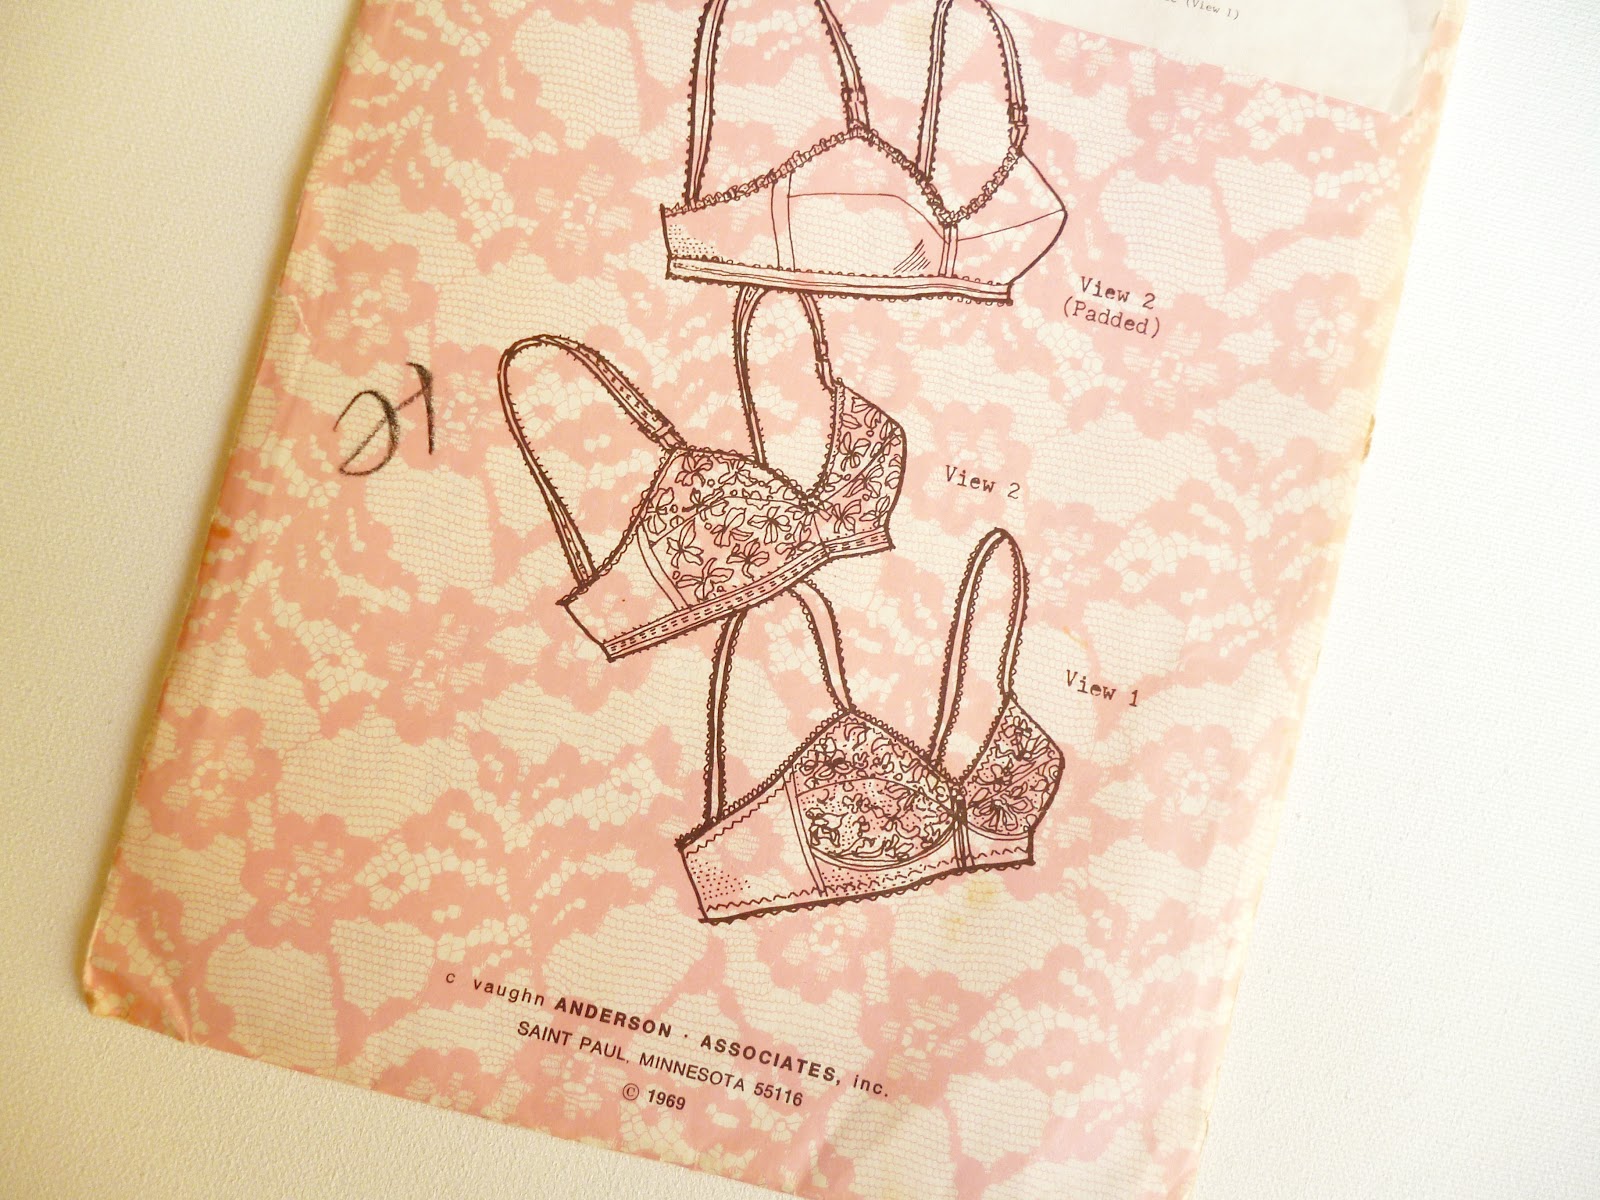
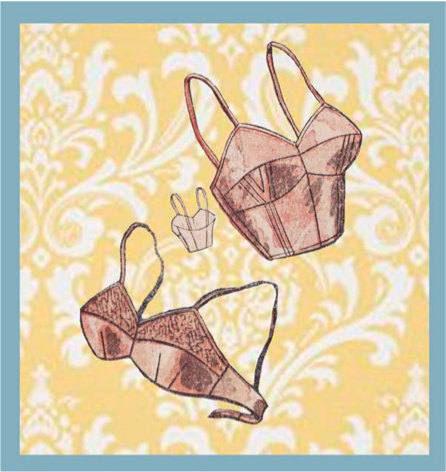
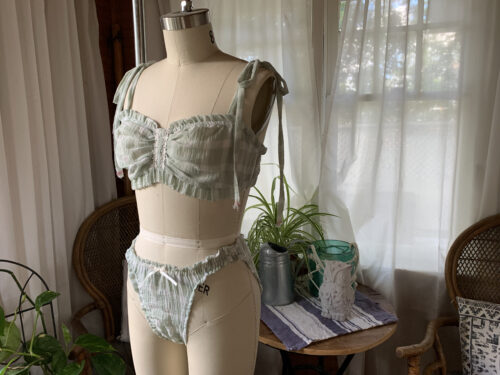
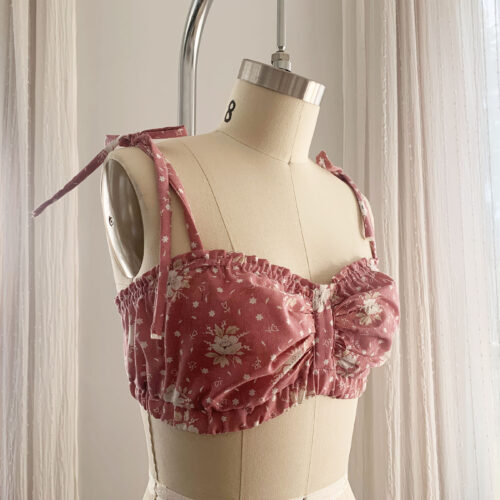
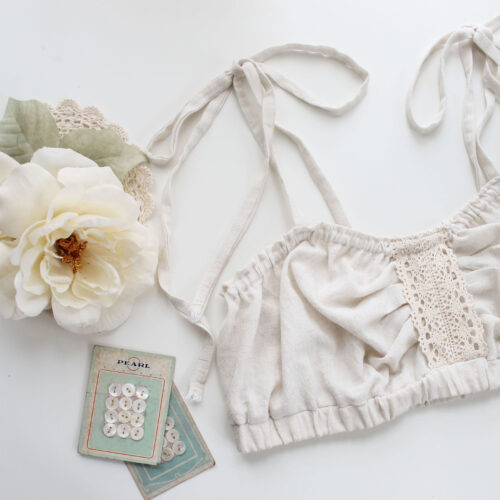
One of the sewing patterns in my personal collection is for an original 1940’s bra top. I believe it was originally meant for beachwear, but I thought it lent itself well to lingerie. I used the basic style line as my inspiration for the August Bra, but added elasticized edges, ruffles, and tie on straps.

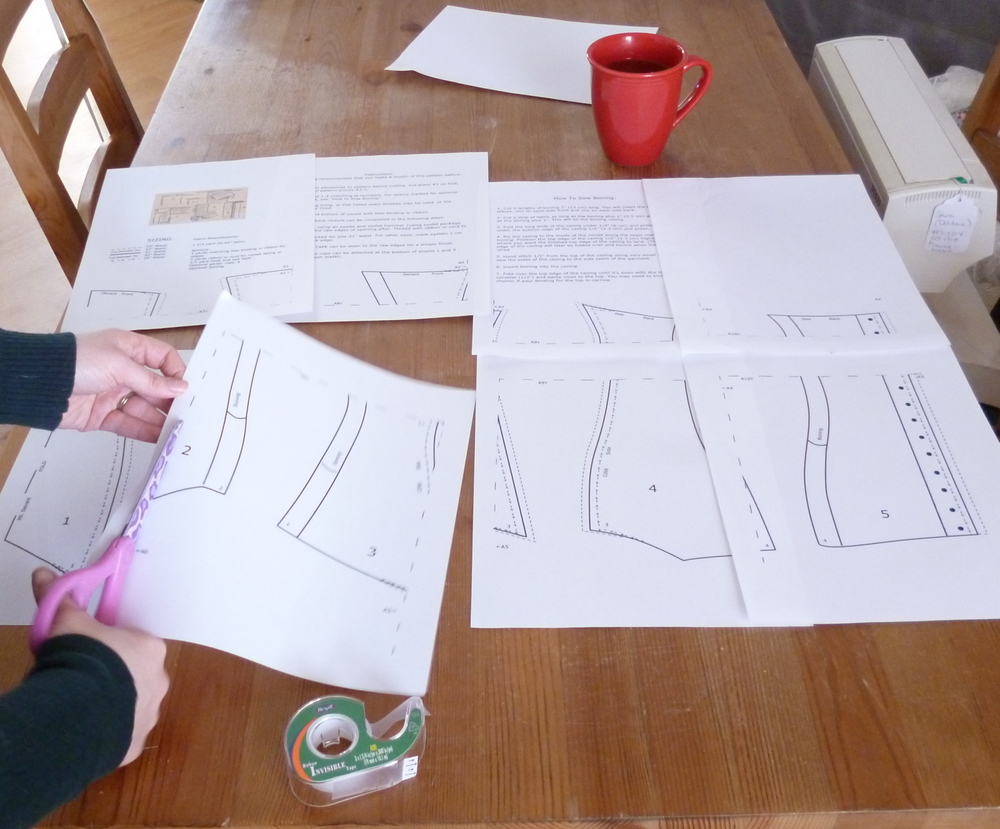
I decided to release this pattern in two formats. You can get the pattern for FREE. Yep, free! The free version doesn’t have a full set of written instructions, but I do have an indepth video on YouTube walking you through the steps. If you prefer a more traditional format, you can purchase an ad-free version that includes the pattern and written instructions with full colour photos in my traditional PDF format.

Fabric selection is important for this bra. Look for fabrics that are lightweight and with a good drape. If you are online shopping, search for fabrics that include rayon, viscose or bamboo, as they are all really drapable fibres. Weaves like challis, charmeuse, and gauze all have a looser weave that are perfectly suited for this pattern! Really tightly woven fabric like poplin could result in a slightly smaller fit. So, if you have a really tightly woven fabric, I’d suggest sizing up.

I’m excited to see what you come up with using my pattern. Tag me on the socials, @ohhhlulu everywhere. I’ll also be releasing a bottom to go with it in the next few days!

New To Me Pattern…

Uncategorized
I have finally gotten around to watching Mad Men… and in a week I’ve watched the first two seasons and am well into the 3rd.  When I sew, I like to have something on the TV.  Usually I watch some cheesy documentary on Big Foot or UFO’s, or a Creature Feature (The Legend of Boggy Creek, anyone?), but I thought I’d give Mad Men a try… needless to say I’m totally hooked.  The costumes  alone are absolutely amazing.  I was super excited when I was browsing through Ebay the other day and came across this 1960’s bra pattern – very Mad Men-esque.  Cant wait until I have some time to give it a try!

New Treasure! Singer 99

Uncategorized

Believe it or not, my sister in law found this in the garbage.  Someone had just decided to throw it out with the trash.  The lever, and all of the parts (including spare needles and bobbins) were just sitting inside the box (which was locked and had to be picked open.

After doing a bit of research, and looking up the Serial Number, I’ve found that this is a pretty common machine, a Singer 99 Made in 1928.  This one is fully electric,  but has a knee lever as opposed to a foot pedal, something that I personally have not seen before.  It took some tinkering, but Dan and I got it up and running.  I gave it a good oiling and cleaned out the dust, but other than that, it is in remarkably good order for an 84 year old sewing machine. 

See it in action! Purrs like a kitten… an 80 year old kitten…

Possibly the coolest thing is all of the attachments.  There is a rolled hem foot, zipper foot, and a bunch of other crazy attachments that I’m not really sure what they do. Luckily, it is pretty easy to get information about these kinds of machines.  Neat, huh?

Ooh La La Pin-Up Sew-Along Pt. 2… What you will need for your NEW vintage bra.

Uncategorized
We are on to part 2, and the more challenging part of our sew along: sewing our Pin Up Bra! 
Anna’s pattern comes in two styles, a short bra, and long line bra.  Of the two, the longline bra is the more challenging sew and will require some pattern manipulation which I will walk you through.
But now for the fun stuff, gathering your supplies.  There are so many ways you can finish this garment, so be creative and don’t be afraid to try something new.
I am using the same satin I used as an accent on my corset.  I’ve also gathered up some white stretch lace, which I will use as a contrast, and to give my bra  a little more give, and some nude coloured stretch lining (I chose a knit because I am cutting my cups on the bias).  I am going to edge my bra in cream coloured picot edged lingerie elastic, and I am creating a false band with plush back bra elastic, which I will also use for part of my straps.  I have hook and eye tape for my closure.

If you are sewing the short bra, you will need some kind of bra back closure.  You can use an S-hook, Hook and Eye closure, or a Vintage closure like Anna.  I will be adding adjustable straps to mine, so I’ve set a side some small o-rings and sliders.  I got these adorable heart slides on Etsy .

If you are for more of a reproduction look, skip the elastic and use some bias binding to finish your edges, and ribbon for straps.  You can also add boning to the side of the cups if you feel you need some extra support.

Are you excited? Nervous? Scared? Already finished?  Do you plan on sewing the short version or the long line version? I like this pattern so much, I think I will sew both!

Ohh La La Pin Up Sew Along… Sewing your Muslin.

Uncategorized

I have to admit… I can be a lazy sewist, when I am sewing for myself, but lingerie muslins take no time to sew, because they are so small! No need to worry about interfacings or linings for your mock-up -You just need something to test your fit!

For my muslin, I did not worry about sewing flat felled seams, like I will be sewing in my finished garment. I stitched regular seams, 5/8″ in from the raw edge and pressed flat. The pieces fit together perfectly – great work on Anna’s part!

For the laced corset – On the centre back pannel, fold your 2″ extension flap over (towards the inside), press, and stitch 3/8″ in from the centre back edge to form a bone casing, and again 1 1/2″ in from the center back. We will add 2 bones to the mock up corset to test the fit. Insert a bone along the centre back, beside where the corset will lace. Always round off the edges of your boning, to prevent the bone from wearing through your fabric.

Instead of using eyelets on your mock-up, make a mark every 1 1/2″ down where your lacing will go and make a small button hole – this will allow you to lace up your corset to test the fit, without any waste of precious eyelets!

You now have a corset that laces up the back! Try it on and see how it fits.

Mine looked good from the front, but didn’t quite do up all the way in the back. I added 1/8″ of an inch to the side front and side back seam, which corrected the fit.
Oooo… Curvy! Va va va voom!

For those of you making a hook and eye corset, if you have extra hook and eye tape, you can add some to your muslin to test your fit.

Remember to transfer any changes you made to your muslin, over to your pattern.

So, how did your muslins fit? Did you need to make a lot of adjustment?

Ooh la la Pin Up Sew-Along… Grading Your Pattern Up Or Down.

Uncategorized

Anna wrote an amazing post on grading your corset pattern up or down. You can easily apply her method to any pattern that you are looking to resize.

Following Anna’s directions, you can also easily extend the length of your corset for those with long or short waists (like little ol’ me!) by cutting and extending, or shortening your pattern up or down, and re-curving your lines.

Head on over to A Few Threads Loose to read Anna’s instructions on Grading your pattern, or read on below…

For those of you that don’t fit into the size range of people I had available to test the corset pattern on, then you’re in luck because I am at your disposal!

First I will show you how to grade to a smaller size, then I’ll show you how to grade to a larger size, though they are very similar.

Keep in mind that you should really make a muslin of this pattern, and you should REALLY make a muslin if you’ve made adjustments like these.

Today we’re going to use reader “E’s” 25″ waist as our starting point.
The smallest size on the pattern is a 29″ waist. (29″-25″=4″).
We’ll need to grade the pattern down 4″ to make it her size.

I like to use centimeters for this (don’t worry, there are centimeters on every ruler and yardstick out there) not because I live in Europe right now, but because it’s just easier than doing a bunch of fractional math all the time.

4″ is 10 cm. (roughly) Now luckily there are only 5 pattern pieces so we know that we need to distribute the 10 cm we’re removing from the pattern at 2 cm per piece.
(4″=10 cm) and (10cm/ 5 pieces = 2 cm per piece)
But wait! These pattern pieces are cut double, 2 of each, so it gets easier! We’re just removing 1 cm from each pattern piece.
Technically there’s just one of the center piece and it’s cut on the fold, but we can still distribute changes the same, as both ends of the piece will reflect the change.

Now we get to the cutting! I’m just going to show you how we’ll do this with pieces 1 and 2 but you’ll do the same with all of them.

Start by cutting the pieces vertically right down the center.

Measure the amount that you want to remove, in this case it’s 1 cm.
Note: if you are removing more than 1 cm form each piece, I know it’s more work but you’ll get better results if you split the pattern pieces into thirds and remove a bit from the inside of each. The same goes for grading the pattern larger than 1 cm per piece.

Next, trim off the amount to be removed from the piece you marked and tape the two pieces back together lining up the top.

At the bottom, you will have a little bit of jagged edge where the pieces don’t quite match up.

This end is a straight line so just line up a ruler between the tip of the pattern piece to the inside where it should match, mark, and then trim.

Do the same with each pattern piece.

To grade the pattern piece larger is a really similar process.

Reader “A” has a 37″ waist and also asked this question. That’s lucky because it’s another 4″ difference between the size she needs and the largest size on the pattern.

Using the same math from above, we know that we need to add 1 cm to each pattern piece.
(4″=10 cm) and (10 cm/ 5 pattern pieces = 2 cm per pattern piece, cut double, = a 1 cm adjustment)

I’m going to use piece # 5 to illustrate.

As with grading down, to grade up we split the pattern piece vertically down the center.

When I cut out a digital pattern, I always keep a handful of my paper trimmings from taping them together on hand for alterations like this.

I have measured and cut a strip 1 cm wide.

Place the piece in between your split pattern pieces and tape it back together.

Trim smooth the jagged edges and you’re ready to do it to the other 4 pieces.

Voila! Any questions?

Ooh la la Pin Up Sew-Along… Corset boning and why you need it.

Uncategorized
Are you stumped as to what kind of boning to use in your corset? Read about Anna’s awesome vintage find, and different boning types below:
When to Use Boning, and What Kind

The question is, are you wearing it to the bedroom or the boardroom?
Boning your corset is always best, to be honest. In my experience, unless it’s hiding under a dress, bedroom lingerie has a shelf life of about 2.5 minutes before it lands on the floor. That 2.5 minutes doesn’t require too much support. The main point of the side boning in this corset is to keep it from folding and bunching up on you when you bend over.
(I’m sorry, I’m immature, and I’m giggling at all the double entendres as I write this.)
There are several kinds of boning that you can use both new and vintage.


Vintage Notions:

My mother, the fantastic vintage dealer and former custom corset-maker literally has buildings full of vintage clothing, patterns, ribbon, fabric, notions and a million other things. Last summer on a visit home she and I dug through boxes and boxes and I stumbled across more than one large box that was overflowing with old bias tape, rick rack, needles, ribbons, spools of thread, and to my delight, a box of Warren’s Featherbone.

Needless to say, I bought an extra suitcase to drag the contents of the box home with me.


Since I’m using vintage satin and lace, it’s obvious I need to throw some vintage boning in the mix.
The Featherbone seams to be a somewhat flexible fiber and plastic composite material already covered in a neatly stitched casing.


It’s not too easy to find but so far I love working with it. There’s a box of it for sale here.

I’m so excited about Anna’s Vintage Boning Find, and can’t wait to see her finished corset! It sounds like it will be a beautiful reproduction piece.
Here is a rundown of common types of boning that you might want to use in your corset:
Most corsets of the 1940’s and 1950’s would have used flexible plastic boning but there are several kinds of boning you can choose from. Throughout time, people have used everything from baleine (whale bone) to reeds to stiffen their undergarments. Here is a run down of some relatively easy to find boning.

Spiral steel boning is made of a flattened, coiled metal. It is very flexible, and can be purchased by the yard or in pre-cut lengths. Spiral boning comes in different widths – the wider the bone, the more supportive. Spiral boning works nicely to shape the sides of corsets. When buying yardage of this type of boning, you will need to purchase bone tips to cover the raw ends of the bones.

Spring steel bones are very rigid, plastic coated metal bones. These are are very strong bones that are somewhat flexible, but do not easily bend. Spring steel bones come in differing widths and thickness. The thicker the bone, the less flexible it will be. Spring steel bones are great for putting on either side of your lacing, to help reinforce your eyelets, or down a flat front corset.

Plastic boning is the most common type of boning. It comes in different densities and thicknesses. Regular Plastic boning (sometimes called featherweight) is a thicker boning, that generally comes in ¼” widths. Rigilene boning is a lighter weight boning that can be easily sewn through, and tacked into place. Either type of boning is suitable for the corset girdle. Plastic boning is quite flexible, but can retain bends, unlike spiral steel boning. Most plastic boning is sold in a casing.

A combination of Spring and Spiral Steel bones will make for a more durable corset that will take off more inches. Plastic boning is quite comfortable, easy to care for, and good for every day wear.

http://www.farthingales.on.ca/ Canadia corsetry and costuming supplies.
http://www.corsetmaking.com/ a US Based corset supply retailer.
http://www.venacavadesign.co.uk/ a UK Based corset supply retailer.

More on your muslin next.

Ooh La La Pin Up Sew Along: Printing Your Pattern & Adding Seam Allowances

Uncategorized
Anna has posted a similar post on how to print and use your pdf pattern – Please follow Anna’s instructions if you plan on using hook and eye tape to close your corset. If you are planning on using eyelets to lace your corset close, follow my instructions below!

Print out your corset garter belt pattern on regular, letter size paper, making sure the printer scaling is at 100%. Arrange each piece on a large work space. Cut and tape each corresponding piece together, like so:

Using tracing paper, trace each piece in your size. I am adding my seam allowance to my traced pattern pieces.
Once you have carefully traced each piece and all markings, add your seam allowance. I am using flat felled seams to encase my 1/4″ boning. I am adding a total of 5/8″ to each side of each panel, except for the centre front panel, which is to be cut on the fold. I have not added seam allowance to the top or bottom, because I plan on binding my edges.

For corsets that will lace – add 2″ to the centre back seam. This will form a facing. We will also need to draft an interfacing piece to reinforce this section.

Why do you need to face and interface this section? There will be a lot of pull on the grommets – if they are set through 1 layer of fabric they are going to work their way through in no time. You will also want to add boning along either side of the eyelets to prevent “scrunching” (ick!), and the facing will form your bone casing.

Measuring in 2″ from the centre back line, draw a line straight up (parallel to the centre back line).

Extend the interfacing pattern piece all the way along the 2″ extension so you get a large rectangular piece that looks like this:

Voila! Your pattern for an laced corset is complete! You are now ready to use your pattern pieces to cut out your muslin.

Ohh La La Pin-Up Sew Along – Planning!

Uncategorized

Anna wrote a great post on what you will need to prepare for the Corset Garter Belt Sew Along.

If you have never sewn lingerie before – please, don’t be scared! Lingerie can be made out of all sorts of fabric – from cotton to the finest silk. If you are a beginner, choose a sturdy cotton as opposed to a slippery satin. It will make your life much easier until you get your technique down pat.
Before you start your muslin, decide whether you want your garter belt to lace up the back with eyelets, or close with hook & eye tape. I will be sewing a lace up corset, and Anna will be sewing one with hook & eye tape.
If you choose to use eyelets and want a corset that will cinch you in, I would recommend lining or flat lining (sandwiching two pieces of fabric together, and treating them as one). I will be flat lining my corset with off white broadcloth. Adding a lining will give extra support and prevent unwanted stretching. It will also give extra support for the eyelets.
I’d love to know – who plans on using eyelets and who plans on using hooks and eyes? Are you planning a bedroom look or something for every day?

Ohh La La Pin-Up Sew Along!

Uncategorized

I am so so so excited! Anna, from A Few Threads Loose, came to me with a great idea – a co-sew along! If you haven’t seen Anna’s Etsy shop yet, she sells the best selection of vintage patterns and pdfs.

So, what will we be sewing? Lingerie, of course!

We have decided to start by tackling this amazing French Corset Garter Belt. Anna and I will both be posting instructions on our blogs and will be focusing on different techniques and embellishments you can use to make your garter belt truly unique!
To start off our Sew Along, Anna is giving away a pdf of the pattern above AND this beautiful bra pattern that we are hoping to Sew Along next! Head on over to A Few Threads Loose for a chance to win both patterns! Anna is also offering 15% off using coupon code “OOHLALA”.

Once you get your pattern – choose from either the single Pattern, or the Sew Along Kit (which comes with both patterns, and a vintage lingerie sewing booklet pdf) – there are a few things you will need:
1. Garter Clips – you can find these easily online, or in larger fabric shops
2. Eyelets and Eyelet punch, or 1/2 yard of hook and eye tape
3. Boning (optional)
4. 2 1/2 yards of fabric will do your corset & bra
5. 3 yards of bias binding OR 1 yard of contrast fabric for contrasting bone channels and bias binding
6. 2 yards of ribbon or cord for lacing (eyelet version only)
7. 1/2 yard of ribbon or elastic for attaching garter clips
8. Lace, Bows, Appliqués and embellishments of your choice (optional)
Anna will be working with a vintage peach satin for her garter belt. I will be using a blue & white cotton with pink satin accents, and white lace ruffles. I will demonstrate how to add contrasting bone channels, and how to reinforce your eyelet lacing to prevent any “scrunching” in the back. The laced garter belt will require some extra boning and a small piece of interfacing.
I am so excited to see what everyone comes up with!!!