
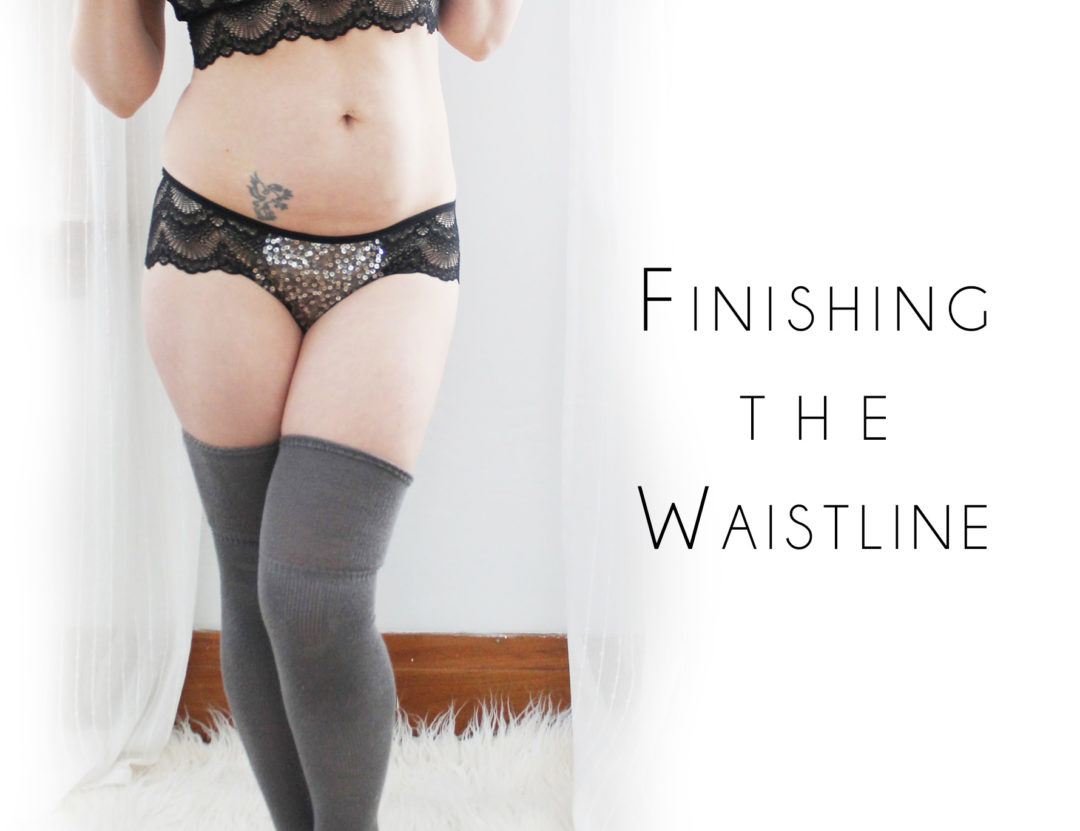

Sorry it’s taken me a bit to post this next quick and easy step. I’ve been overloaded with Valentine’s orders! But here I am with the last step of the panties. After this, we will start on the bra.
This part is easy. We’re just going to finish the waist edge with fold over elastic. I’d recommend just trying them one one last time to make sure the fit is exactly how you want them.
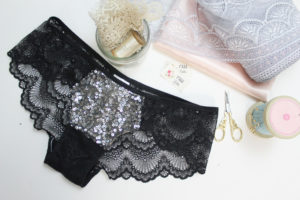
The elastic here should not gather or pull in the waist line too much. It should just create a nice snug edge. The panties themselves are fitted, so the elastic edging just creates that extra bit of stability around the top.
Starting from the inside of the garment, find the approximate side-point of the waistline. This is where we will start applying the elastic. Use a zig-zag stitch to “baste” it on. The foldine of the elastic should run alongside the raw edge of the waist. I have a super easy way of joining my elastic into a continuous loop, which you can read about HERE. I don’t like to sew it into a loop first, then apply – I prefer to fold the raw edge under and cover it with a tight row of zig-zag stitches. This is just a personal preference! No one way is better than the other.
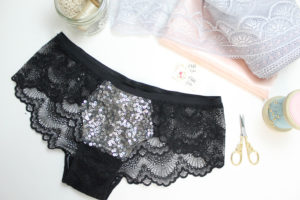
Once the elastic is “basted” on, trim back any excess fabric that extends beyond the stitching line. Fold the elastic along the fold line, so that the elastic is essentially binding the waist edge, and top stitch in place using a zig-zag stitch.
For detailed step-by-step instructions, please checkout this how-to video. Otherwise, there are lots of details in the pattern instructions!

No Comments