

Once again, I planned on posting this yesterday then yesterday went by in a flash! But, this part of the sew along goes by fast, I promise!
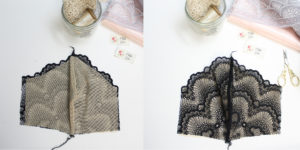
I line my bras in one step so that the lining is anchored to the exterior fabric. I do it this way because it prevents slipping between the two layers, and once you get a hang of the technique, it makes lining a bra so fast!
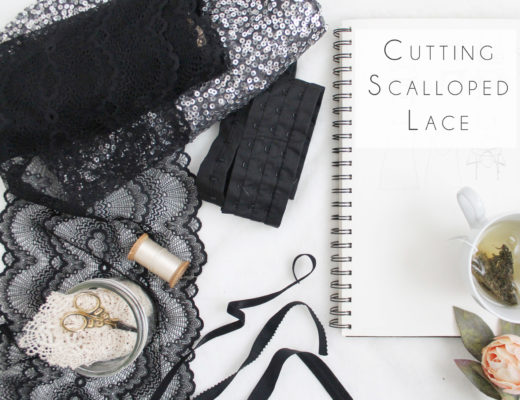
In one of the first steps, I went over how to cut scalloped lace. Just a reminder that you need to trim your lining back by about 1/4″ along the neckline edge.
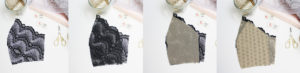
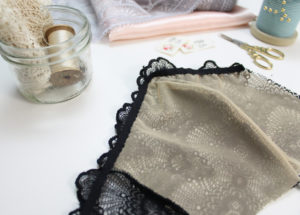
Begin by taking your Side Front Lace piece and place it so that the right side is facing up. Lay your Centre Front Lace piece on top so that the right sides are facing. You may want to baste these together along the curved cup seam at this point.
On top of that, place the Centre Front Lining on top of the Centre Front Lace piece (wrong sides are facing). Then, with the right sides of the lining facing each other, lay the Side Front Lining on top of that. Stitch together down the curved seam.
When you open up your layers, the cup is nicely lined in one action.
Pin the Band to the Side Front, and stitch in place.
If you are finding this a bit confusing, this video will likely clear things up for you.
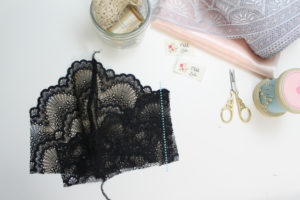
At this point, I take a length of plain old 3/8″ elastic, and use a multi-step zig-zag stitch to sew it to the wrong side each half of the bra along the upper edge. The elastic should run on top of the lining to anchor it to the bra. Make sure the elastic does not extend beyond the scalloped edge of the elastic. Gently pull on the elastic as you stitch it on to contour the upper edge.
Once the neckline elastic is applied to both halves of the bra, pin it together down the centre front and stitch in place.

If you’d like more insight on how to add elastic along the upper edge, this video will walk you through in even more detail.

2 Comments
Chris Griffin
January 31, 2017 at 2:04 pmIt looks like you are using 3 threads in the serger instead of 4. Is that correct? I was commenting using Bloglovin’, but apparently my comments do not transfer from there 🙁
Thank you! I’m excited to have some lounge bras 🙂
sarah.e.norwood@gmail.com
January 31, 2017 at 6:28 pmI use 4 threads on my serger as well as my regular sewing machine.