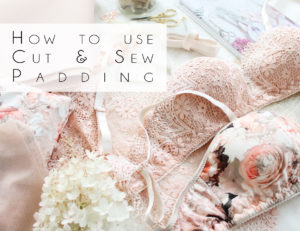
Way back when, I wrote up a tutorial on padding the Jasmine Bra with balconette style pre-formed cups. Over the last few months, I’ve been experimenting with a new method, using cut and sew foam.
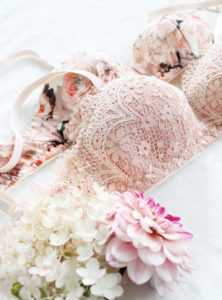
Cut and sew foam is available through most bra making suppliers. There are lots of options, but I recommend Bra Makers Supply in Canada or Arte Crafts in the US. Cut and sew foam is quite thin, maybe 1/8″ or so thick. It has some 2-way stretch. Adding foam to your soft bras will add a little bit of body and structure, as well as a little extra coverage if you are concerned about visible nipples. My personal preference is still for non-padded bras, but this is a nice option if the things above are of concern to you! Or, if you just want to try something new. I will say, I’ll be adding this to my bikini top sewing repertoire, but I’m still not sure padded bras are for me.
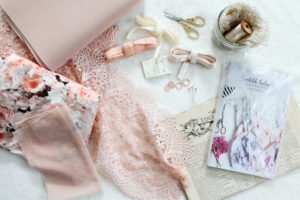
Aside from the foam, you won’t need any other special supplies – just what it outlines in the pattern for a lined bra.
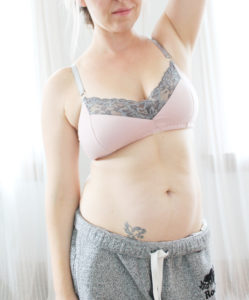
Feeling cozy!
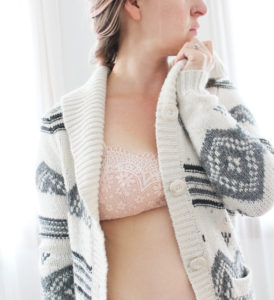
The method for assembling the bra with foam padding is essentially the same as a lined Jasmine. The main difference comes with how we will finish the interior seams.
Instructions:
Begin by cutting out your pieces. Cut the bra exactly as you normally would, but also cut out the cup pieces in cut and sew foam.
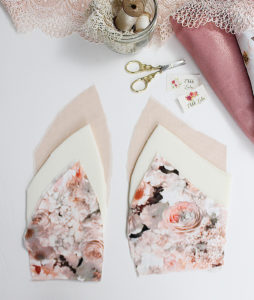
Place the Centre Front Self/Exterior pieces right side together, aligning the CF seam. Place a piece of foam over top of that, then the lining pieces with the right sides facing each other. Finish with the final piece of foam. Stitch together down the centre front seam.
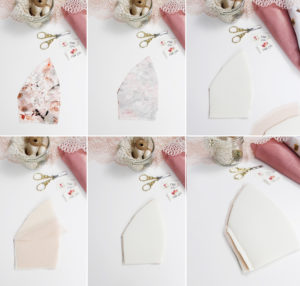
Trim back both pieces of foam as close to the stitching line as possible.
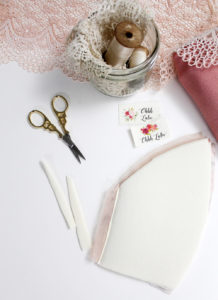
Open the Front up, separating one half of the foam. With your fingers, press the seam allowance towards the foam.
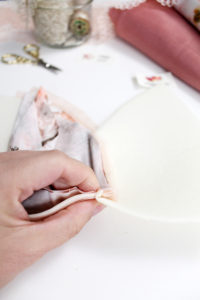
Using a zig-zag stitch, top stitch the seam allowance to the foam. When your needle “zigs” to the left, it should just catch that little bit of foam left in your seam allowance. The idea here is to flatten the seam, and in addition, the zig-zag stitching almost acts as an understitch, helping the lining and exterior fabrics fall into place.
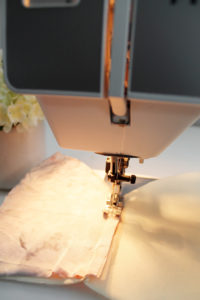
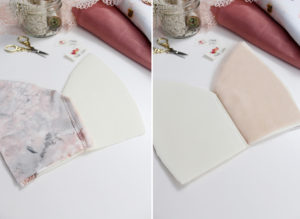
Trim back the seam allowance as close to the stitching line as possible and open the Centre Front pieces.
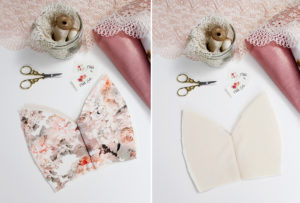
To assemble the rest of the cup, place the Side Front Self/Exterior against the Centre Front curved cup seam so that the right sides are facing. Place the Side Front foam against the wrong side of the Side Front Self. Flip the garment over, and then place the lining down the curved seam, sandwiching the Centre Front between the Side Front Self/Foam and Lining. Stitch together.
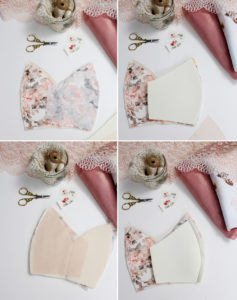
Once again, trim back both pieces of foam seam allowance as close to the stitching line as possible.
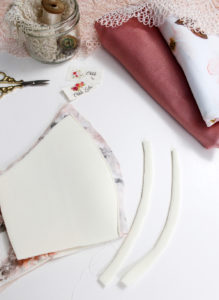
Fold the seam allowance towards the Side Front Foam, pushing the Side Front self and lining towards the centre front.
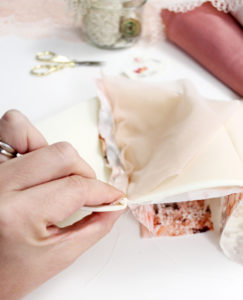
Just like you did with the centre front seam. Zig zag stitch the seam allowance to the Side Front foam.
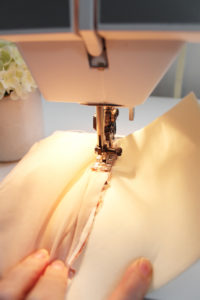
Trim back the remaining seam allowance as close to the stitching line as possible and flip the Side Front self and lining over the foam.
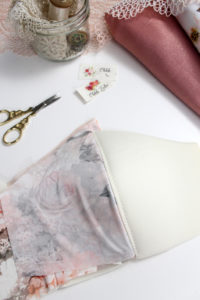
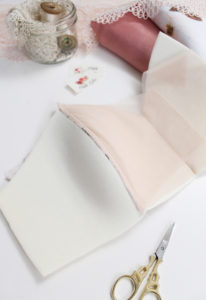
Attach your Back Band pieces as indicated in the pattern instructions and sew on the band elastic. It is very important that you trim any excess fabric beyond your band stitching line back to allow the bra to fold under properly.
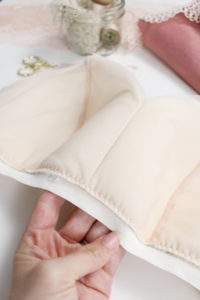
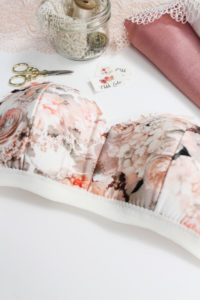
Top stitch the band elastic in place. Be careful here, it gets quite thick. Go slowly and take your time! Finish the upper edge with Fold Over Elastic as outlined in the instructions, and complete the bra with a back closure and straps.
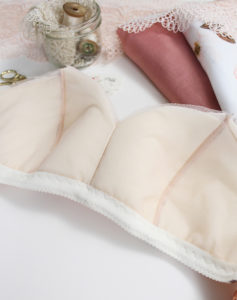
I would say this is more of an “advanced” tutorial. It can be quite tricky to get all of the layers to line up properly. That is definitely the most challenging part. Getting the fit just right is also a little more of a challenge because the foam will limit the vertical stretch of the bra, which tends to be more of an issue for the DD+ crowd.
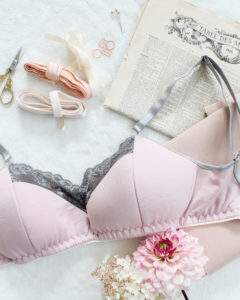
If you prefer video format, I’ve uploaded a quick tutorial on how to add foam padding to the Romy Bra:
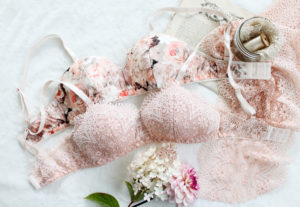
… And how to add padding the the Lace Jasmine Variation!



7 Comments
Cadi
September 20, 2017 at 5:13 pmGreat tute, I can’t wait to try it out! And thank you SO MUCH for that link to Arte Crafts – I’ve never heard of them before and they have such beautiful things, and they are right here in California!!! So excited to have a new provider of beautiful findings for lingerie!
Rosita
September 21, 2017 at 1:22 amHola soy de peru como puedo comprar tus patrones. Y puedo imprimir este tutorial.gracias
Natasha Estrada
September 23, 2017 at 4:49 amGorgeous as usual
#BraNews September – Emerald Erin
September 24, 2017 at 2:38 pm[…] of Ohhh lu lu has had a busy month, including putting out a Tutorial on Adding Cut & Sew Foam to her Bralette Patterns, and releasing a new pattern The Delphine […]
Neriss
May 10, 2018 at 6:14 amHow would you add padding to your Hyachinth bra pattern?
Thank you
sarah norwood
May 18, 2018 at 7:08 amI haven’t. It might be a little more tricky. I’d be included to maybe add removable cups.
Michelle Windle
November 12, 2019 at 5:35 pmI absolutely love your YouTube channel and your blog. You’re an amazing sewist. A+++. Amazing Designer.