Browsing Category

Tutorial

Valentine’s Sew Along: Assembling the Panties

Tutorial, Valentine's Day Sew Along

Ok, I’m going to admit, this part can get a little confusing, which is why I’m doing it first.

Sequin fabric can be really scratchy, so my goal is to sew these with as clean a finish as possible. This means hiding as much of the seam allowance between the lining and sequin fabric as possible.

We’re going to start by sewing the gusset pretty much the same as in the pattern instructions. With the Panties Back sandwiched between the Lace Gusset Piece and Gusset Lining, stitch in place using a 1/2″ seam allowance. The Gusset should overhang the edge of the scalloped lace by about 1/4″.

Folding the gusset forward, so that the seam allowance is encased between the lining and lace layers, pin the sequin fabric along the straight edge of the gusset, going through both the lace and lining layers of the gusset. The right side of the sequin fabric should be facing the right side of your gusset. You can baste this here, or just flip it over, and pin the lining along that same seam. Stitch using your sewing machine or serger.

That part was do-able, right?

Here’s the tricky to explain part:

With the right sides together, baste the Sequin Panties Front to the Panties Back down the “side seam” (I put that in quotes because it’s not technically at the side, but this phrase will do). The mesh lining is left loose at this point! Make sure your sequin fabric overhangs the scalloped edge of the Panties Back by 1/4″. This is important for the next installment.

Now that the seam is basted together, working from the inside of the garment, take your mesh lining and twist it so that the right side of the fabric is facing the wrong side of the lace, and pin in place down that newly basted seam. Stitch using a 1/2″ seam allowance.

Are you thoroughly confused?

I made a video to walk you through the process:

I would consider this an advanced technique, but in my opinion it’s a must-do for this style of panty. The video will show you how to sew the gusset, as well as both side seams so that the seam allowance is completely hidden between the lining and sequin fabric.

If you are really struggling with this method, just sew a regular seam. Treat the sequin fabric and lining as one, and pin it down the side seams so that the sequin fabric overhangs the scalloped edge by 1/4″, and finish with a zig-zag or serger.

In my opinion, this is the hardest part of the sew along, so once we’re done this, we’re in the clear!

Next up I’m going to show you how to finish the leg line with some elastic for stability, and how to finish the waist with fold over elastic.

Valentine’s Sew Along: Cutting Your Fabric

Tutorial, Valentine's Day Sew Along

Now that we’ve gathered supplies, and prepared our patterns we can go ahead and cut into all of that pretty lace and sequin fabric.

Cut the sequin fabric is exactly the same as you would cut any other fabric. Fold it in half, and place your new upper front piece on the fold and cut 1. Be sure to use sharp scissors and be prepared to have sequins everywhere. You may not want to use your best fabric scissors to cut the sequin fabric, as the sequins can dull your scissors, but you still want to use a good, sharp pair. Remember to also cut your new upper front piece out of stretch mesh.

The ‘new’ lower-front piece gets cut out of the same lace you are using on the back of the panties. I folded my lace in half lengthways and cut 1 that way. Don’t forget to also use your Gusset Lining pattern piece with the additional 1/2″ seam allowance added to the upper edge to cut your lining – any cotton jersey will do.

The Claudia Panties Back get cut out exactly as indicated in in the pattern instructions, so that the straight lower edge is running along the scalloped edge.

In total, for the panties you should have the following pieces:

  1. Upper Front – Sequins
  2. Upper Front – Mesh
  3. Lower Front – Lace
  4. Gusset Lining – Cotton Jersey
  5. Panties Back – Lace

I’ve made a video showing you exactly how I cut out my stretch lace, so if you need a little more info, this is for you!

The Jasmine Bra gets cut the same as in the pattern instructions. We’ll be adding the longline band in a later step, so don’t worry about that part quite yet.

Here is a “how-to” video on how to place your Jasmine Pattern on scalloped lace.

Don’t forget to also cut the Jasmine Front and Side Front out of stretch mesh for lining.

The most important thing to remember when using scalloped lace is to make sure the motif is mirrored on either side. Take some extra time to make sure that when you fold your lace in order to cut 2 of each piece, that the scallops and motif of the lace all line up.

If you find that your lace is a little too short for the Panties Back, I’ve got some tips on how to make-do in a separate post, Tips & Tricks for Sewing Scalloped Lace.

Now it’s on to the fun stuff!

Valentine’s Sew Along: Preparing the Patterns

Tutorial, Valentine's Day Sew Along

If you’ve ordered your supplies online and have to wait for them to arrive, now is a good time to print & assemble your patterns.

As a reminder, you’ll need the following patterns if you want to make a similar set:

  1. The Jasmine Bra
  2. The Claudia Panties
  3. Either the Mina or Cora Garter Belt Pattern (just a reminder that I have a FREE version of the Cora Tutorial in my shop right now).

You can buy these patterns individually, or as a complete Bundle. Just a reminder, they are also available on Etsy, if you prefer to shop there.

Print your patterns making sure that you have selected “no scaling” in your printer options. Measure the 1″x1″ square to make sure it has printed correctly.

I think I picked this tip up from Marie at A Stitching Odyssey, but a quick and easy way to trim the margins is to use a paper cutter. I can’t believe I didn’t think of this sooner… it has saved me so much time, and you can cut multiple pieces at once! My patterns come with a little scissor indicator showing you which margins to trim.

Once the appropriate margins are cut, you can tape your pages together, using the alpha-numeric indicators as a guide.

Cut out your pattern pieces in the size that closest corresponds to your body measurements. If you’re not sure how to measure, this infographic might help you out.

I highly, highly, highly recommend you sew your patterns up using some inexpensive test fabric first. You can even just use regular old knitted elastic on your mock-up, and jersey in place of the lace on the back of the panties. You’ll just want to see how the patterns fit your body.

The Jasmine Bra

If you are larger than a D-DD cup, you’re likely going to want to make some minor pattern alterations. My bust size has varied a lot over the last 3 years. I’ve had two pregnancies, one baby, gained 30 lbs, lost 40 lbs, started running, and started weight training. I’ve gone from a 30FF to a 30G during my pregnancy, and now I have no idea what my actual cup size is, but I know it’s somewhere below an F because none of my RTW bras fit anymore.

I’m going to show you what I do for my measurements.

I currently have a 36″ bust, and a 29″ band measurement. I cut out a size small. I draw in a slash line at the appropriate apex of the bust extending to the side seam, and the centre front seam. The apex is the “highest” point of the bust.

I cut along that line towards the Centre Front and Side seams.

From there, I open up the slash by about 1/2″, and retrace my pattern piece. I find this is all I need to get a great fit. You may want to add more or less. You may also want to add some depth to the curve if your bust projects a lot. This is why it’s really important to test out a bra pattern first. Breasts come in so many shapes and sizes, and they change constantly with the changes in our life, so what worked for you last year, might not work today.

Alternately, if you generally wear closer to an AA-A cup, you might need to straighten out the curved seams of the cup. This is super easy to do. You may want to also shorten the cup just a tad.

All of that being said, please don’t let this scare you off. This pattern is so forgiving. I recommend it for anyone who is just starting to get into lingerie making because the fit is generally quite easy to get!

The Claudia Panties

The front of the Claudia Panties is all one piece. I really love this pattern because it is so flattering and comfortable. But, I wanted to be able to add some sequin fabric to it, without the sequins scratching! I didn’t want the sequins to run as far as the gusset, because sequins between the legs doesn’t sound like a good time to me… so, I’m adding a horizontal seam to the Panties Front.

Here’s how I did that:

1.Place your Gusset Lining pattern piece overtop of the Panties Front and draw a line where the straight edge of the Gusset Lining falls on the Panties Front.

2. Cut the pattern along that line and trace them onto a separate piece of paper. Add 1/2″ seam allowance on either side of your cut line.

3. Add 1/2″ seam allowance along the straight edge of the Gusset Lining. I’m going to show you how to sew these so that all of the seam allowances are fully encased, so there are no scratchy bits!

Now that we’ve made the pattern alterations, store your pattern pieces away until your fabric arrives! I store my patterns in plastic sleeves in a binder.

If you’re fabric is already here (lucky), You can go ahead and cut out your pieces for your Jasmine Bra as indicated in the pattern instructions. I’ll show you how to cut the band in a later post.

Valentine’s Sew Along: Gathering Supplies

Lingerie, Sewing Patterns, Tutorial, Valentine's Day Sew Along

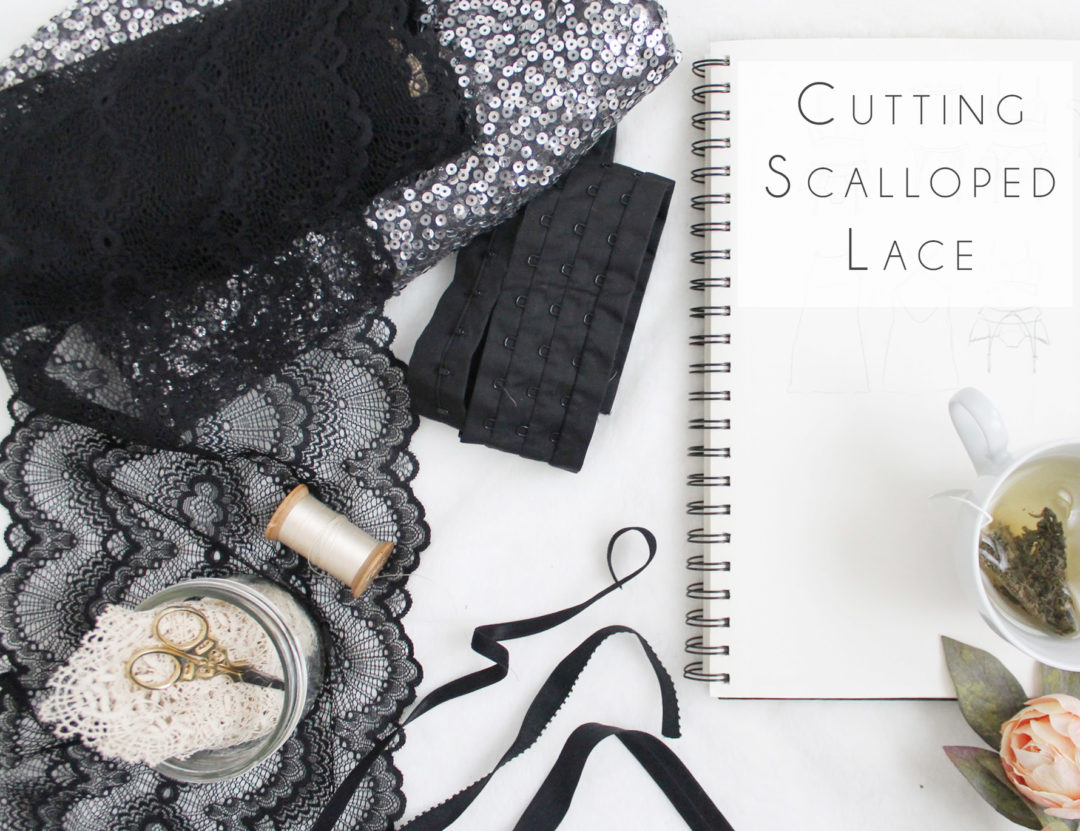
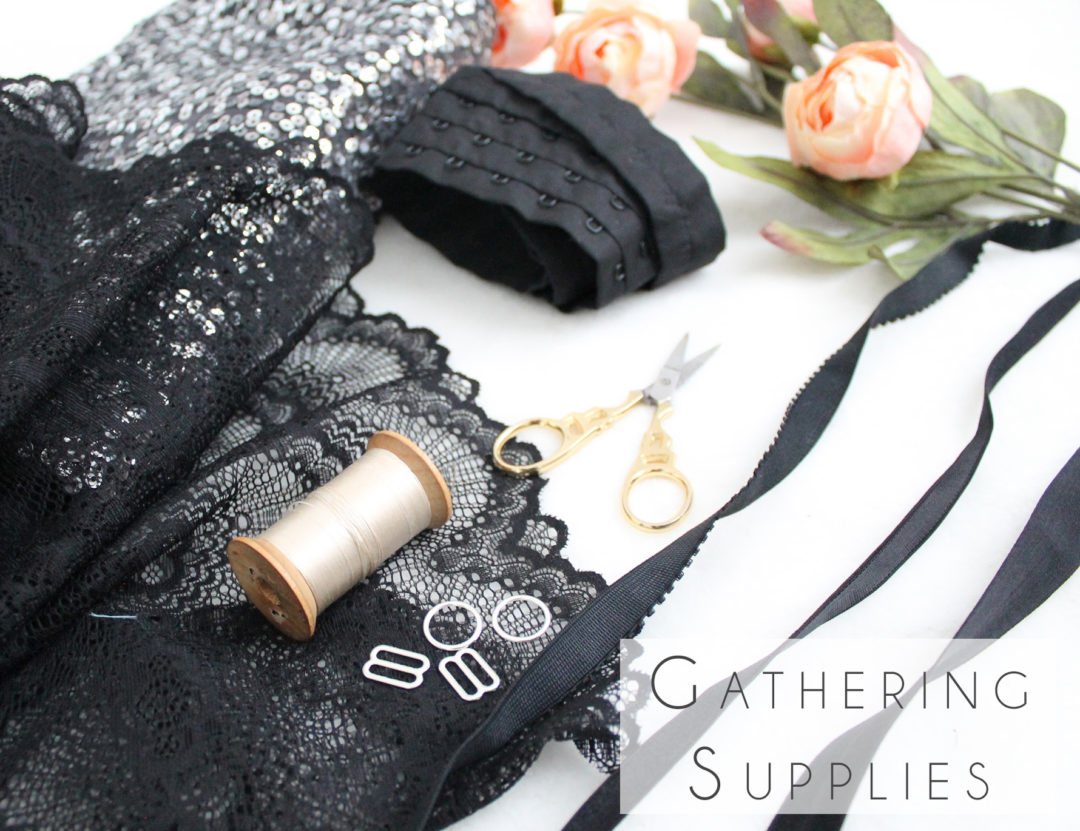
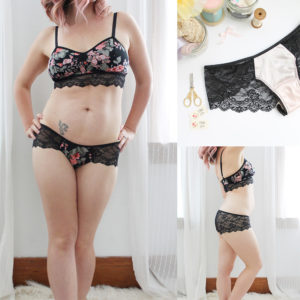
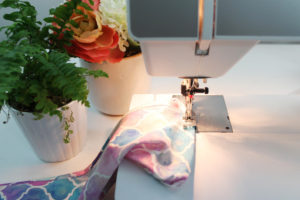
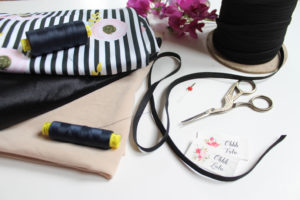
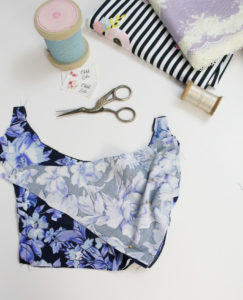
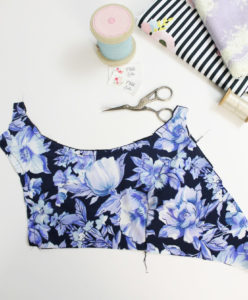
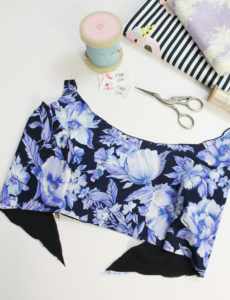
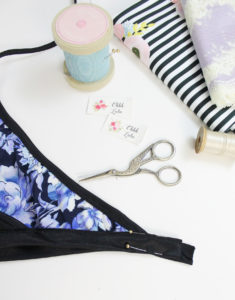
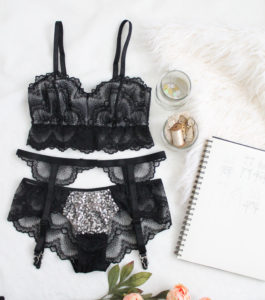
Lingerie-making requires some specialty supplies. If you’ve ever wondered why lingerie is so expensive to buy, it’s because there are a lot of bits and pieces that go into a single piece of lingerie! All of those pieces, as well as the labour involved add up!

Because I also sell made-to-order lingerie, I generally don’t give out the exact names of my suppliers. I like to keep some things a little private. However, I’ve purchased from nearly every big supplier online! So I’m happy to share some of my favourites with you.

As I mentioned earlier, this sew along is going to move along quite quickly. I know that many of you will need to order supplies, which can take some time. I’m hoping that you’ll be able to catch up once you receive everything you need.

Fabric

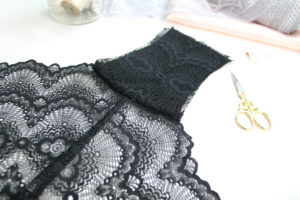
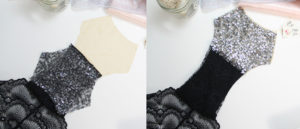
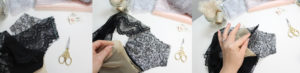
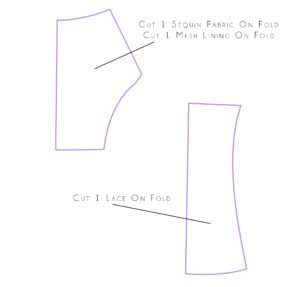
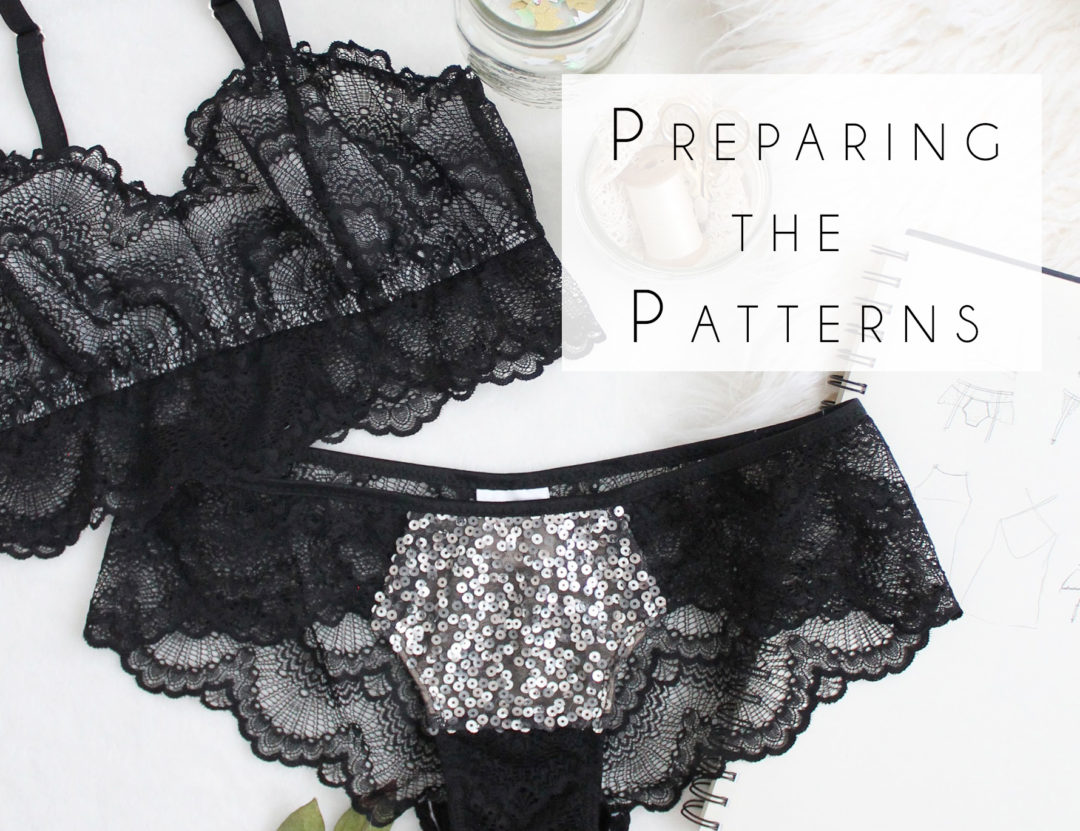
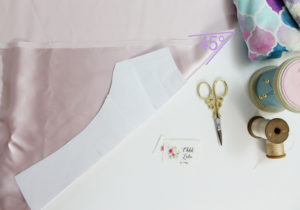
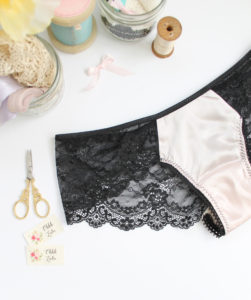
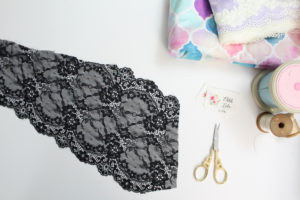
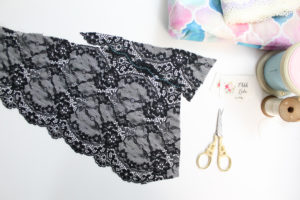
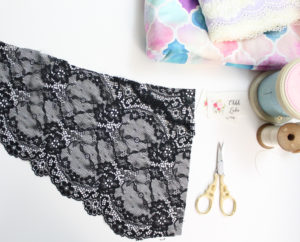
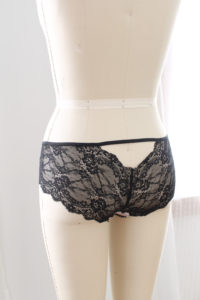
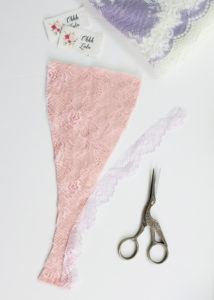
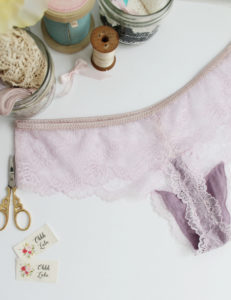
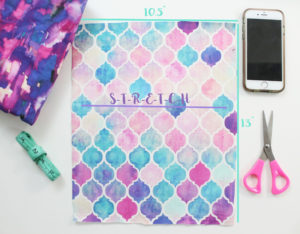
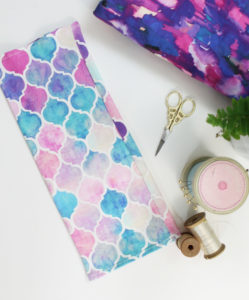
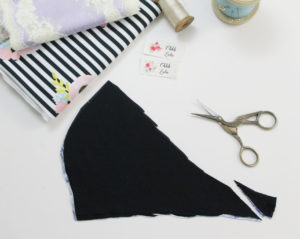
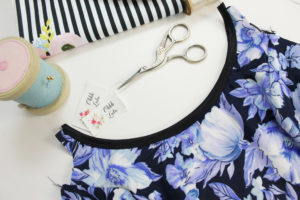
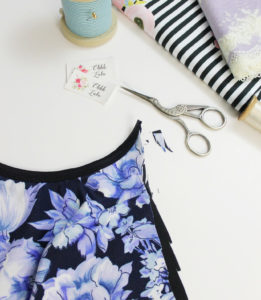
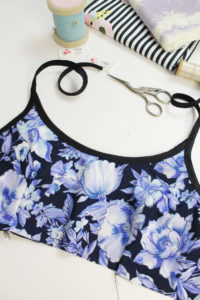
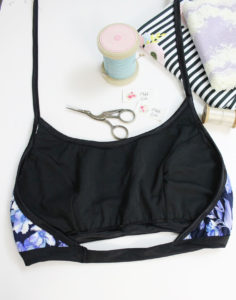
You’ll need to select a stretch scalloped lace fabric. I’m recommend looking for something at least 18cm (7″) wide. Buy the required amount as indicated in the patterns, plus an extra yard or so for the elongated band.

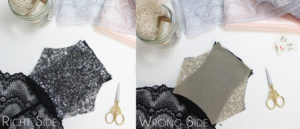
You will also need some sort of lining for your bra and or the front sequin panel of your panties. I like to use a simple stretch mesh. You can purchase it in a skin-tone shade for a nude look, a contrast shade to help your lace pop, or go tone on tone.

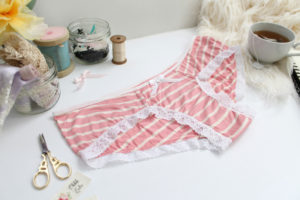
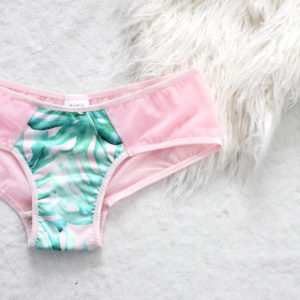
We’ll be adding a sequin panel to the front of the panties, so you’ll need to pick up some sequin fabric (or specialty fabric of your choice). This doesn’t necessarily have to be a stretch fabric. As long as it’s not too heavy, almost any specialty fabric will do.  My local Fabricland and Lens Mills stores both cary sequin fabrics, but if you need to source online, fabric.com is a great resource. If you’re looking to source locally, try browsing second-hand and vintage shops for old formal dresses.

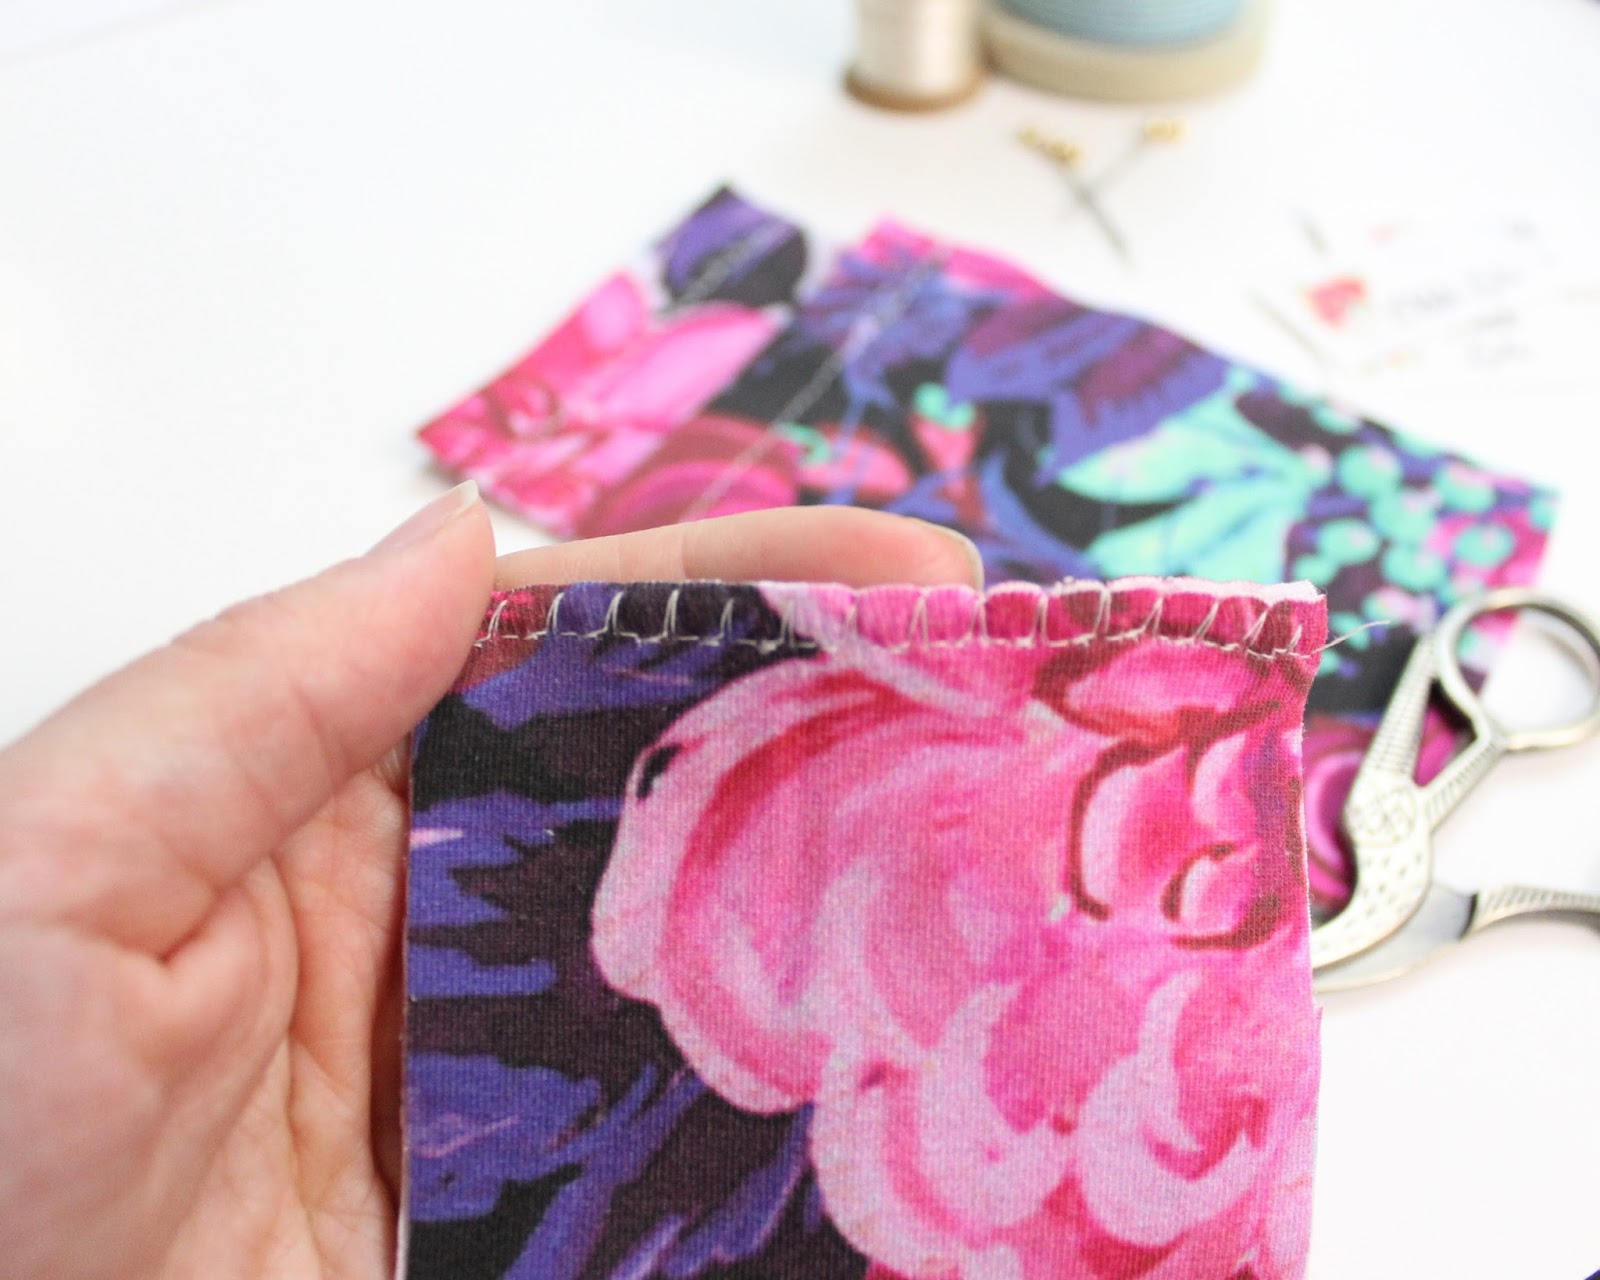
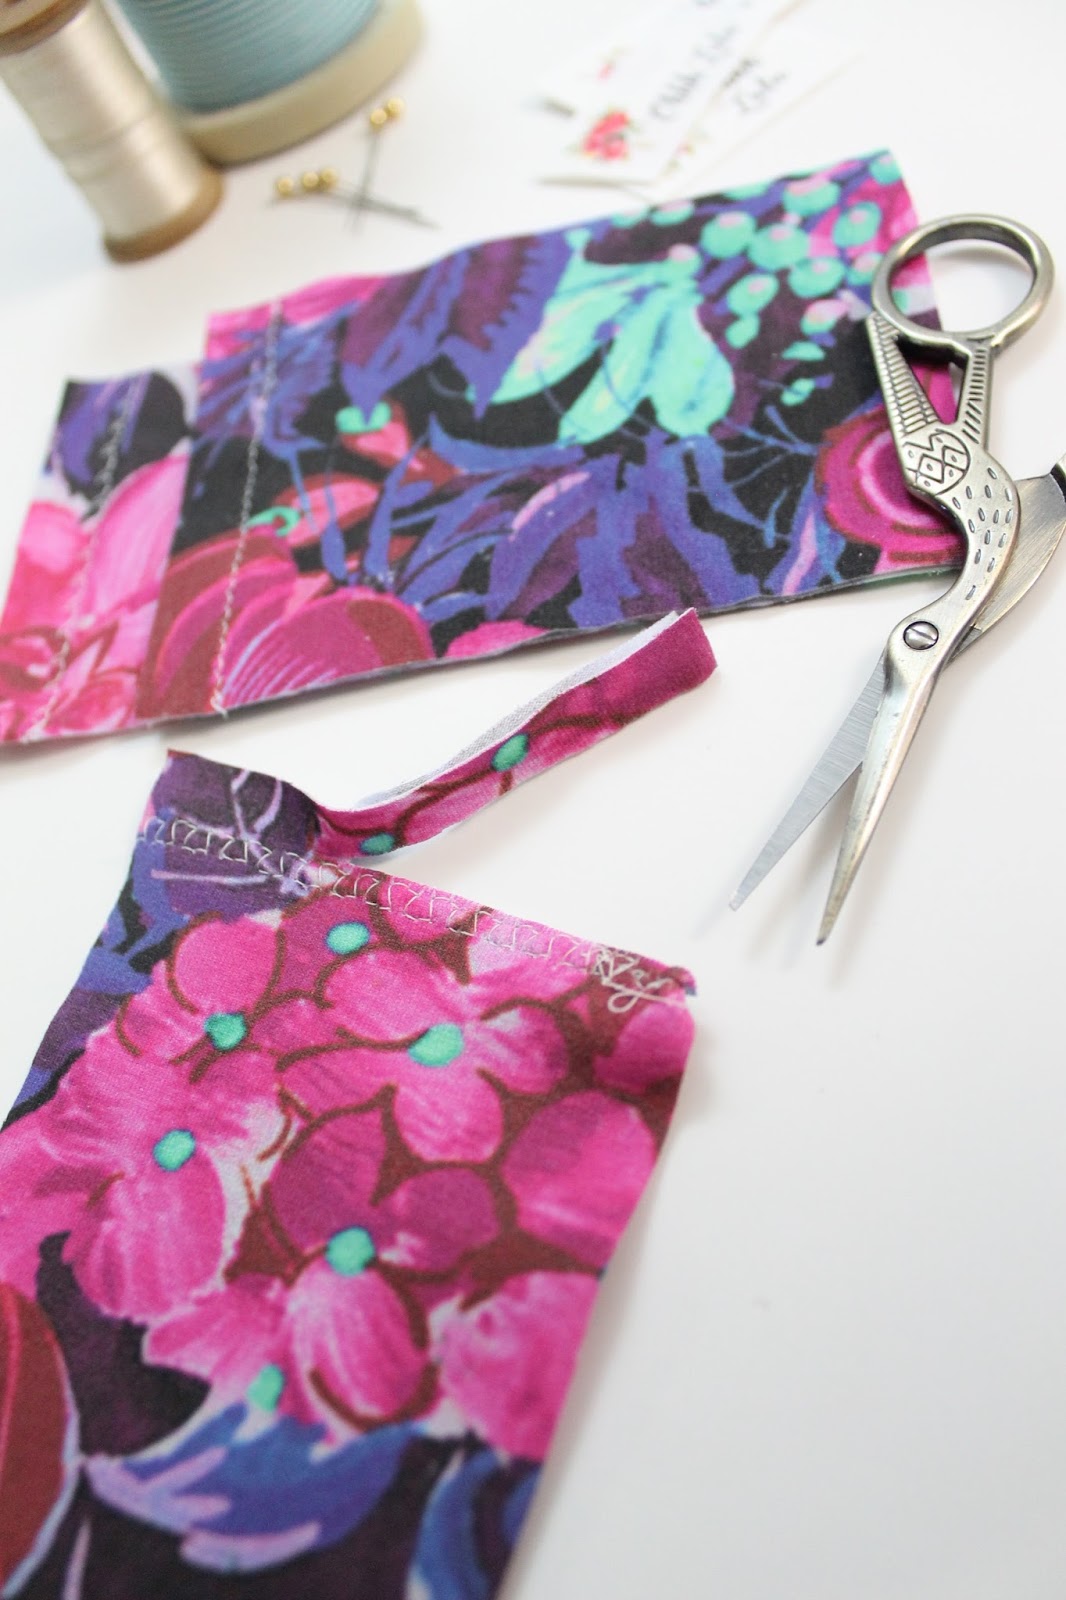
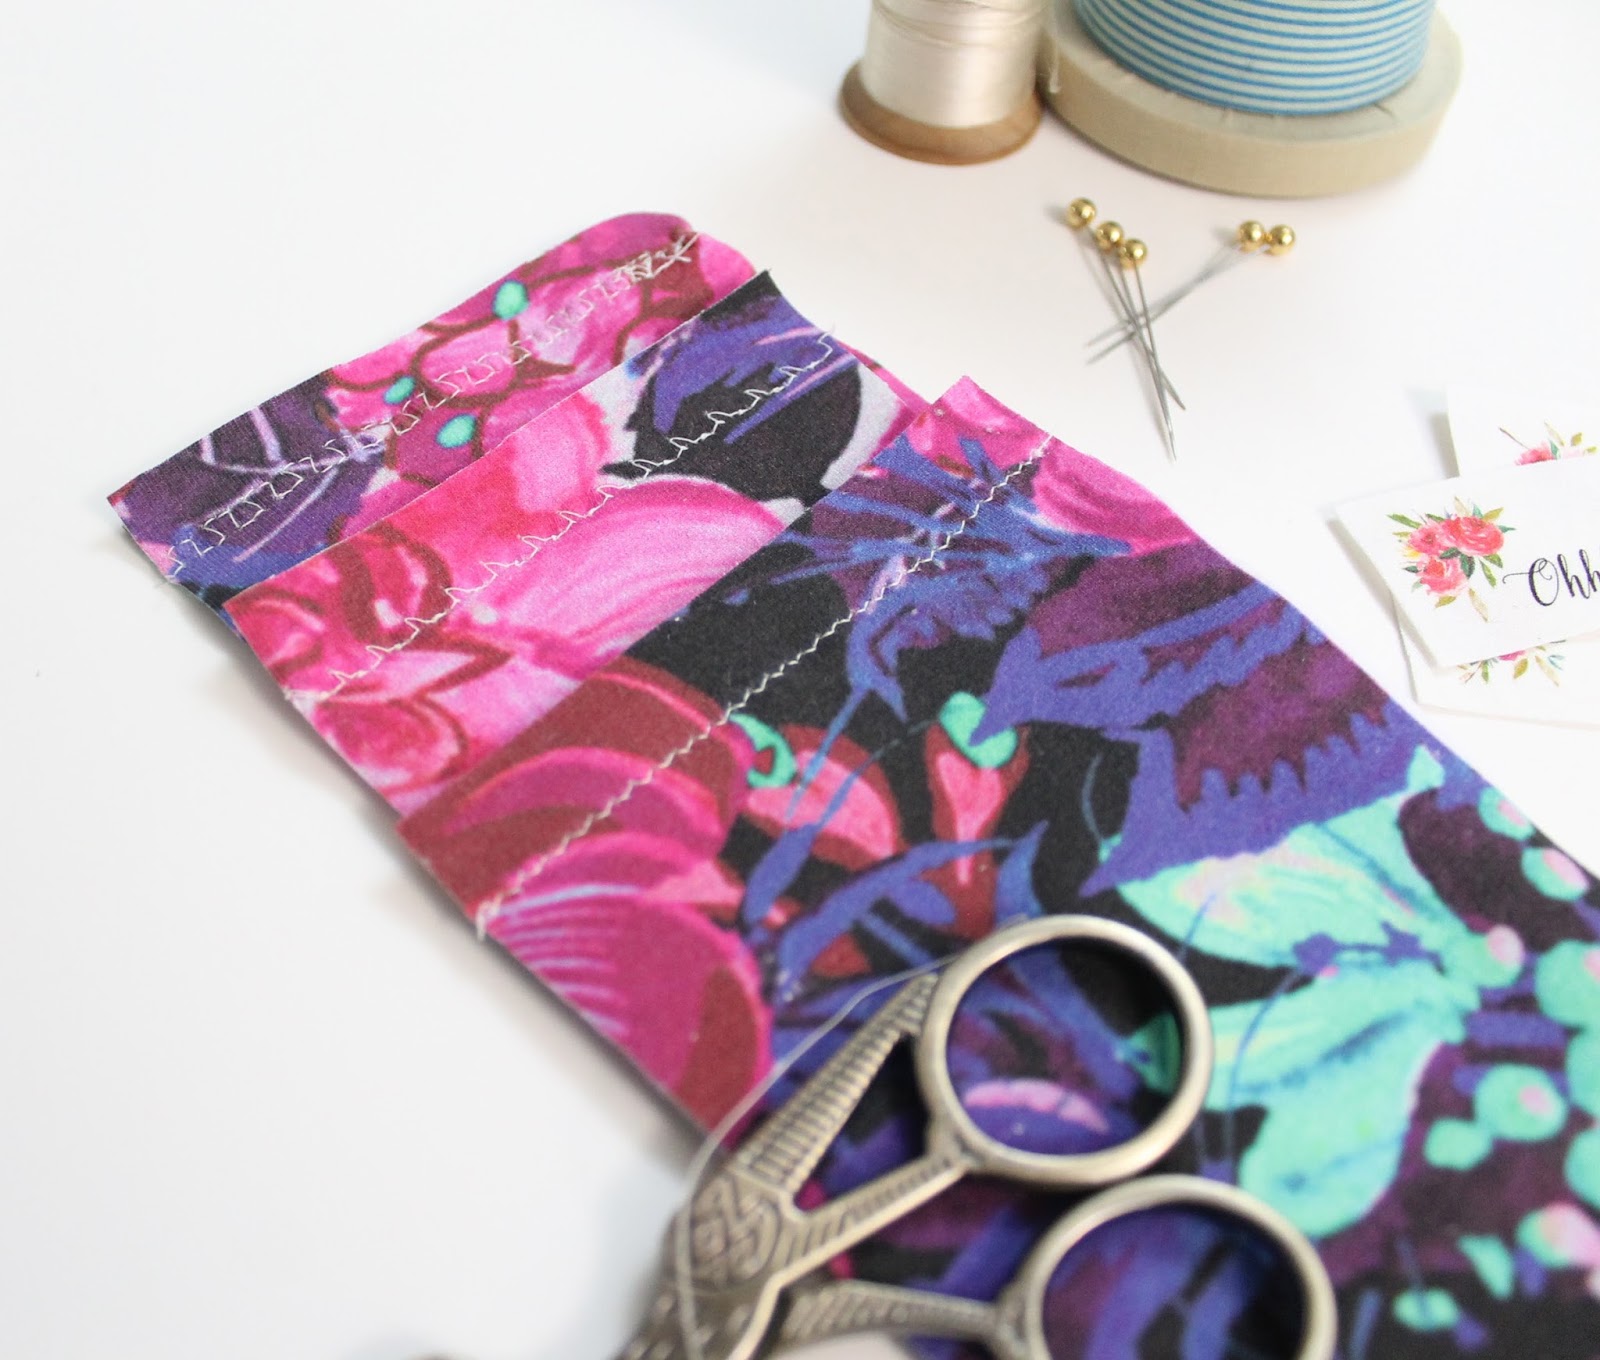
The last bit of fabric we will need is a small piece of cotton jersey to line the gusset. Any cotton jersey will do, even an old t-shirt!

Elastics

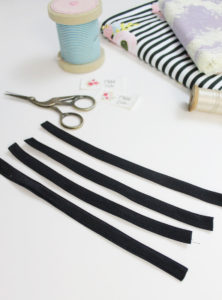
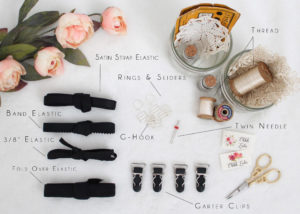
We’re going to need a variety of elastics to complete this set.

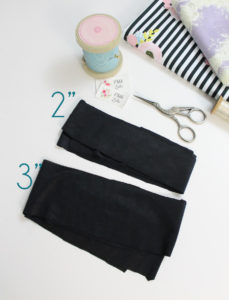
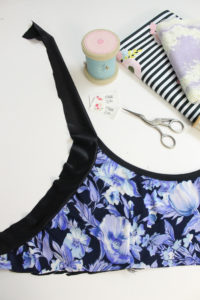
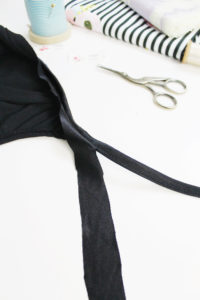
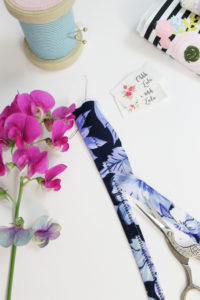
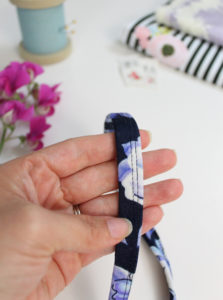
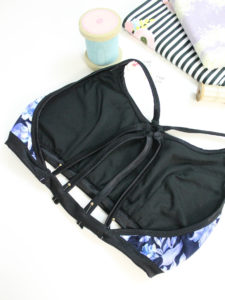
Strap Elastic – this is the elastic we will use to make our bra straps and the Cora version of the garter belt. I used 1/2″ elastic for my straps and 5/8″ for my garter belt. I actually also used 1/2″ strap elastic on the waistband of the Mina version of my garter belt. Which ever size you choose is up to you and your personal preference.

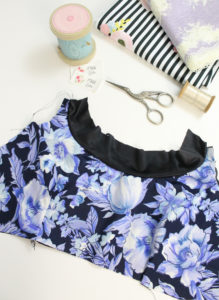
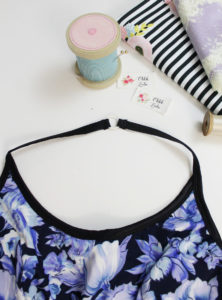
Neckline Elastic – this elastic will run along the inside of the bra, so pick something soft. I just use a regular 3/8″ wide knit elastic.  I like to make sure this elastic feel soft and is not scratchy, since it will lay against the skin.

Band Elastic – this elastic will go along the underbust seam of the bra, and can be also used on the waist edge of the Mina garter belt. Band elastic comes with one plush side – this is the side that lays against the skin. It also usually has a decorative edge running along one side. I’m going to be adding a 3/4″ band elastic to my bra, but 1/2″ tends to be the standard.

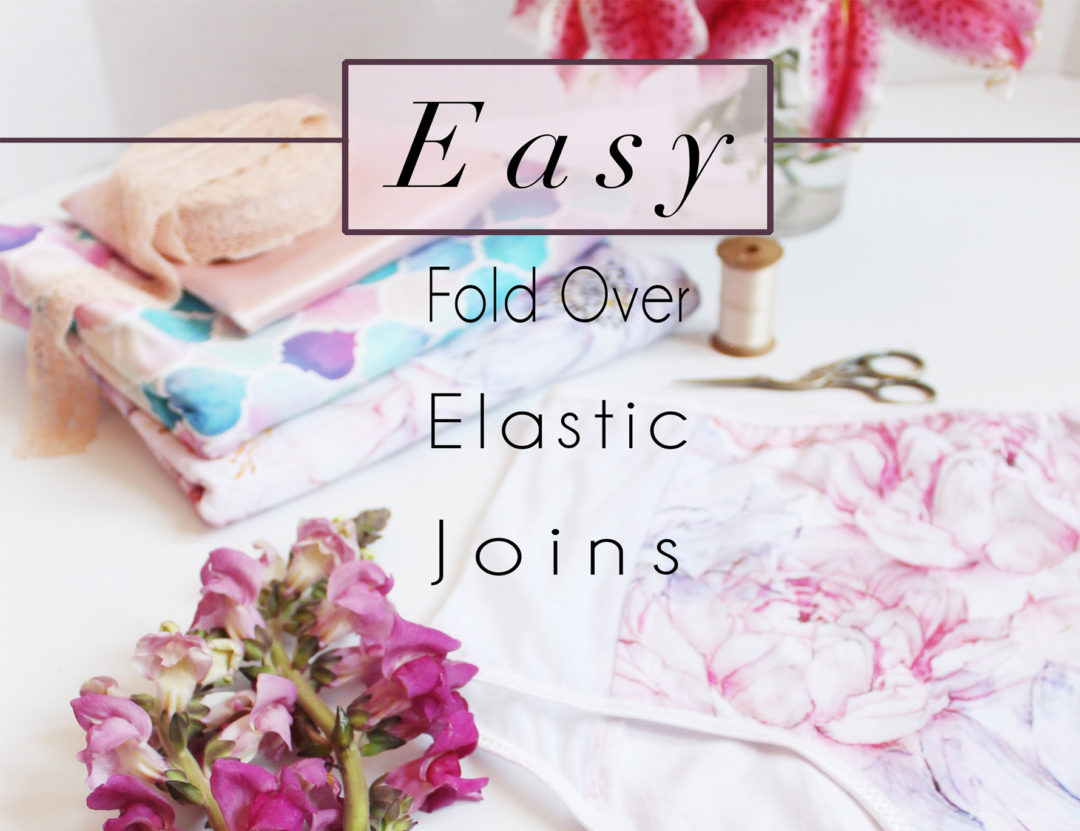
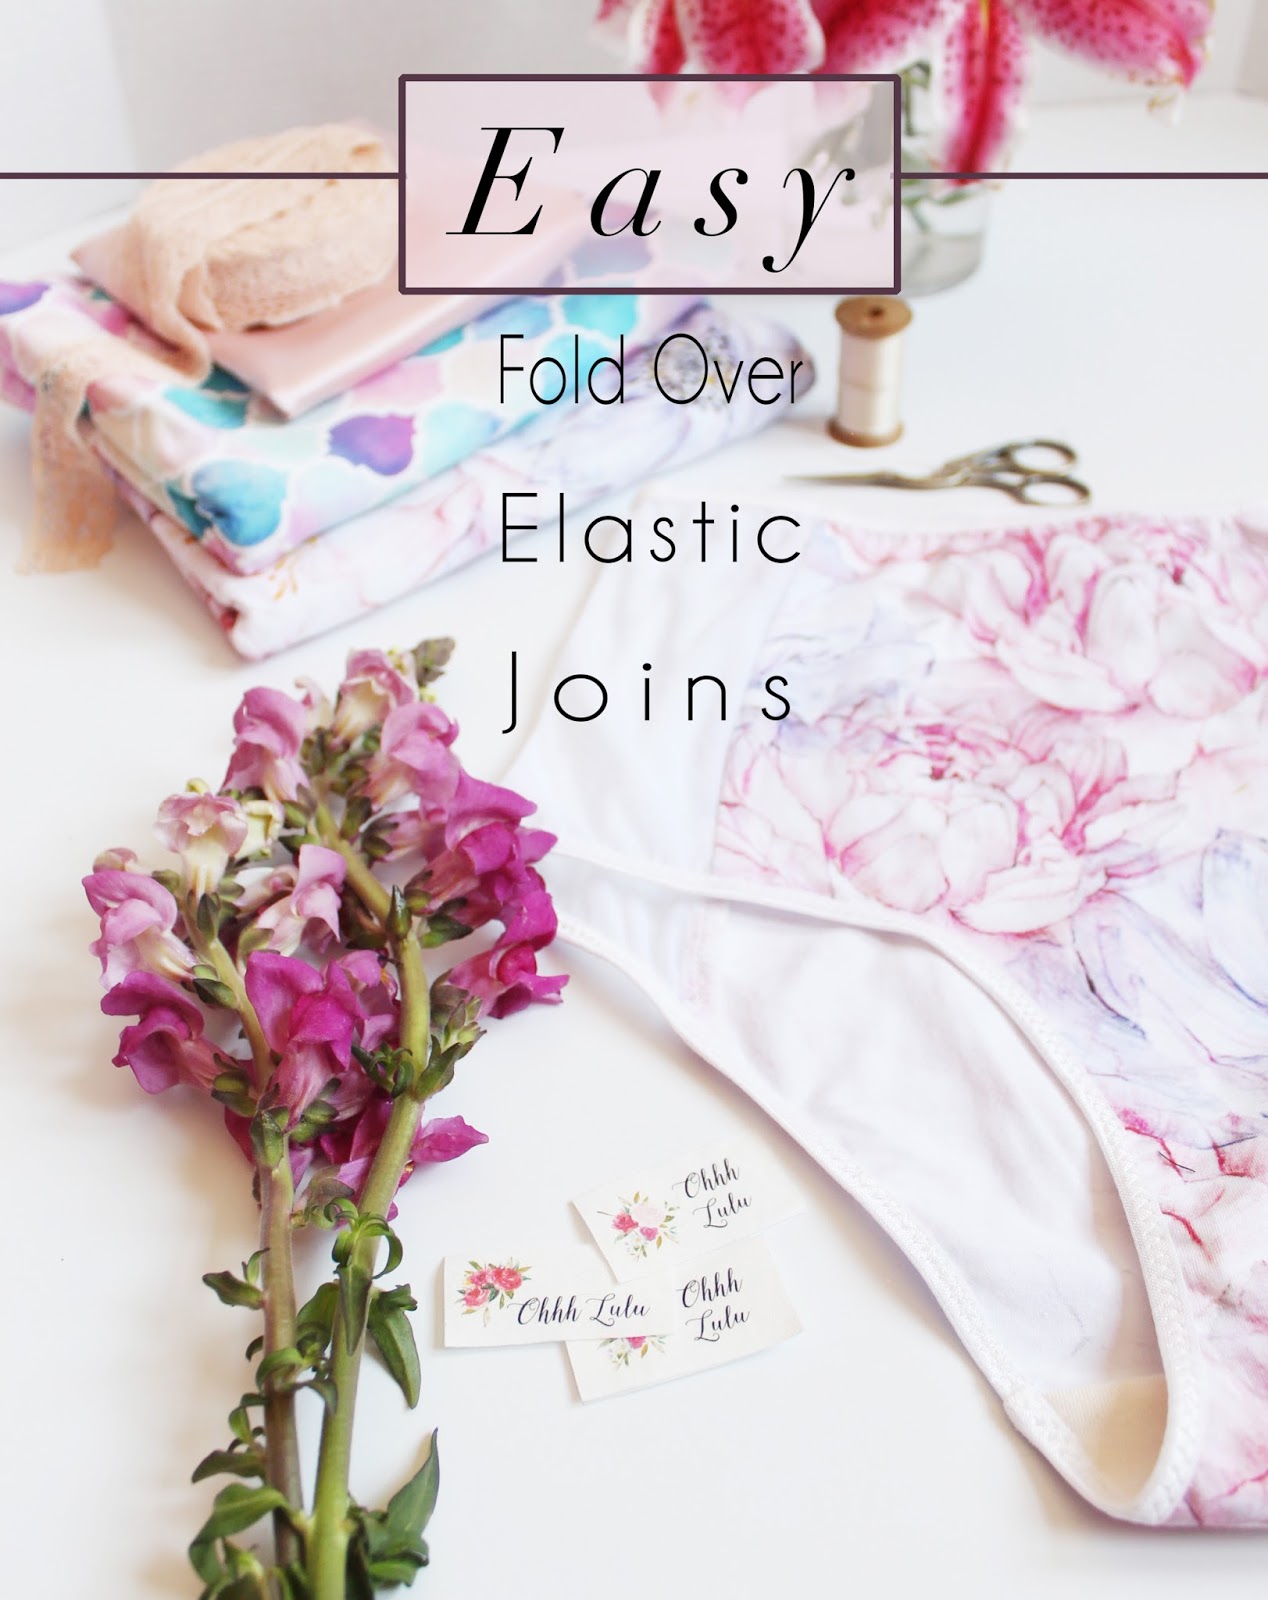
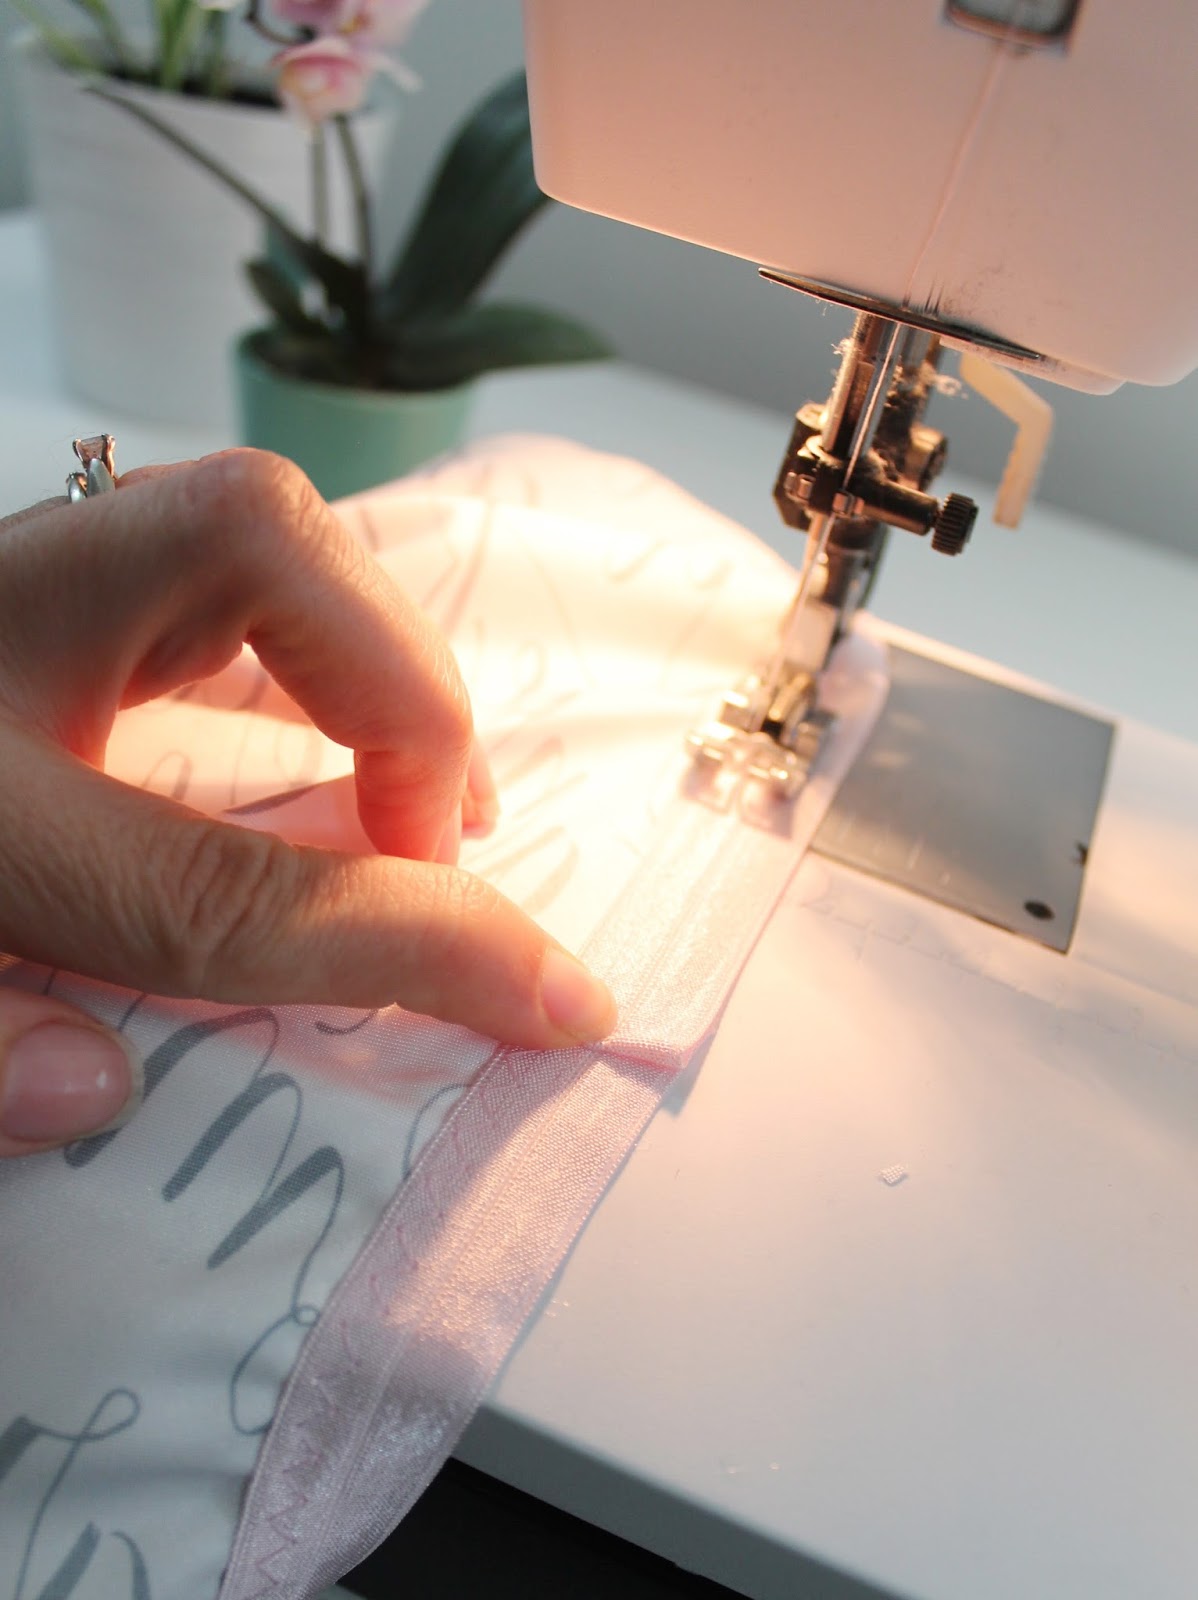
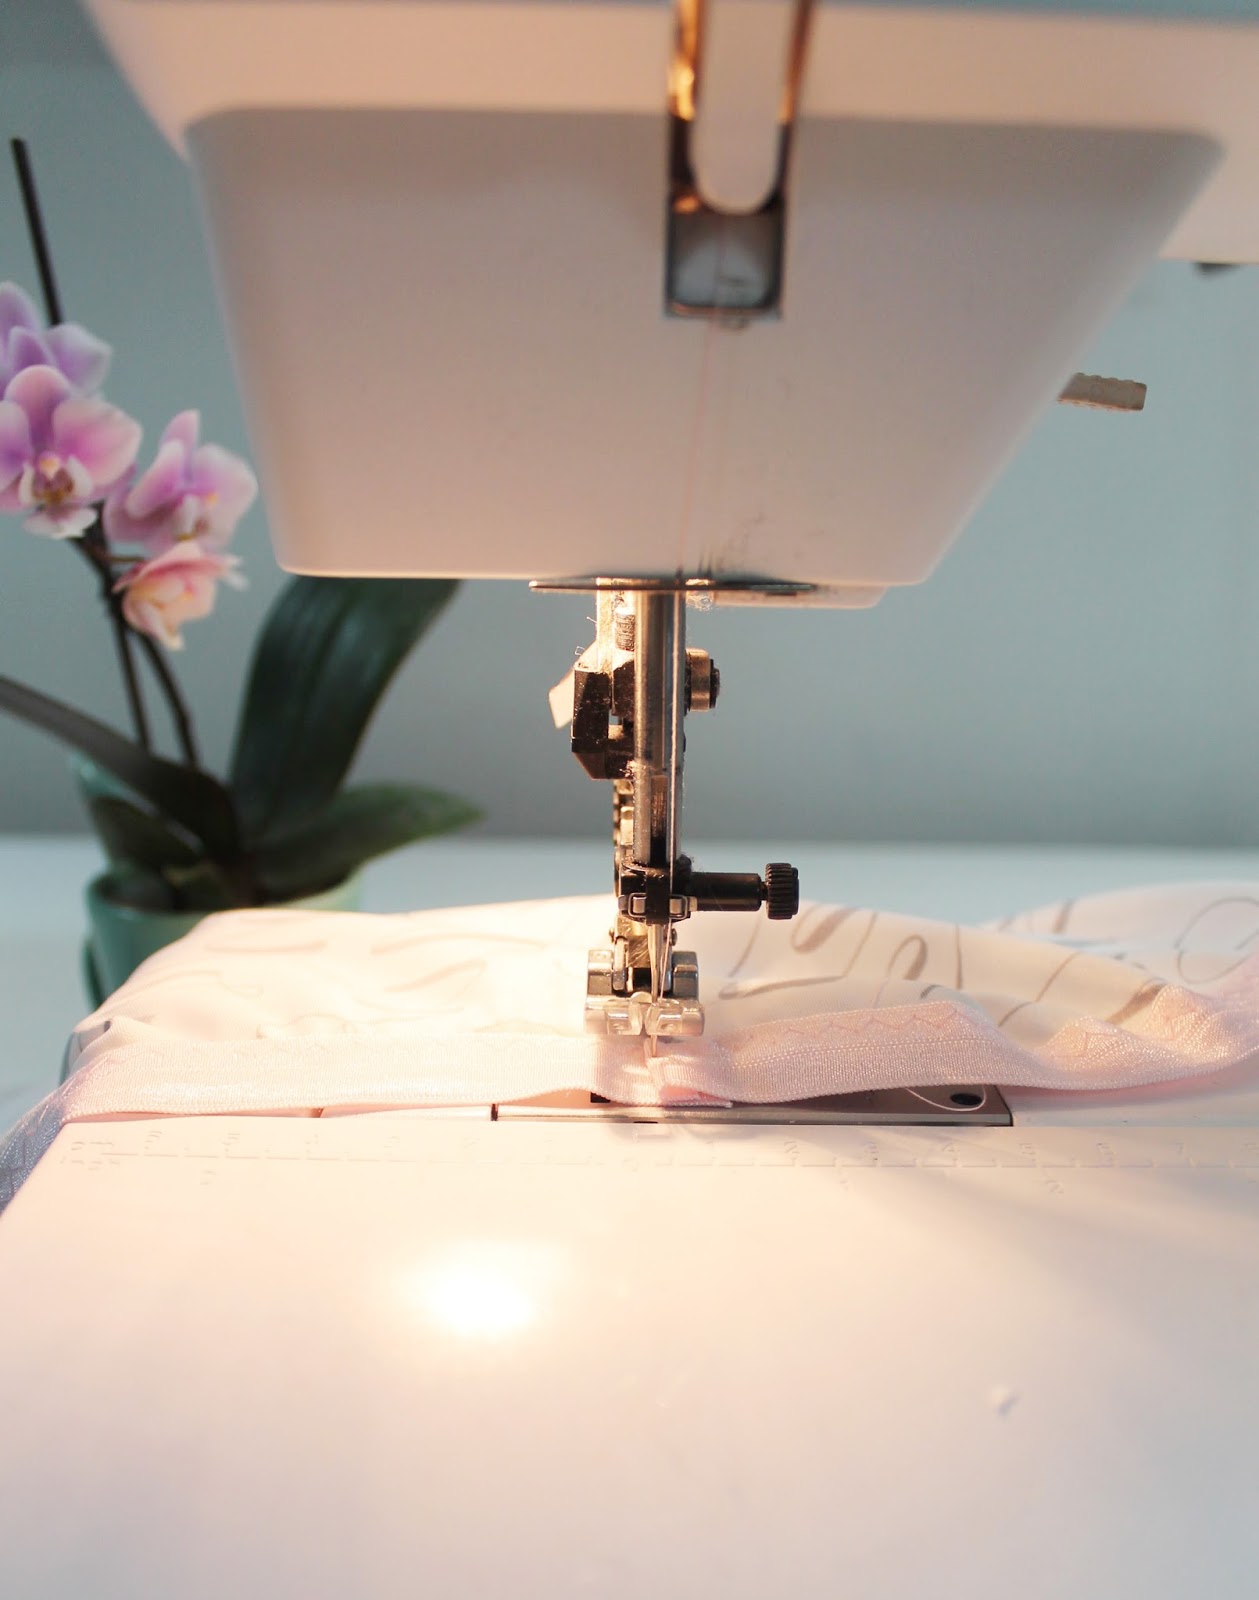
Waistline Elastic – I’m using fold over elastic. It works best with the sequin fabric we will be using, since it will bind that potentially scratchy edge.

Other Findings

We’re going to need some basic hardware to complete our set.

First, we’ll need bra strap sliders and rings. I’ve used two rings, and a total of 7 sliders between my bra and garter belt. Buy rings and sliders in the same width that you purchased your strap elastic.

Because we are adding longline band, we’re going to have to use hook and eye tape instead of a traditional hook and eye closure. You can get hook and eye tape with a single, or triple column of hooks. I’d recommend going with the triple column.

The Cora version of the garter belt closes with a simple G-hook, while the Mina Version closes with a hook and eye closure.

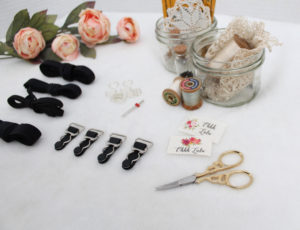
We also are going to need 4 garter clips. Buy these in the same size that you purchase your strap elastic.

Misc. Supplies

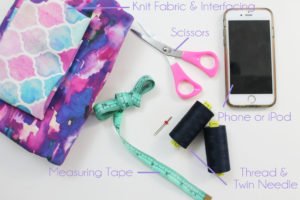
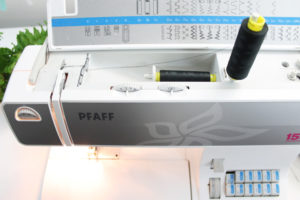
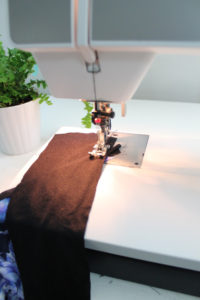
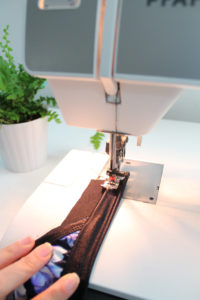
Make sure you have ball-point needles on hand for your sewing machine. These are ideal for sewing stretch fabrics.  We will also be using a twin needle. Of course, buy some thread to match and make sure you have a pair of good, sharp scissors.

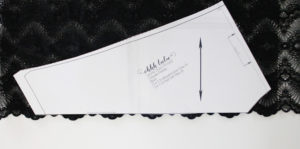
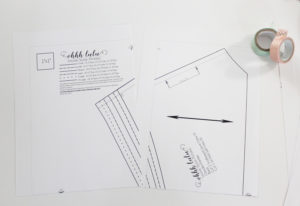
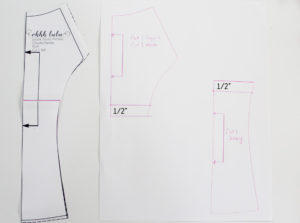
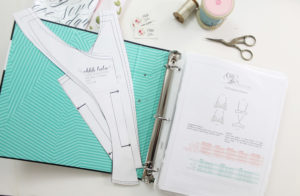
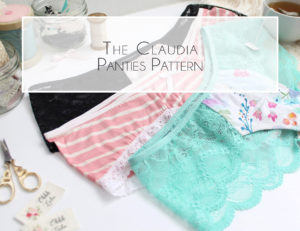
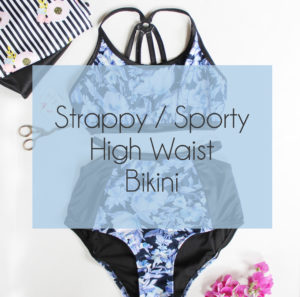
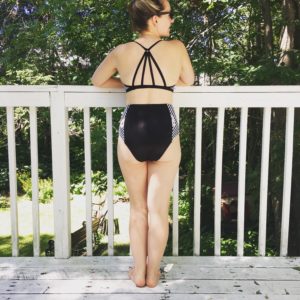
Of course, we are also going to need patterns. I’m using the Jasmine Bra, Claudia Panties, and I’m making two garter belts: the Cora and the Mina. I’ve created pattern bundles which you can purchase directly here, or through my Etsy Shop. Remember to use coupon code BeMine to receive 15% off until January 16, 2016.

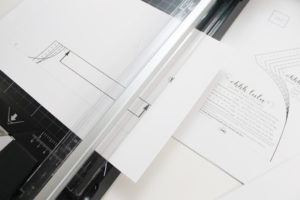
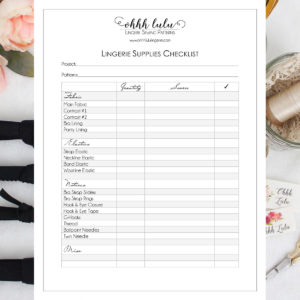
I think that just about covers everything! I know that this is a lot of stuff, so I’ve made a printable checklist for you. I’ve made it as generic as possible so hopefully you can use it for other lingerie-sewing projects in the future!

Download the list here:

Lingerie Supplies Checklist

Where to Buy Lingerie Making Supplies

Now you’ve got your list, you need to actually find the stuff. Here are a list of shops I recommend.

Tailor Made Shop  (USA)

Blackbird Fabrics (Canada)

Bra Makers Supply (Canada)

Sew Sassy (USA)

Lace Heaven (USA)

Sewing Chest (UK)

Vena Cava (UK)


I hope you find this to be a helpful resource! I’m really excited to get started but will wait a few days for everyone to organize their supplies. If you have any questions, I will do my best to answer them here. If you want to share your makes and progress on social media, use the hashtag #ValentinesSewAlong and/or #SewingWithOhhhLulu .


New Pattern! The Claudia Panties Pattern

Lingerie, Sewing Patterns, Tutorial

This is my favourite pattern ever (besides the Jasmine bra). I think I may have actually already made 100 of these, maybe even more!!! I am obsessed.

So, what is it that I love about this pattern, you ask? This pattern has the one thing I strive for in a pattern: versatility. You can achieve so many different looks with this one easy pattern.  Included in the instructions are directions on how to sew them with a pretty lace back with picot elastic around the front OR plain elastic edging, or  sewn entirely out of knit fabric with simple lace trim entirely around the legs. But, you can also edge these in fold over elastic, picot elastic, and while these are drafted for stretch knits, I’ve even made them with a silk charmeuse front!

Quick and Easy Directions for a Woven-Fabric Front.

If you want to use a woven fabric on the front I suggest using a light weight woven with a good bias stretch. Silk Charmeuse is ideal, but you could experiment with other fabrics too. I’d imagine a light flannel or lightweight cotton would work as well. Whatever you choose, the hip/back portion has to be sewn out of either stretch lace or stretch knit fabric.

All I do is fold my fabric at a 45 degree angle. This way you can place the “cut on fold” piece against the bias-fold. This is a quick and easy way to cut small bias cut pieces, without tracing the patter piece out mirrored.

You can purchase the Claudia Panties Here, or through my Etsy shop.

Tips and Tricks for Sewing Scalloped Lace

Lingerie, Sewing Patterns, Tutorial

Lately I’ve become obsessed with scalloped lace. I’ve used a lot of it in my latest collection, and have a ton more lace on the way! I just love how pretty and delicate it is, while still being comfortable.

It can be tricky to find wide enough lace for panties or larger size bras. Here I’m going to outline a couple of tricks that I’ve learned along the way to make the most of what you’ve got on hand!

The first thing to be aware of is when you cut your scalloped lace, make sure you lay your lace out so that the scallops are evenly matched up. You want both sides of your panties or bra to be an exact mirror image of one another. When you sew your seams, the most important thing is to make sure that your scallops match up evenly. This may sometimes mean that your waist edge might be off a bit. Don’t worry – just focus on lining up the scalloped edge of your seam.

If your lace is a little too narrow for your panties pattern, you can easily piece the lace together to make up for the lack of width. Start by cutting out your pattern piece.

Grab a scrap piece of lace with a bit of scalloped edge. Layer it overtop of the too-short part so that the scallops overlap, kind of like a puzzle piece.

Use a zig-zag stitch to top stitch in place, then straighten out your edges.

Alternatively, you can use too-narrow lace as a design feature! You can create interesting “cut outs” by just working with the width of lace you have. Here, I’ve just left the scalloped edge of the lace in place, then extended my waist elastic overtop to create a “peekaboo” back.

Finding trimming lace to match can sometimes be a challenge, even for myself who has access to wholesale lace suppliers. If you need some trimming lace in the same colour as the lace for the body of your panties, just cut off some of the scalloped edge of your lace, and use it exactly as you would use a trim. Just zig-zag it on, and cut off any excess that extends beyond your zig-zag stitching. I’ve done that with this pretty purple thong.

If you are having trouble finding stretch lace at your local fabric stores, I highly recommend looking online. Below are a few of my favourite resources:

Tailor Made Shoppe

Lace Heaven

Bra Makers Supply 


Easy Running Armband for iPhone or iPod Tutorial

Personal, Tutorial

A few months ago I started running. After I had the miscarriage a few years ago, I felt really lost and depressed… then I found Fitness Blender. It was so motivating and fun and I was particularly enjoying some of their strength training videos. When I was in my early twenties, I went to the gym pretty religiously, but as I got a bit older and busier, being active became less of a priority… Over the last few months, as I’ve mentioned in earlier posts, I’ve really been struggling with anxiety. My mental health approach over the last decade is to bottle up any difficult emotions, because whose got time to deal with that? Walk it off! You’ll be fine.  And some days I am… other days, not so much. And now that life is a little quieter, I’ve had the time to deal with some difficult emotions and things from my past.

When I first decided that I needed to be proactive about what I was going through, I knew being active was going to be an important part of getting better. In the following months after the birth of Isabel, I actually found I had lots of time to be active! She slept in hour long bursts so I could sneak in a workout here and there. Now that she is on the move and constantly wanting my attention, I’m finding it much more difficult. So, my goal was to do an activity that we could both do together. I had a jogging stroller so it seemed like a no brainer.

Let me tell you, running while pushing a stroller is no joke. I think I lasted about a month before I decided that pushing an extra 50+ lbs was no fun. However, I was really enjoying the sense of satisfaction I was getting from my progress, so I’ve been running in the morning, or evening… or whenever I get a chance. There is something so visceral about running. All of the difficult things I have hidden away in the back of my mind, I can literally push past them. Running is hard. Running hurts. Running seems to express all of the things I am feeling but can’t quite express. It is freeing and liberating.

I have some friends/family members who are runners and who have run marathons. I was never interested in running. I thought they were kind of crazy and didn’t get the appeal, but I get it now, as I sit here nursing a cracked toe nail but still wanting to get in just one more kilometer.

Of course, now I am wanting to combine my new hobby with my old hobby. What can I sew for running?

As I’ve been running, I’ve really been enjoying listening to podcasts (I am an addict! Shout out to My Favourite Murder!), but was tired of tucking my phone in my bra and getting it all sweaty. So, I decided to make an armband to hold my phone, and any other items I might need along the way.

This is a super simple armband with no zippers or velcro. All you need is some stretch knit fabric, like cotton/lycra jersey, a couple spools of thread and a twin needle (though you could zig-zag stitch too), a small scrap of interfacing, scissors, and a measuring tape. This holder fits my arm and an iPhone 6s (not the jumbo one!). It would be really simple to alter this to fit any phone or arm size.

2

Cut out a piece of fabric 10.5″ x 13″.

1

Fold it in half lengthways and sew it together with 3/8″ seam allowance. Put it on your arm, it should feel like a fitted sleeve, but not too tight.

3

Finish either end with a serger. Fold under approximately 1/4″ and stitch using a twin needle.

4

5

6

Turn the sleeve inside out and fold up one end by 4″. Fold the top down by about 2″-2.5″, so that the hemmed edges overlap. Make a mark where the earphone jack is.

7

Fuse a piece of interfacing to the inside of the sleeve where you’ve made your mark for the earphone jack. Sew a button hole and slash open. This will allow the earphone plug to stick out. Adding the earphone jack hole isn’t necessary. The first one I made didn’t have one, so I just tucked the cord inside and it worked just fine!

9

Place your phone/iPod over the folded armband and mark 1/4″ away from either edge of the phone. Run straight rows of stitches down either side to create a snug pocket for the phone.

8

10

It’s seriously that easy! I think this one took me maybe 15 minutes and just a small scrap of fabric.

Next project is a running bra….

11

Pattern Hack: Strappy / Sporty High Waist Bikini Part 1

swimwear, Tutorial

StrappySporty

IMG_2024

Since moving to Washago, I’ve been spending a lot of time at the beach with Isabel, which means I need a few new bathing suits. I’ve always found it difficult finding RTW bathing suits, since I have a full bust and like a fit with a little more coverage so that I can, you know, actually swim. At the same time, I want something that looks awesome.

So, I made this suit a couple weeks ago and it has had a lot of wear already! I used the Amber Bra for the top and the Panties from my Cindy Pattern for the bottom – I like them because they have  high cut leg, which I find more flattering for my petite stature.

Aside from the patterns, you’ll need the following supplies:

  1. Swimwear Fabric -I used a print and a solid for binding
  2. Nylon swim lining
  3. 1/4″ elastic (you can use clear elastic)
  4. Twin Needle
  5. Two spools of thread
  6. 5/8″ (or larger) metal ring

StrappySportyMaterials

Directions:

  1. Cut the pattern out of your swim fabric & lining. Taper the Side Back down to a point.

SS2

2. Baste the lining to the swimsuit front.

ss3

3. Pin the side front swimsuit fabric to the front swimsuit along the curved seam and baste together (right sides facing). Flip over and pin the swimsuit lining along the curved seam of the front swimsuit, so that right sides of the lining are facing and stitch together. This creates a totally encased seam and anchors your lining so you don’t get slipping between the two layers. Repeat on opposite side. If you are feeling confident, this can all be done in one step.

SS4

ss5

ss6

ss7

ss8

4. Cut a couple long lengths of your contrast fabric to create a binding. I cut two 2″ wide lengths (2″ by approximately 54″) and one 3″ wide length (3″ by approximately 30″) for my size small top.

ss9

5.  With the right side of the binding facing the right side of the swimsuit top, baste binding along neckline using about a 1/2″ Seam Allowance. Gently pull on the binding to create a bit of tension to carefully contour the edge of the top.

ss11

6. Load your sewing machine up with your twin needle and two spools of thread. Fold the binding towards the wrong side and top stitch in place using your twin needle. I do not double fold my swim biding. I just fold it back once and trim back the excess along the wrong side. This way is quick, easy, and less bulky.

twinneedle

ss12

7. Trim the small strap tab back to a point. Apply the binding along the side in a the same manner as steps 5&6, but leave a 6″ long tail extending past the neckline. As in the previous step, fold the binding in half and use a twin needle to stop stitch. I do a single fold, then trim away the excess fabric.

ss13

ss14

ss15

ss16

Extra Credit: add some stability and strength to your straps by wrapping the binding that forms your neck strap around a piece of elastic. I am heavy chested and always find stitches in my swimsuit straps pop! Adding clear swimwear elastic (or something heavier) will help. (I’m really sorry I didn’t take pictures of this part! the next step will give you some idea of what I mean)

8. Now we are going to create the strap details for the back. I’m adding elastic to mine for some strength and stability. This is optional – you may opt to just sew a traditional spaghetti style strap/tube. I created by straps by basting a length of elastic to the wrong side of a strip of my binding. I folded the binding 3 times to fully encase the elastic. Using a twin needle, I stitched down one edge, then simply trimmed back the excess. This is a quick and easy way. You may opt to double fold your binding, but I find it gets a little bulky. I then cut the strap into 4 lengths of 8″.

strap1

strap4

strap5

strap6

ss21

9. I used the wider piece of biding to for my band. In the exact same method as in previous steps, baste the binding onto the lower edge of the top, pulling on the binding as you go to contour the bottom of the top. Fold to desired width, and top stitch in place, trimming back the excess fabric once you are done. Leave approximately a 1″ tail on one end and a 4-5″ tail on the other.

ss17

ss18

10. With the right sides together, pin and stitch band together.  Fold seam allowance to one side and top stitch down.

ss19

ss20

11. Wrap ends of strap around your metal ring and stitch in place using a tight zig-zag stitch.

ss22

12. Wrap one end of each of the 4 straps you made previously around the ring and stitch using a tight zig zag stitch. Pin the opposite end of each of the 4 straps evenly along the band. I used a tight zig-zag again to anchor them along the band.

ss23

ss24

Last year I posted a video demonstrating how to apply swimsuit binding. You can view it HERE.  To add more stability to the edges of your suit, you can add clear swimsuit elastic. I didn’t have any on hand, so I omitted it, and so far have found it to be just fine!

How I join my fold over elastic

Tutorial
This is something I’ve been wanting to post for a while! This is how I sew my FOE into a continuous loop. I’ve posted a video on my YouTube channel, but I know it can be hard to see exactly what I am doing… so, I hope this is helpful!
First, I cut the end of my elastic so that it overlaps my start-point by about 1/2″ (keeping the same amount of tension on the elastic as you have done over the rest of your opening). I fold the raw end under by about 1/4″.


Stitch right to the edge of the fold and lower your needle into the elastic. Raise the foot and pivot your garment so that the you can now zig-zag stitch over your folded edge, creating a nicely finished join. Backtack at the end of your stitching.

After that, just trim back any excess elastic on the wrong side and away you go! This area tends to get bulky so you may need to help it through your machine a little – I know my machine sometimes gets a little caught up on the bump that the join creates.
I hope this is helpful! Pretty much all of my patterns use Fold Over Elastic for edging. I like to use it because it comes in a million different colours, so it’s easy to match with almost any fabric, but it can be tricky to finish.
Happy Sewing!

How to sew knit fabric without using a serger.

Tutorial

I sewed without a serger for years. Now that I have one (two actually) I feel like I couldn’t live without it, but that doesn’t mean you can’t create beautifully finished garments without one.  I’m going to go over a few different stitches that most sewing machines will have that will allow you to sew seams in knit fabrics that stretch!
I sew on a Pfaff Select 150. It is a an entry level Pfaff, fairly basic with no computerizations, but like many machines, it comes with a variety of machines for sewing knits. The ones I use most often are a basic Zig-Zag Stitch (pretty much every domestic sewing machine will have this option), a Stretch Stitch, and an Overlock Stitch.  My previous machines, a 1970’s Singer and a vintage blue Elna with discs that changed the stitches, all had these types of stitches.  
The zig-zag stitch is the most important of all of the stitches, especially for sewing lingerie. My Pfaff allows for great customization in the width and length of the stitch which is something I find very useful for lingerie sewing. For sewing seams on 4-way stretch fabrics, I opt for a narrow zig zag.  Using the narrow zig zag stitch allows you to sew your seam just as you would if you were using a zig-zag stitch.
The next stitch I want to mention is the Overlock Stitch. This stitch combines a straight stitch with a wide zig-zag stitch and looks kind of like the blind hem stitch. Before I got my serger, I liked to use it to finish raw edges after sewing my seams with a zig-zag stitch.
Zig-zag stitched seam with faux-overlocked edge
Using the Overlock stitch is easy, though can be a little slow because the machine has to do some fancy maneuvering.  Simply stitch so that the zig-zag segment of the stitch wraps over the raw edge of your fabric.  I find that this seam finish works best of sturdier knits, like cotton-lycra jersey. Lighter rayon jersey knits tend to roll a bit more for me.
Using the Overlock Stitch to finish raw edges.

The last stitch I wanted to mention is the Stretch Stitch (or at least that’s what I call it). It creates a very stretchy seam, but on my machine, is pretty slow going because of the complexity of the stitch.  When I’ve used this stitch in the past, I’ve simply trimmed my seam allowance right back without any extra seam finish.

 If you are new to sewing knits, spend some time getting to know the different stitches on your machine. There are so many options for sewing stretch seams and finishing edges without having to use a serger. These are just a few options, and I hope you find them useful!