Something I never anticipated, getting into design, was how comfortable I would become with the word “crotch.”
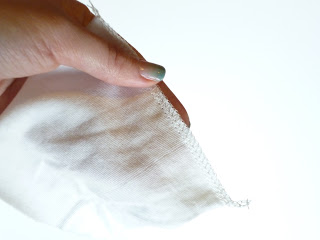
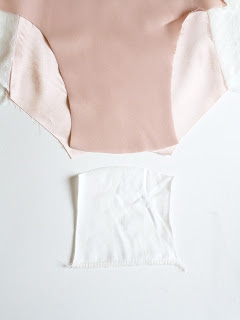
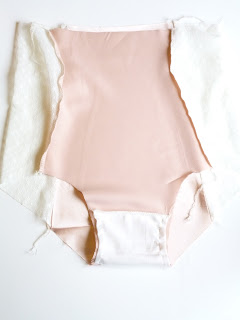
Anyway… it’s time to add the crotch lining. Start by finishing the straight edge of the crotch lining by zig-zag or overlocking. You want a finish that will not add any bulk to prevent a seam from showing through. With jersey you also have the option of just leaving the raw edge. It’s not going to unravel on you, but might roll a little.
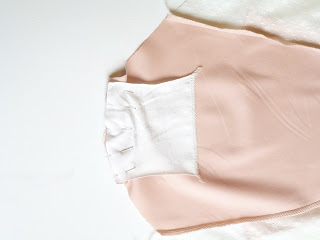
We are going to sandwich the back crotch seam between the front crotch seam and the lining crotch seam.
The right side of the crotch lining should be facing the wrong side of the back panel.
The right sides of the front and back panel should be facing. Pin together, and straight stitch your seam.
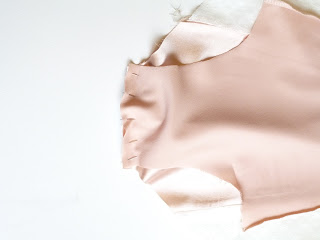
Grade your seam allowance, to prevent bulk. Grading is trimming back one layer of seam allowance at a time, creating a staggered effect. You might want to add some top stitching here if you find your seam is bulky. If not, just press your crotch lining forward, and baste into place.
There you have it, you’re almost done. Just needs elastic now!




2 Comments
A.J.A.
April 18, 2012 at 3:34 amAll caught up! Yeessss! This is a really nice pattern. I was pleased with the fit- it's nice to be able to cut to your size and have it actually be your size!
Sarah Elaine
April 18, 2012 at 11:32 amGood! I'm glad people are having good luck with the pattern 🙂 I'm trying to get a few more patterns out by the weekend.